What Is Campaign Photography?
Campaign photography is a method campaigners use to convey messages in a visual way. People say "A picture is worth a thousand words." That is what you can do with campaign photography. If there is something you strongly believe in, create a photo out of it, and help spread your message.
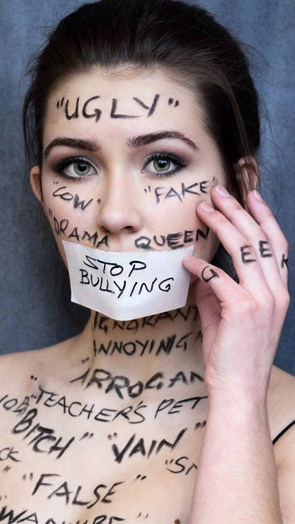
Research (Bullying)


Best Picture
|
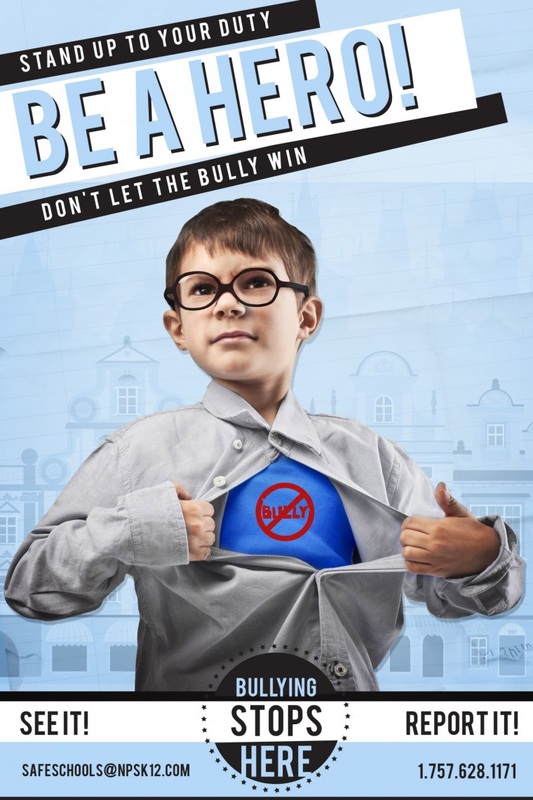
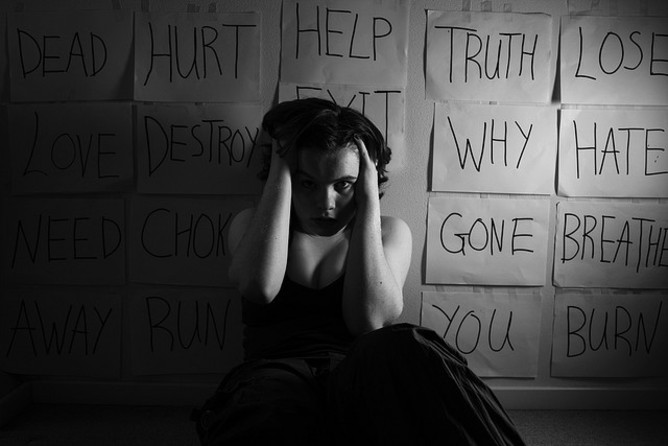
This is the best photo in my opinion from the pictures above. It stands out because of the bright colors used which gives makes you feel happy, and grabs your attention. Also the background has been cropped, and faded out, this is to focus your attention on the main subject. The photo was taken using a large depth of field since everything is in focus, and there is no blur present. It could of been taken in a studio because of the soft light on his face, and body. This is an effect that can only be achieved using soft-boxes, and reflectors. The shutter speed was very fast because there was a lot of available light. In addition, the picture was taken with a large depth of field as everything is in focus.
|
Research (Self Harm)

Best Picture
|
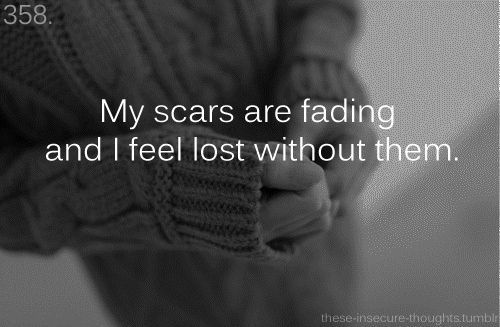
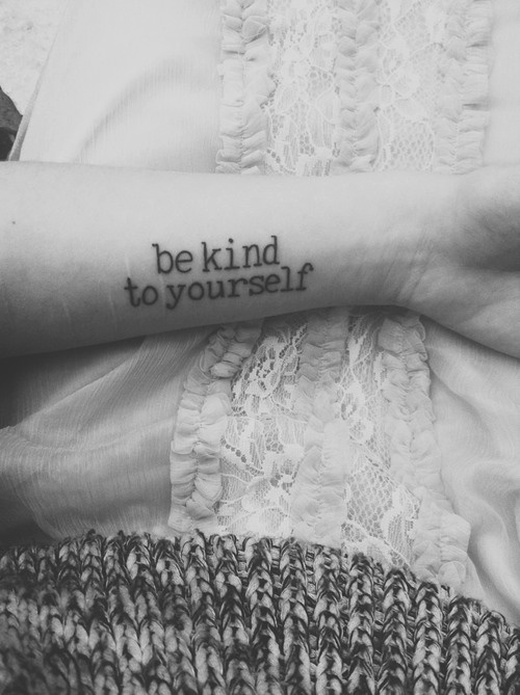
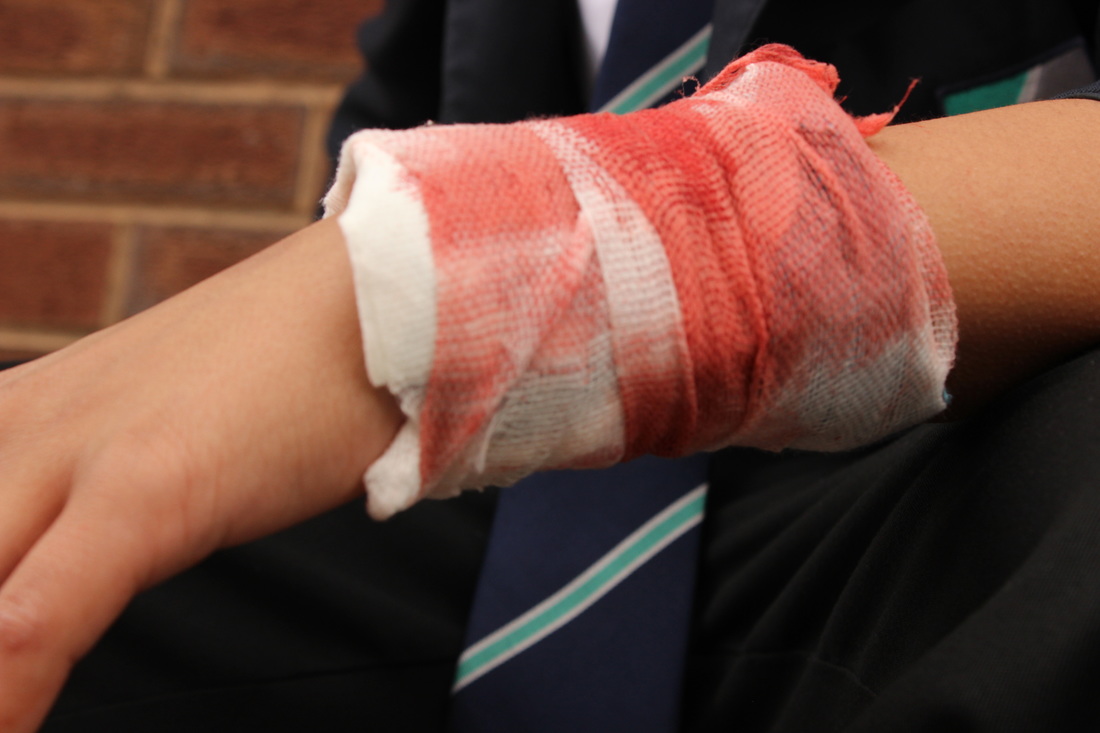
This is the photo I liked the most. The photographer has used the rules of thirds which grabs the audiences attention to instantly focus on the center of the image. The black and white filter/effect that is used is normally used to show depression and sadness. "Be Kind To Yourself" is a short sentence, but refers to self harming. The background is a bed cover as this is where most self harming takes place. The main light source looks like it is from a window. I liked the textures the photographer has used behind the arm, they make what would be a boring background into something interesting. I think the image looks like it was taken on a phone because of the picture being portrait. The shutter speed is very slow as smartphones typically have small sensors, so it does not let a whole lot of light in, and has a very small depth of field.
|
Colored Images vs Black and White Images
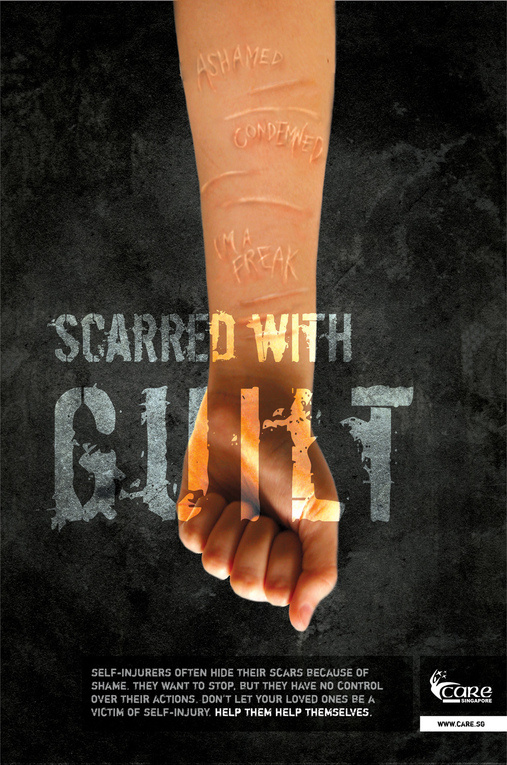
When searching for pictures on the subject of depression and self-harm, I noticed that 9/10 pictures were black and white. Even if I did come across a colored image, it wasn't great. It seems the black and white filter is an effect to show sorrow. When I take my pictures, I am planning to go for a combination, for example the entire picture is black and white apart from the blood.
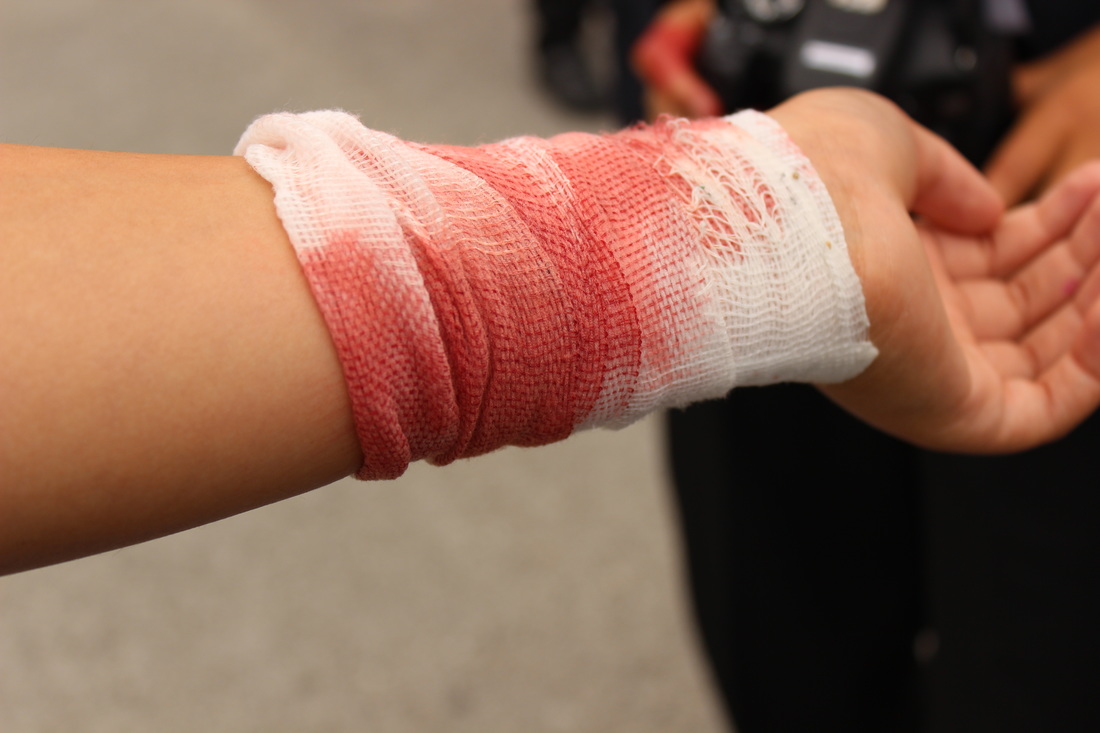
My Plans
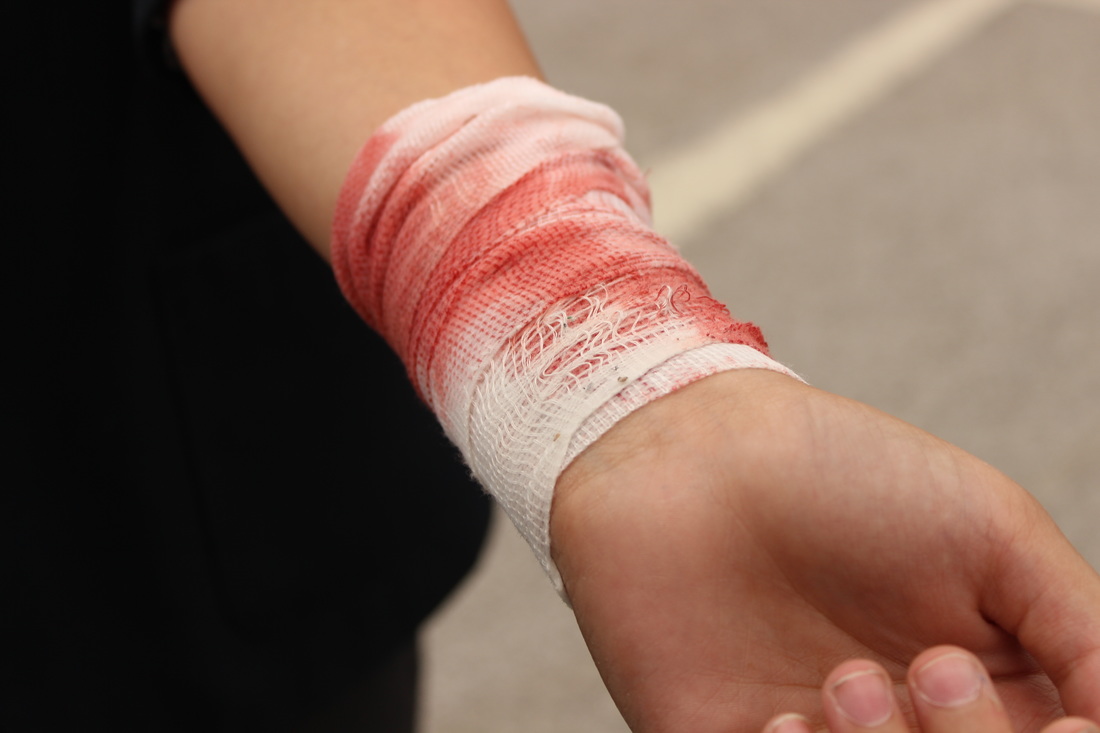
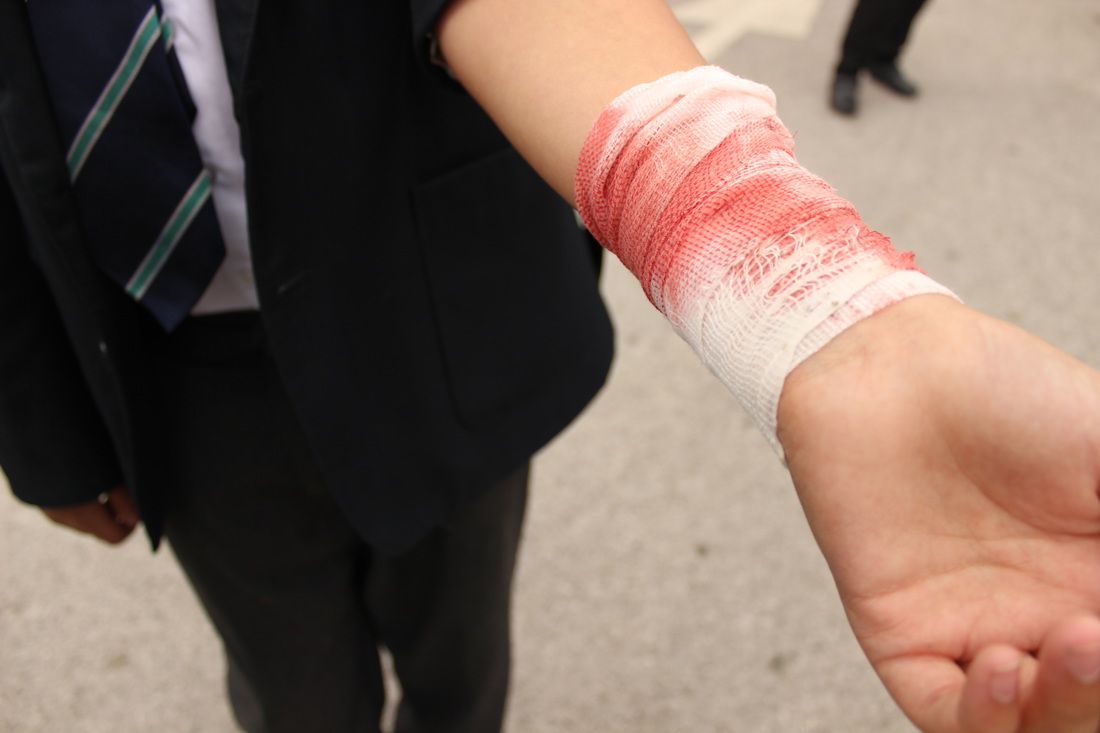
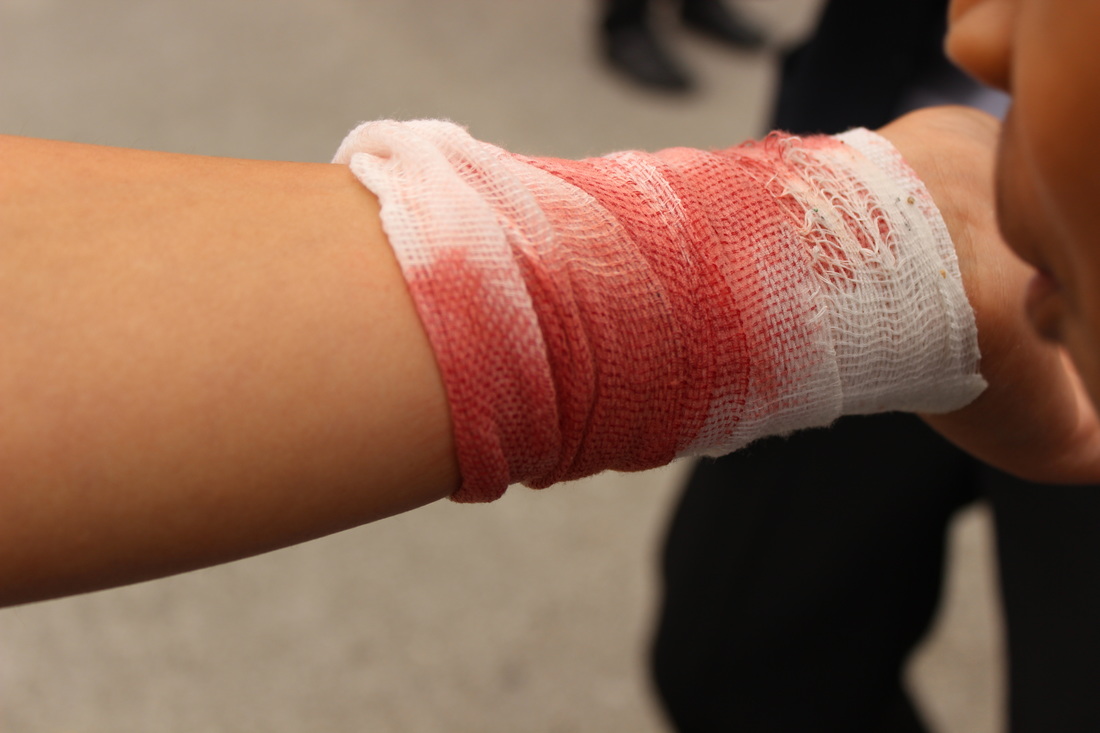
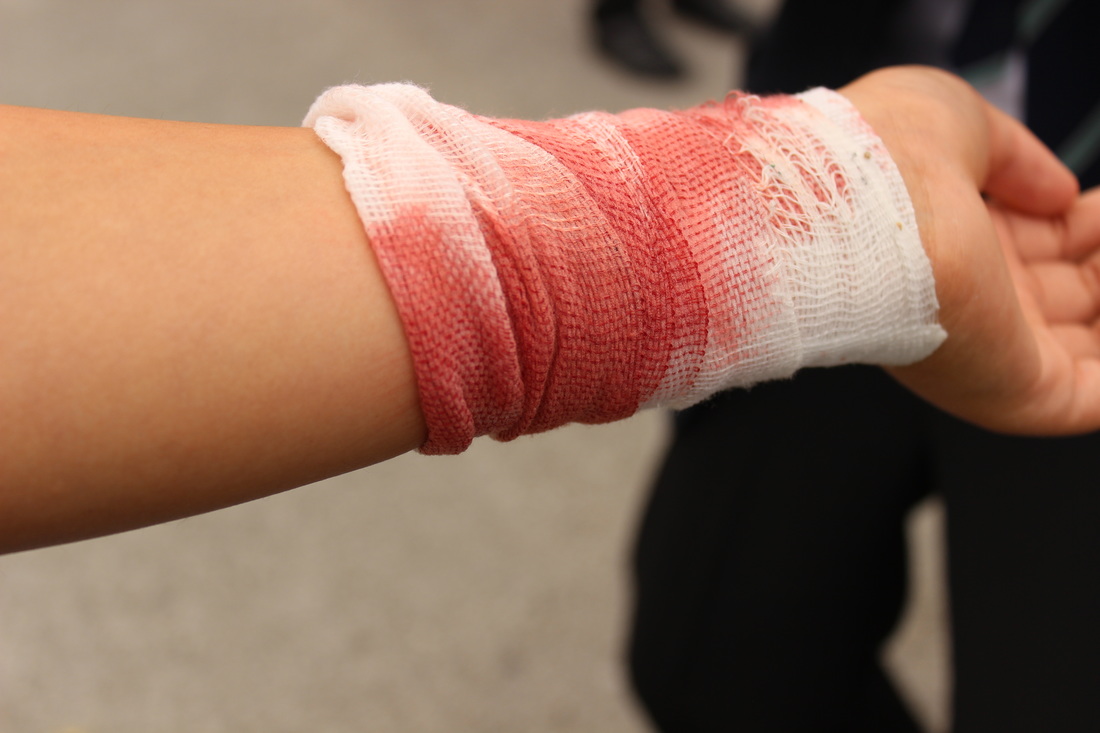
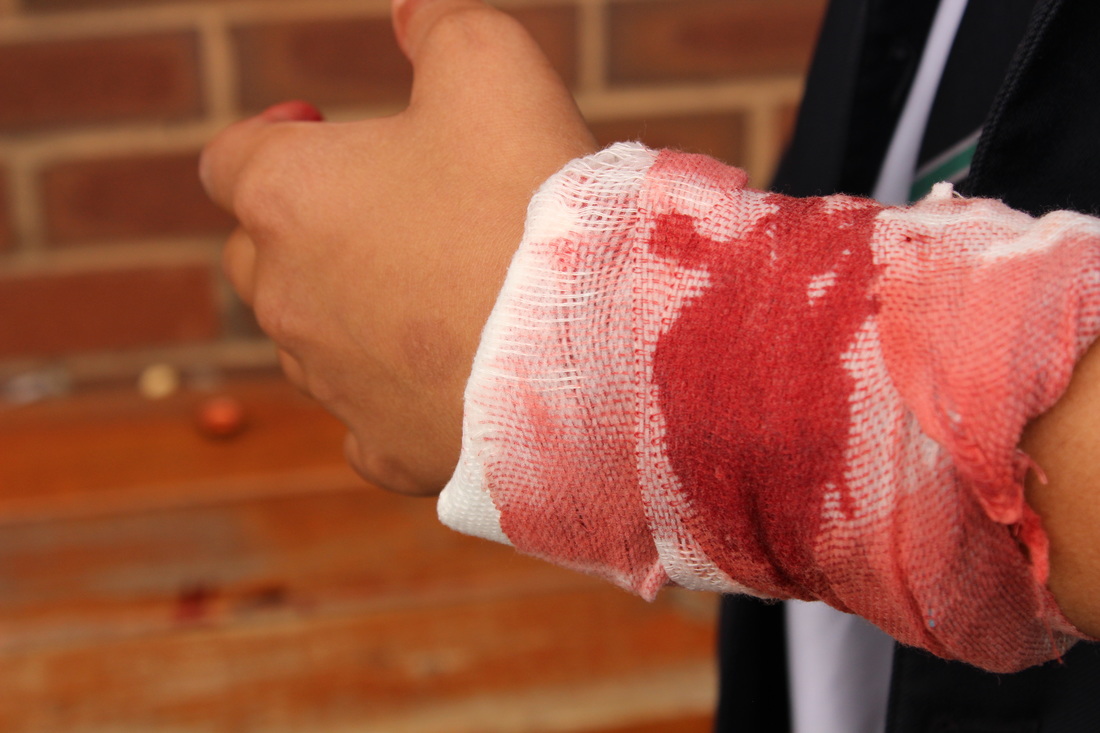
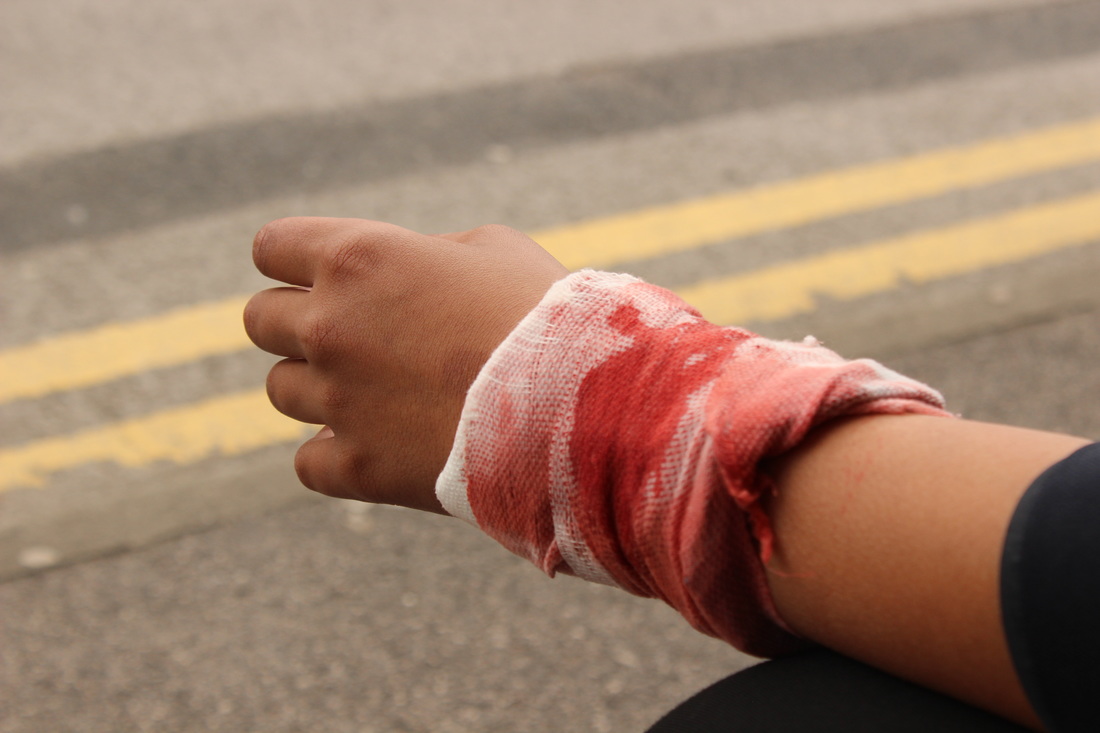
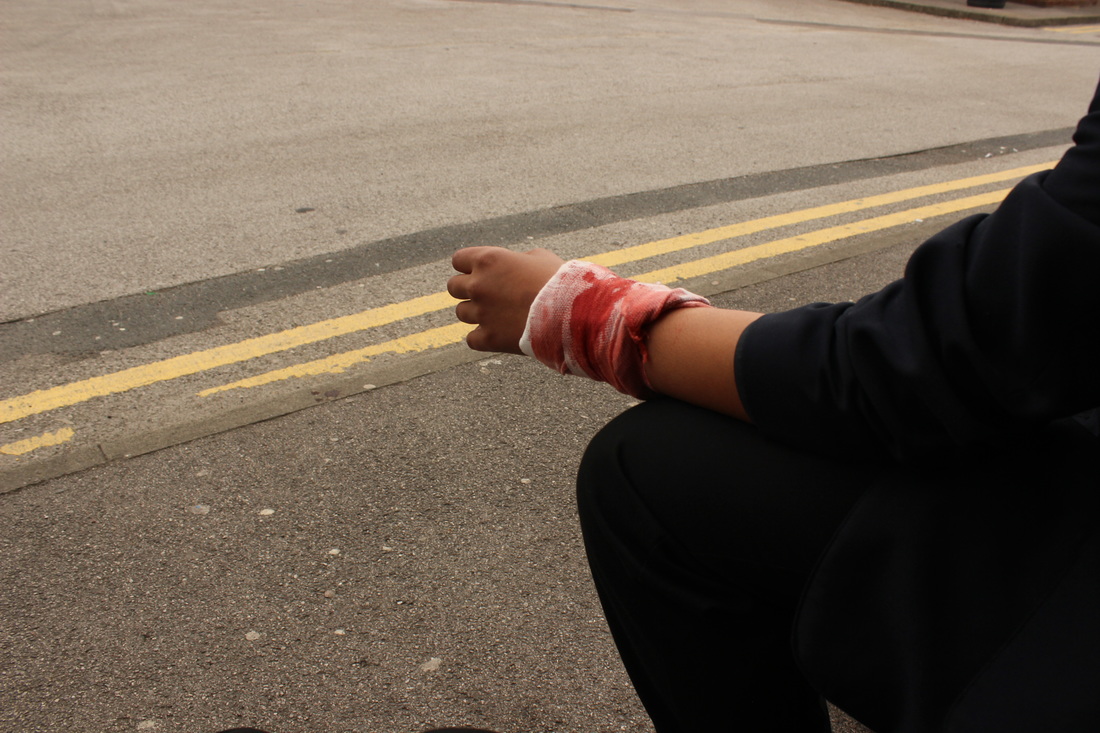
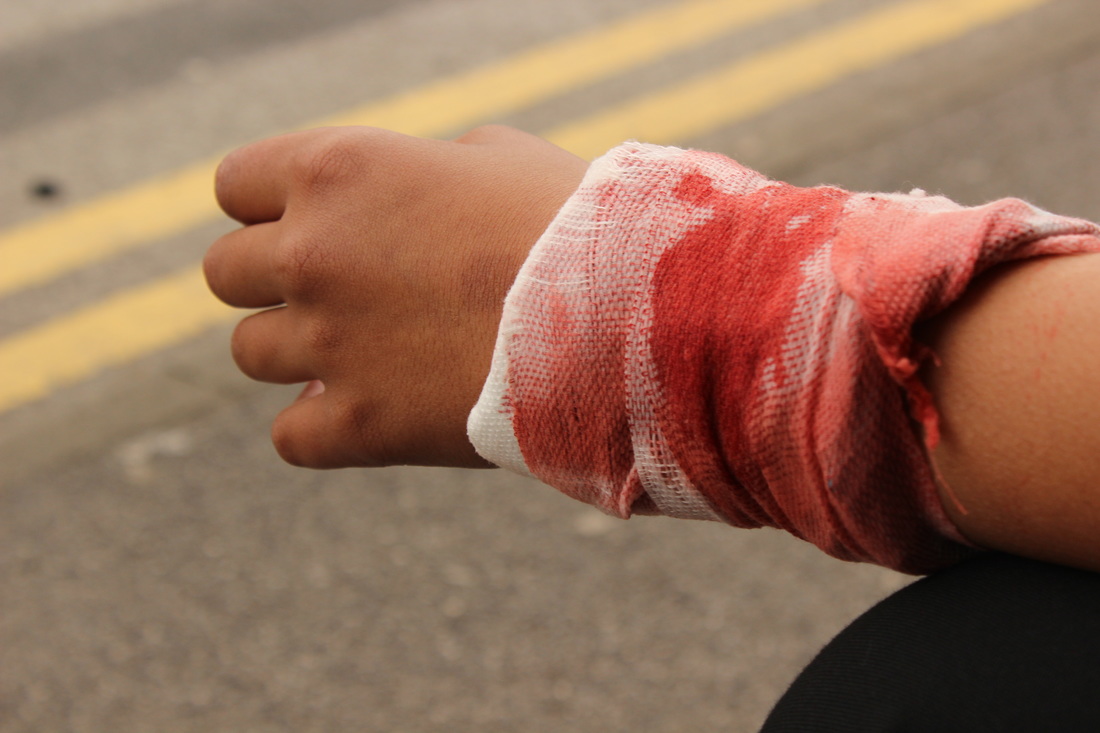
1 - Have an arm (Boy or Girl) and place a bandage on them. Get some food coloring on the bandage so it looks like blood. Then take the image in a dark area, if it can't be taken in the dark, I will take one in a lighter place, and do some editing in photoshop. Then I will add the quote onto the image in Photoshop. Then if its good enough, it can be printed, and laminated, and placed around the school. I will use these camera settings. Use a focal length of 55mm so I can use an f/3.5 aperture to get a nice shallow depth of field as I am mainly focused on the arm. I will use a very fast shutter speed as well because we will be outdoors, also have a low ISO value.
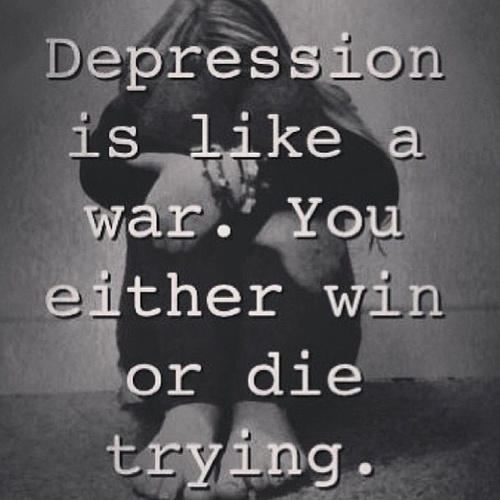
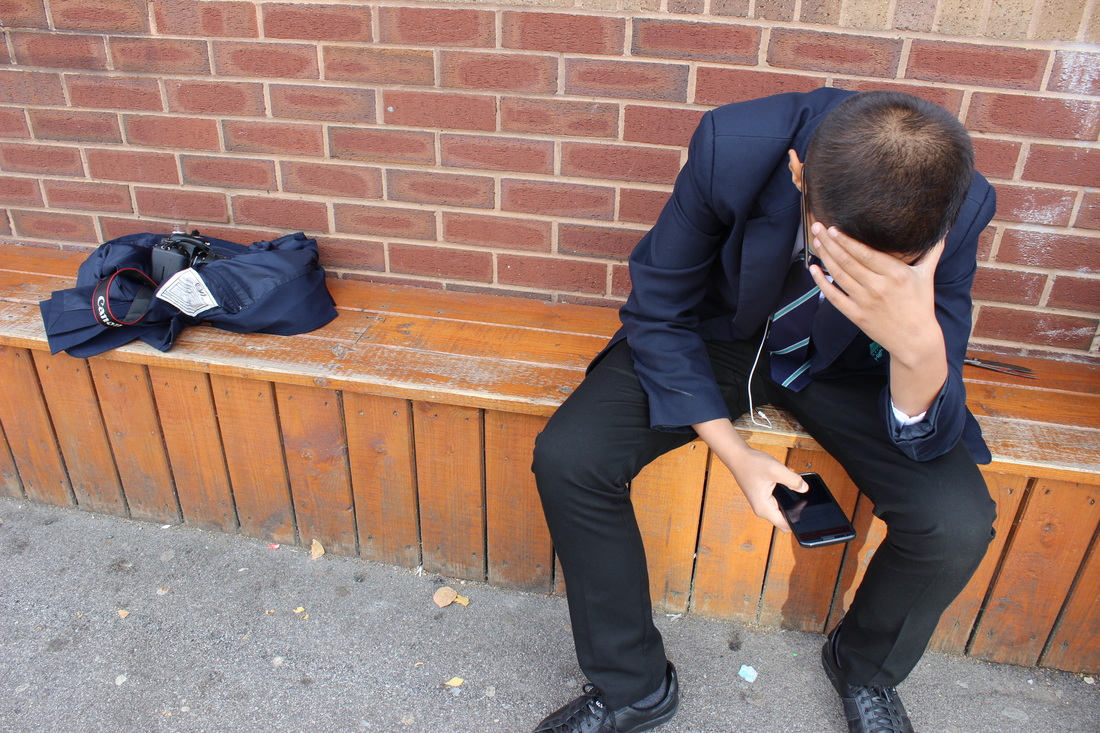
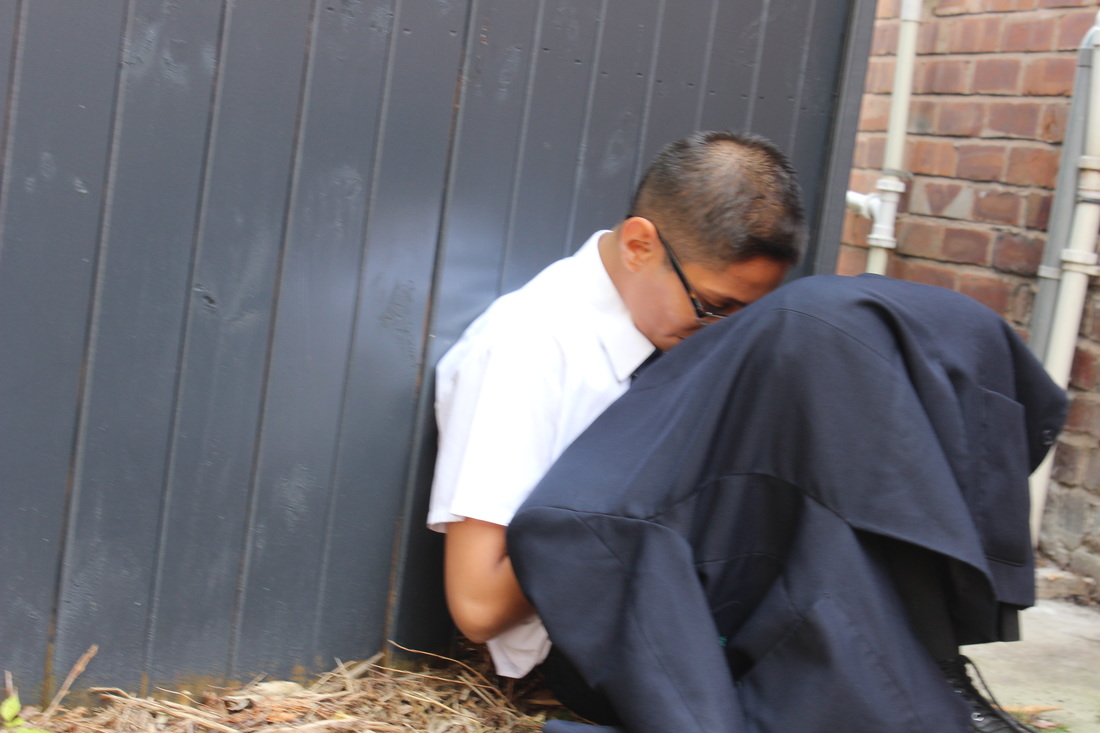
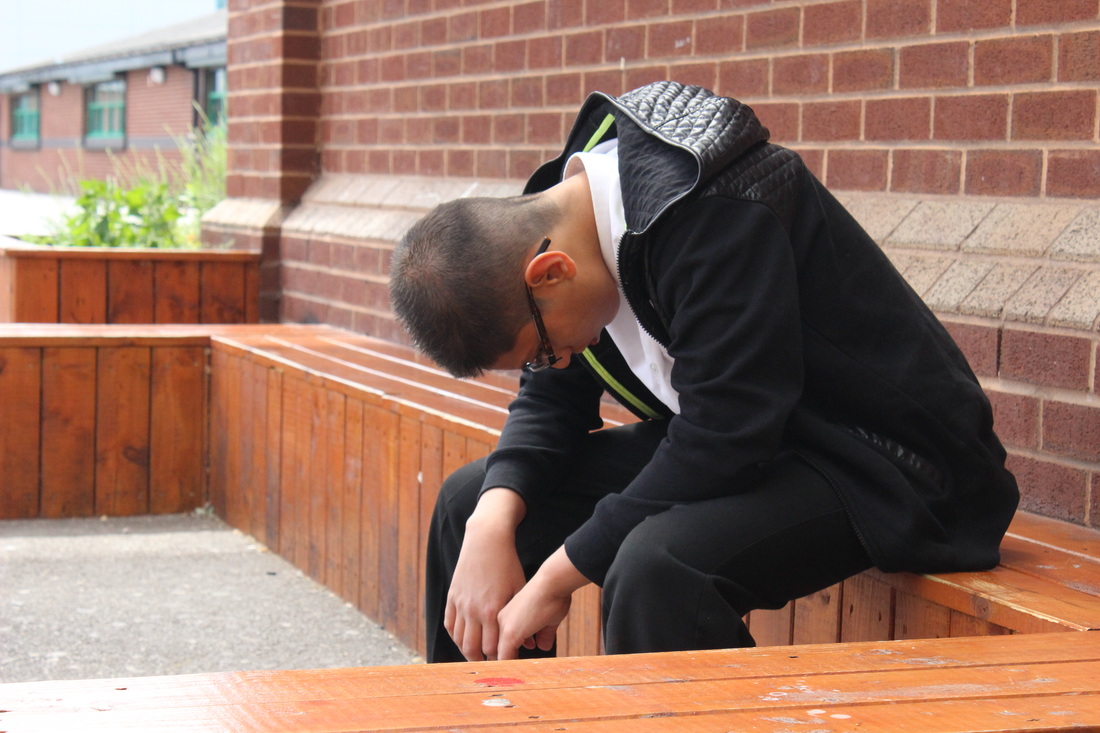
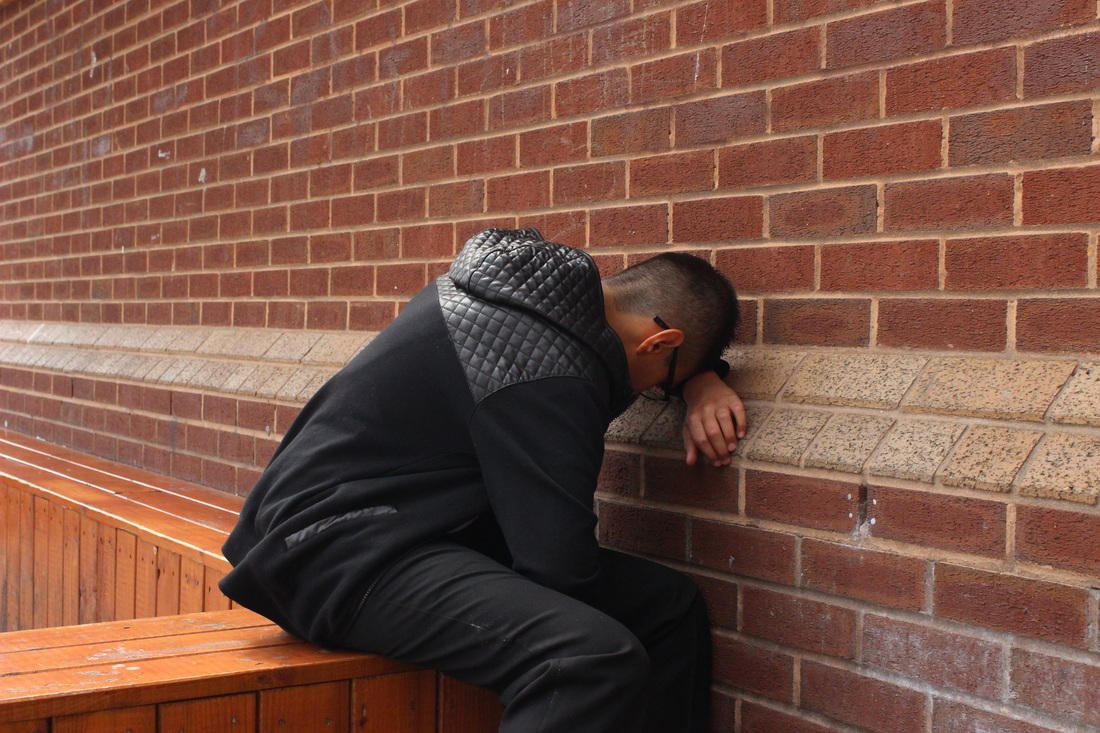
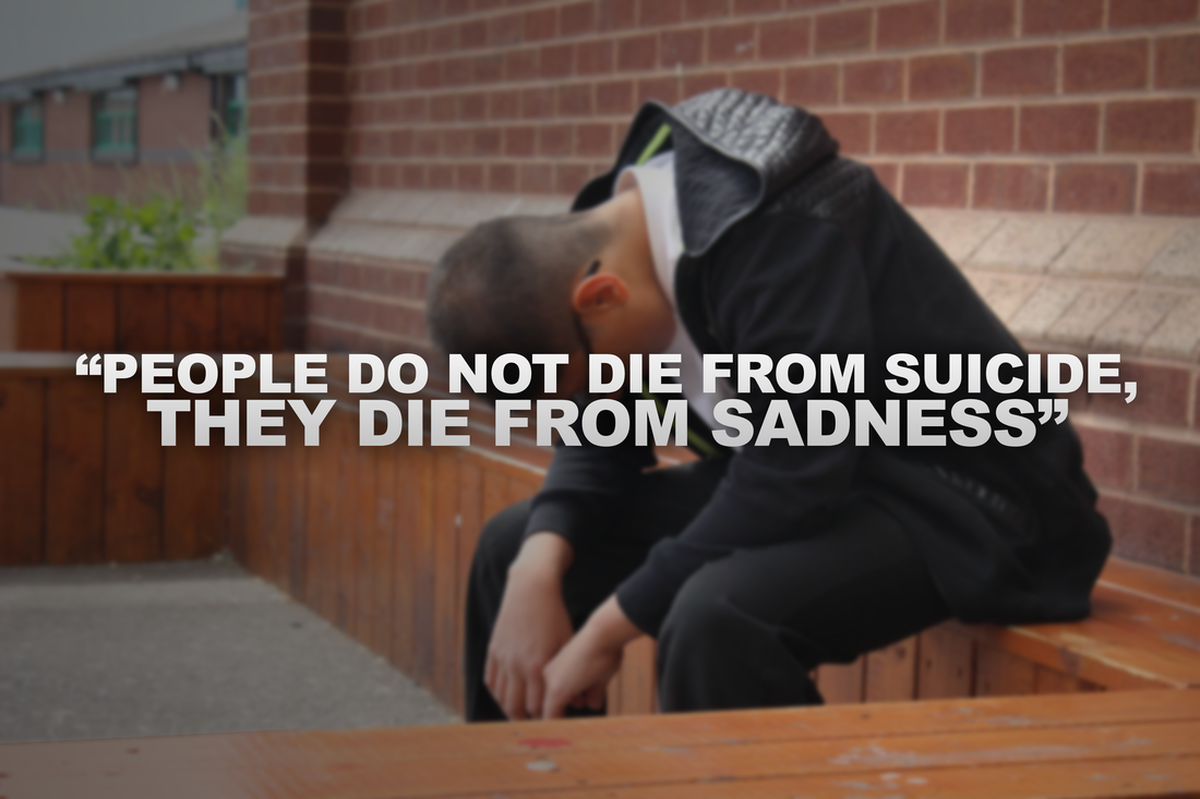
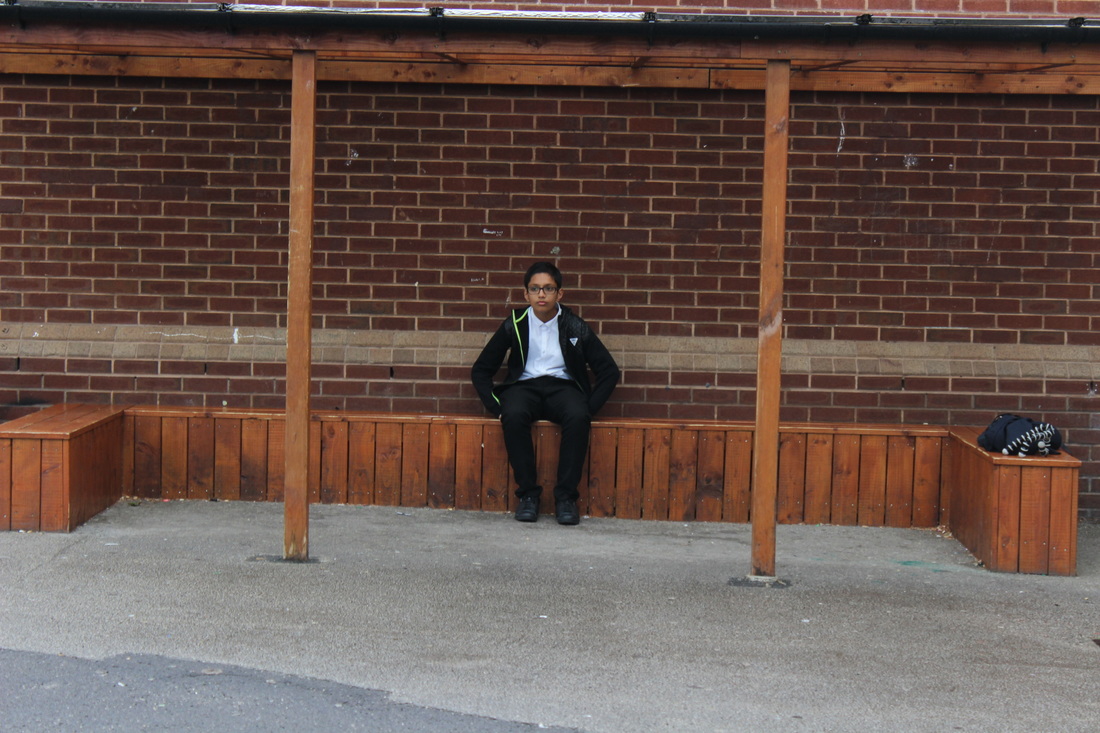
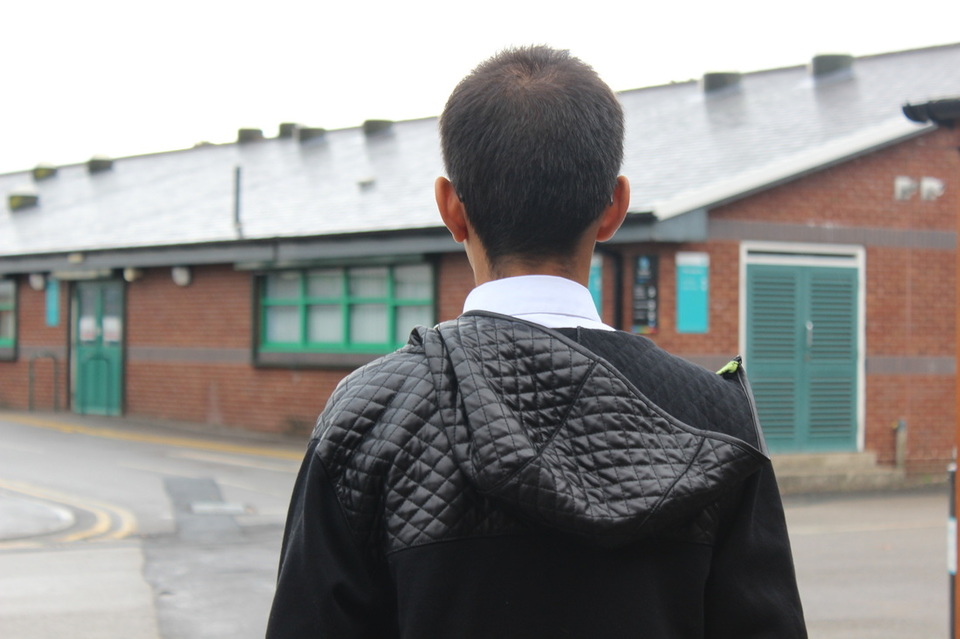
2 - My second idea is to have a person wearing a dark hoodie, they will have their legs folded, and their head down while leaning against a wall. This image will be more focused around depression than self harming. I will then make the photo more depressing by making it an off black and white, and then adding a quote on top of it. I will use an aperture of f/8 or f/11 as these give the best image quality when using this lens. Also it will have a medium depth of field. But too much as we are focusing more on the on the environment. A fast shutter speed, and low ISO value will also be used as we will be shooting outside.
3 - Another idea is to have students all in short sleeves, and have 1 student in the middle with a long sleeve t-shirt trying to hide his cuts. This can be taken outside in a bright environment, then it will be edited in Photoshop to make a spot light type of effect on the middle student as he is the main focus of the image. I will use an f/8 aperture to get the sharpest image, and use a 35mm focal length, so we are not too close, and not too wide. shutter speed, and ISO will be changed depending on the environment.
4 - I would like to have a person (Girl Preferably) and have them do a walking pose on the spot. Then I would move to the side so we can see half of there face, and legs. I would then bring this image into Photoshop, remove the background, and add some 3D text that says "depression" or "Suicide", so it looks like they are walking to it. Then I would have a quote in the corner saying "It is never too late to turn back." I will use a f/11 aperture, as we will be shooting from a medium distance, I will have the focal length at 55mm, to avoid any wide angle distortion you get with the lens. ISO, and Shutter speed will vary depending on the environment.
Quotes To Use
“People do not die to suicide; they die from sadness”
“A long sleeve, a fake smile, and everyone thinks you're fine”
“She can paint a lovely picture, but the story has a twist. Her paintbrush is a razor, her canvas is her wrist”
“Life is too short to spend another day at war with yourself”
"Be kind to yourself"
"I'm sorry for being me"
"Your skin isn't paper, don't cut it."
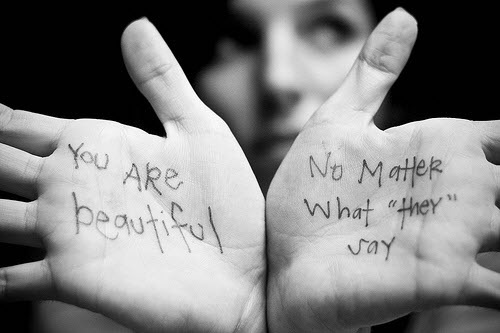
"Your face isn't a mask, don't hide it"
"Your size isn't a book, don't judge it"
"Your life isn't a film, don't end it"
“A long sleeve, a fake smile, and everyone thinks you're fine”
“She can paint a lovely picture, but the story has a twist. Her paintbrush is a razor, her canvas is her wrist”
“Life is too short to spend another day at war with yourself”
"Be kind to yourself"
"I'm sorry for being me"
"Your skin isn't paper, don't cut it."
"Your face isn't a mask, don't hide it"
"Your size isn't a book, don't judge it"
"Your life isn't a film, don't end it"
First Photo Shoot


Worst Photo

|
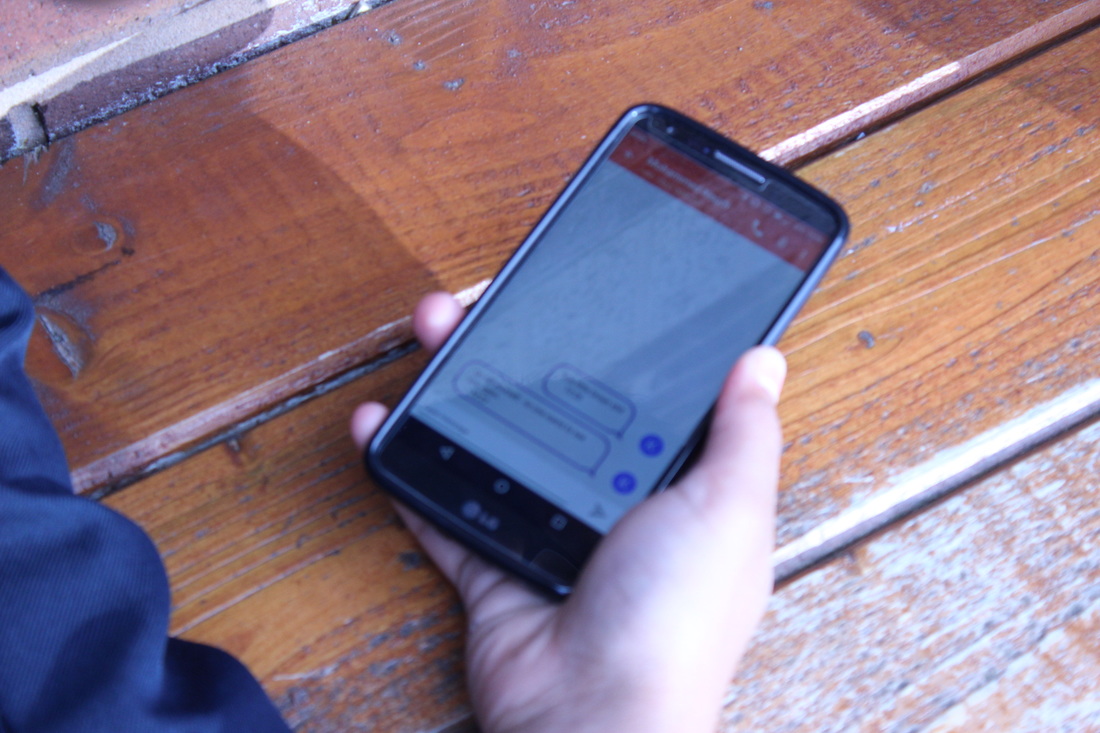
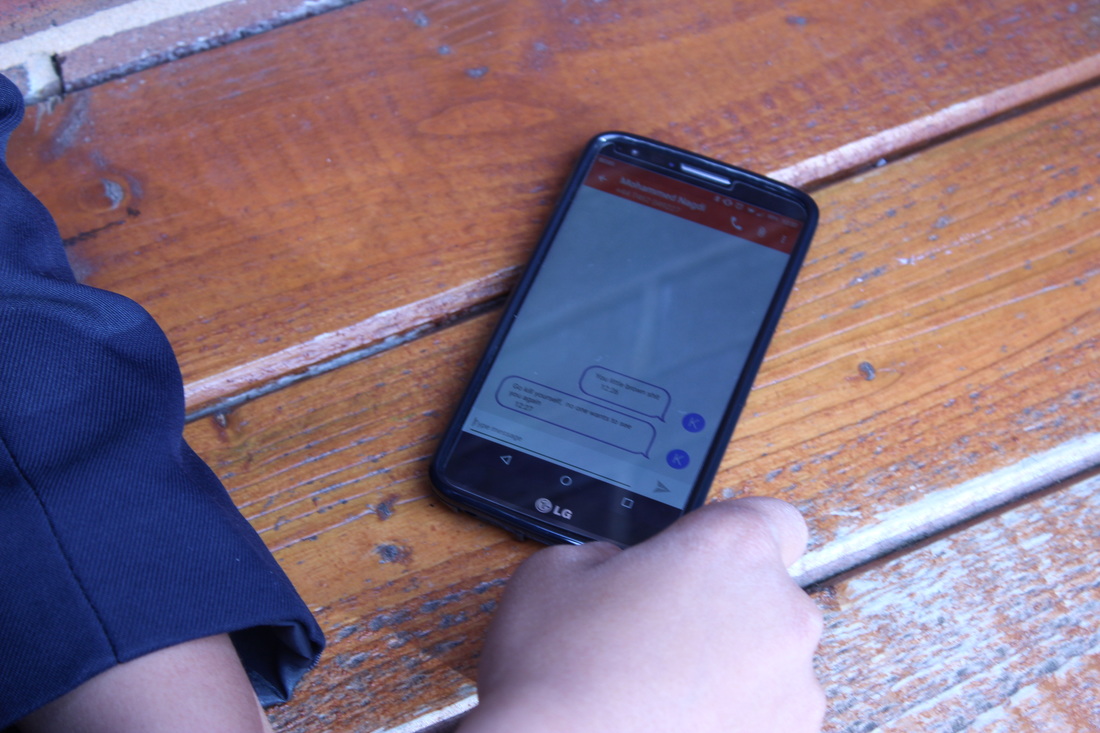
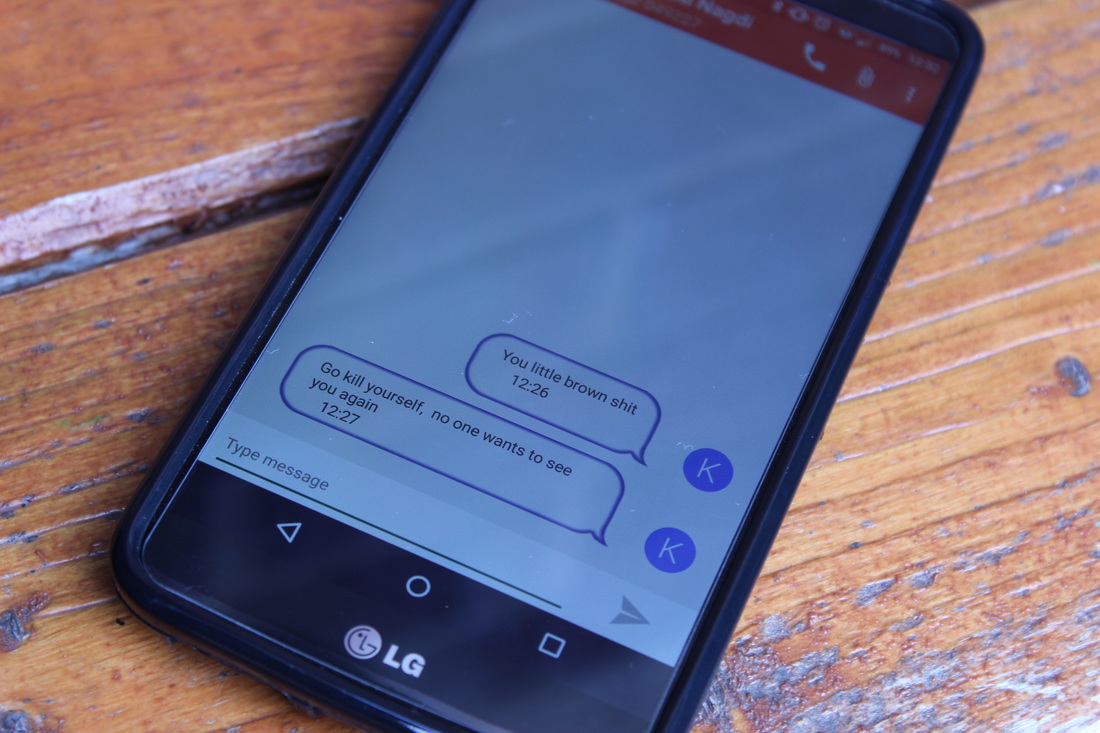
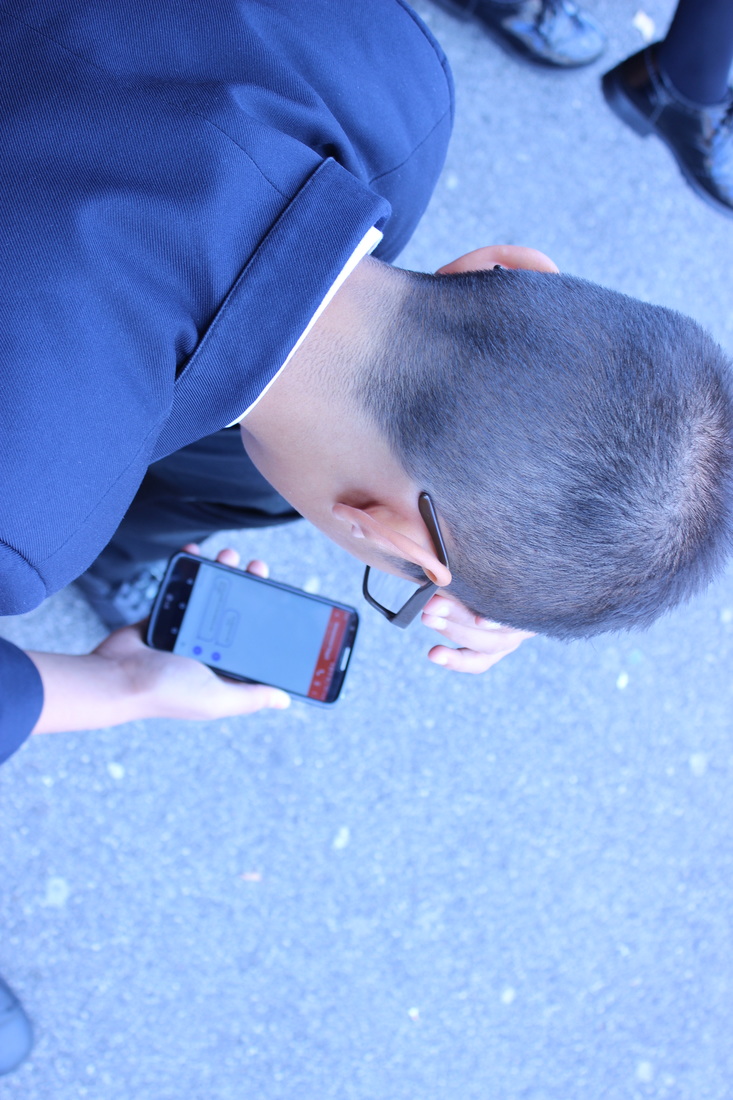
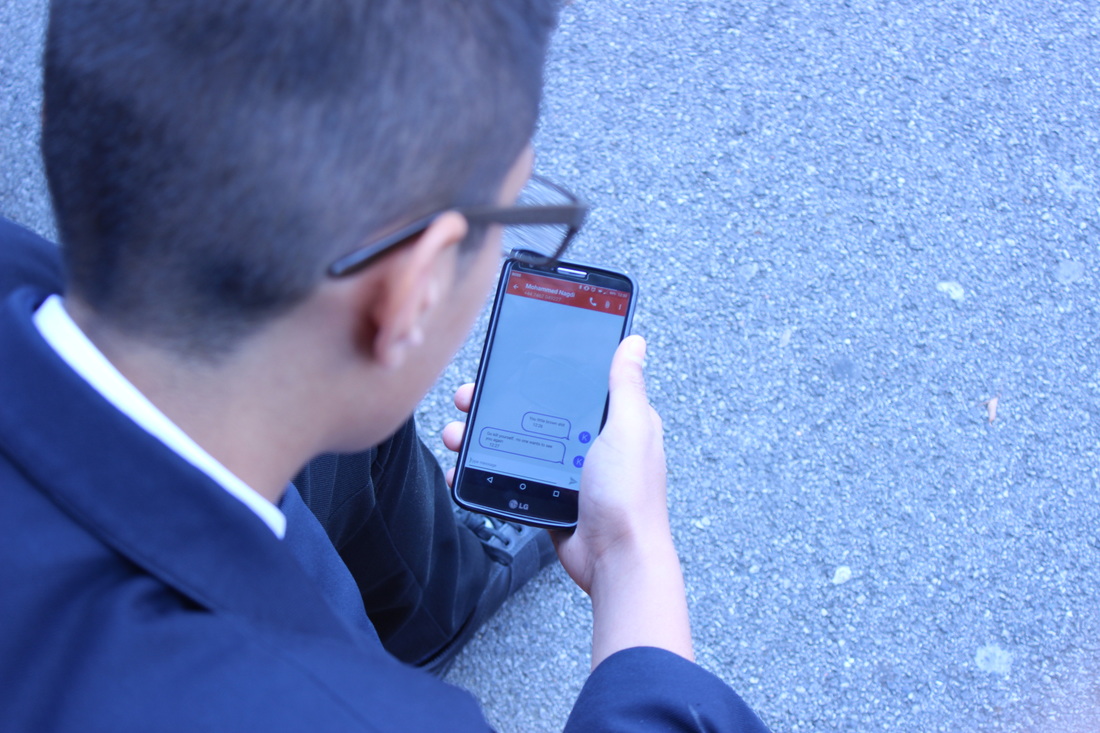
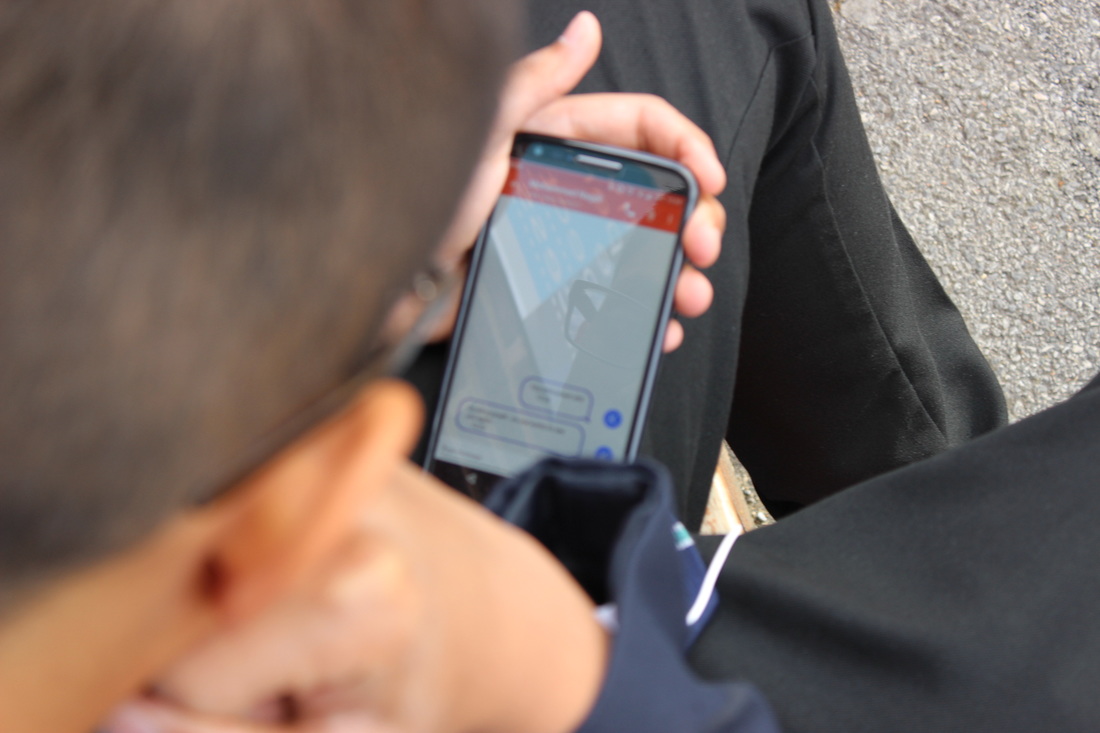
This is the worst photograph in this shoot. The camera angle was wrong so it is hard to read the text message, and also it is out of focus resulting in an overall blurry image. Also certain parts of the image are overexposed which is never a good thing. I should of adjusted my exposure slider, and focused properly.
|
Best Photo
|
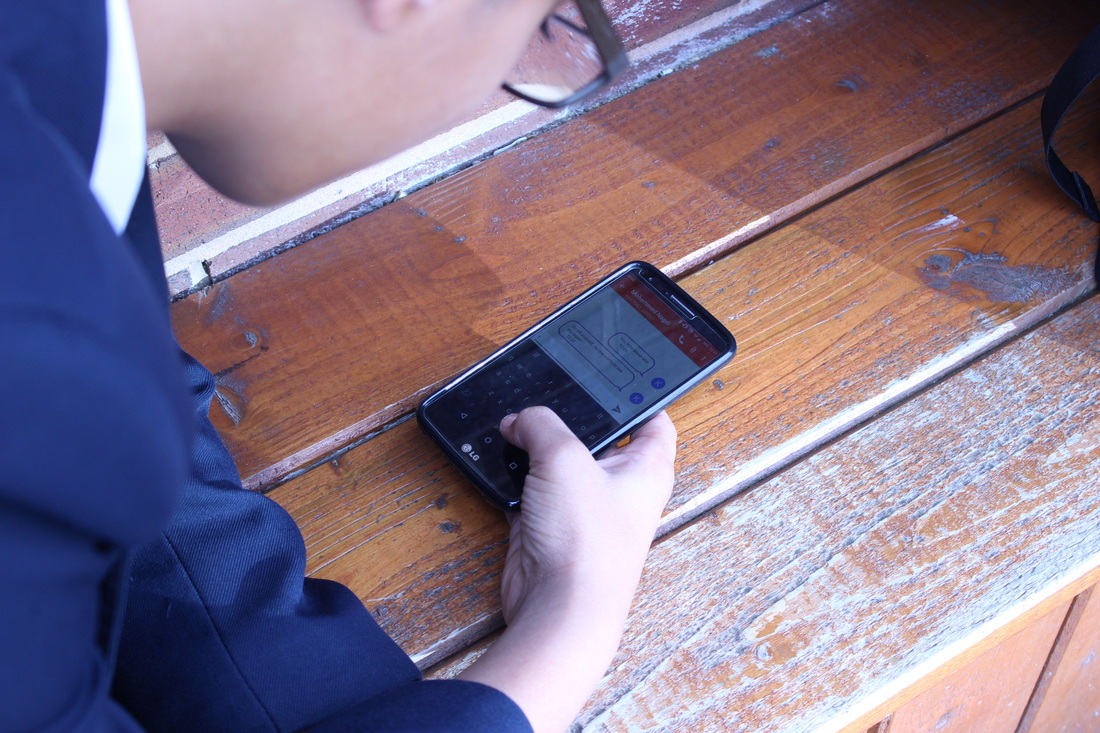
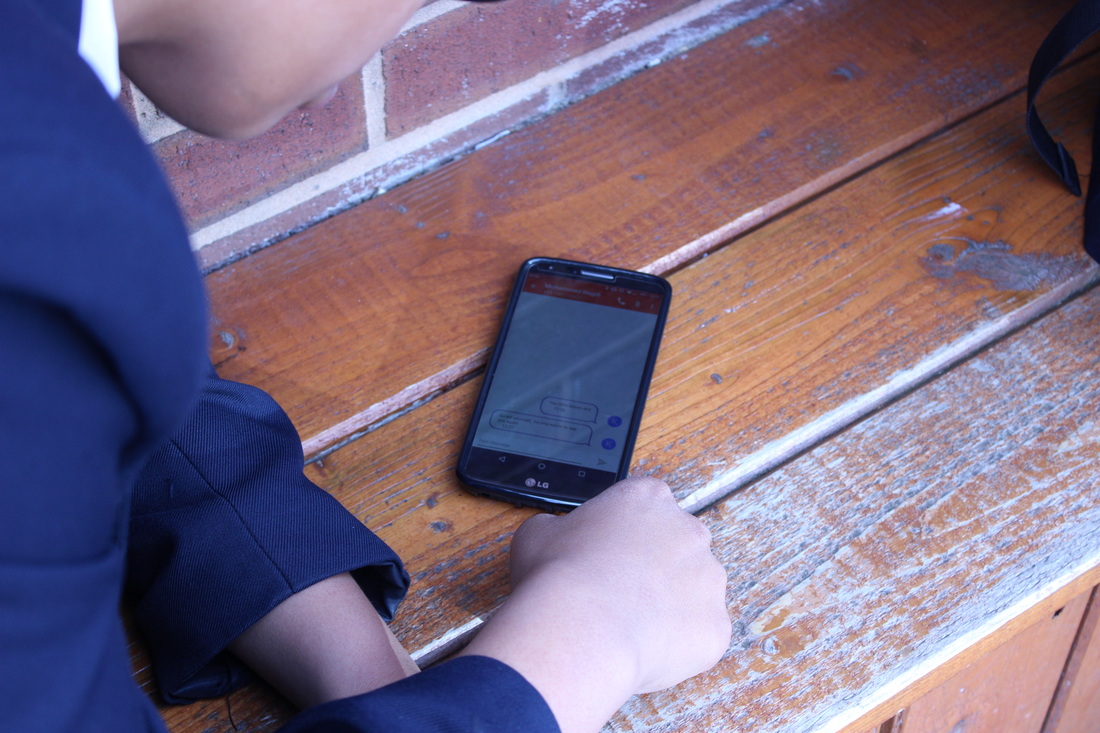
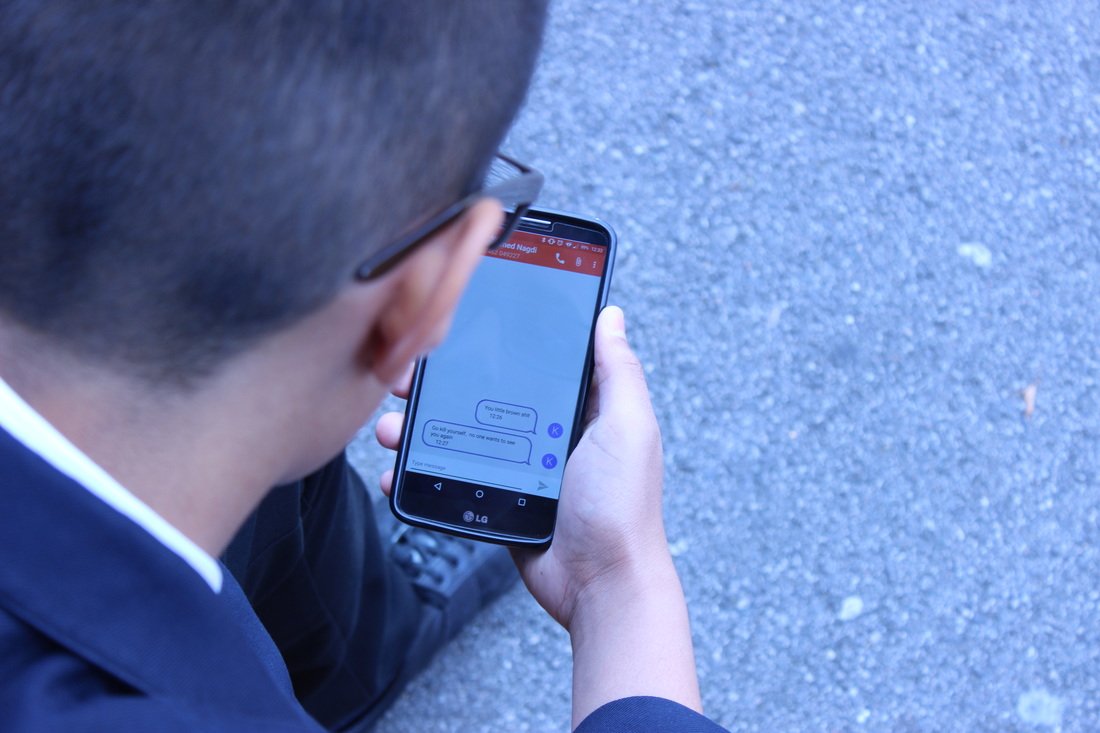
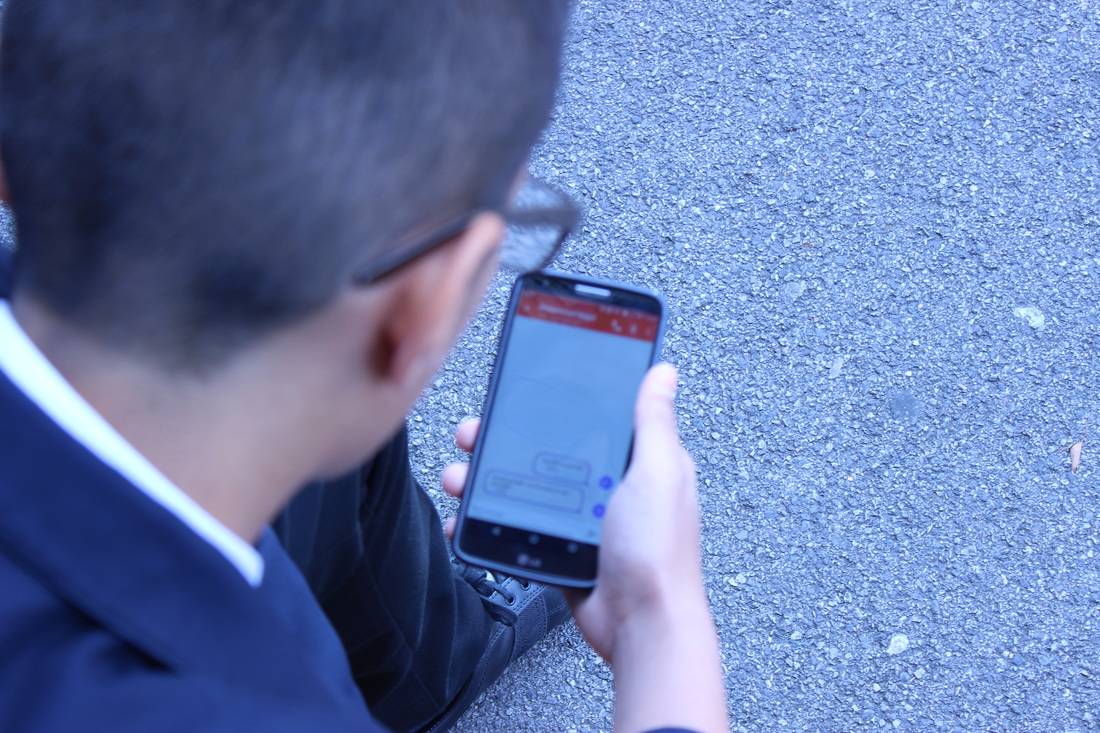
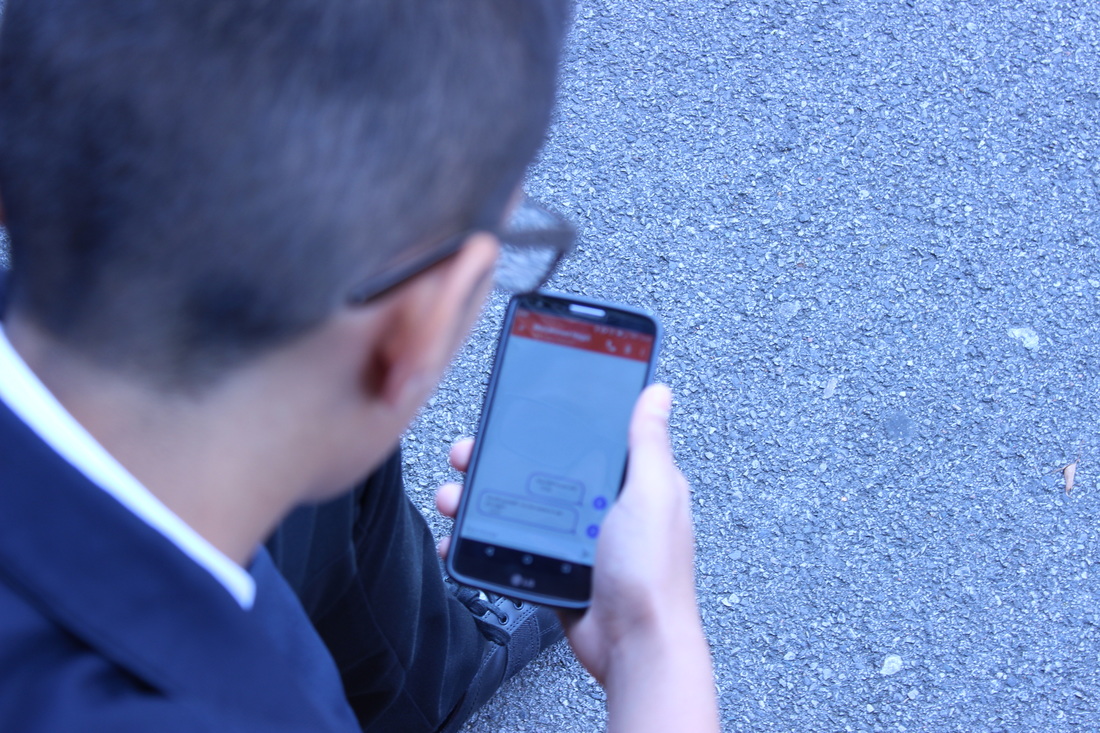
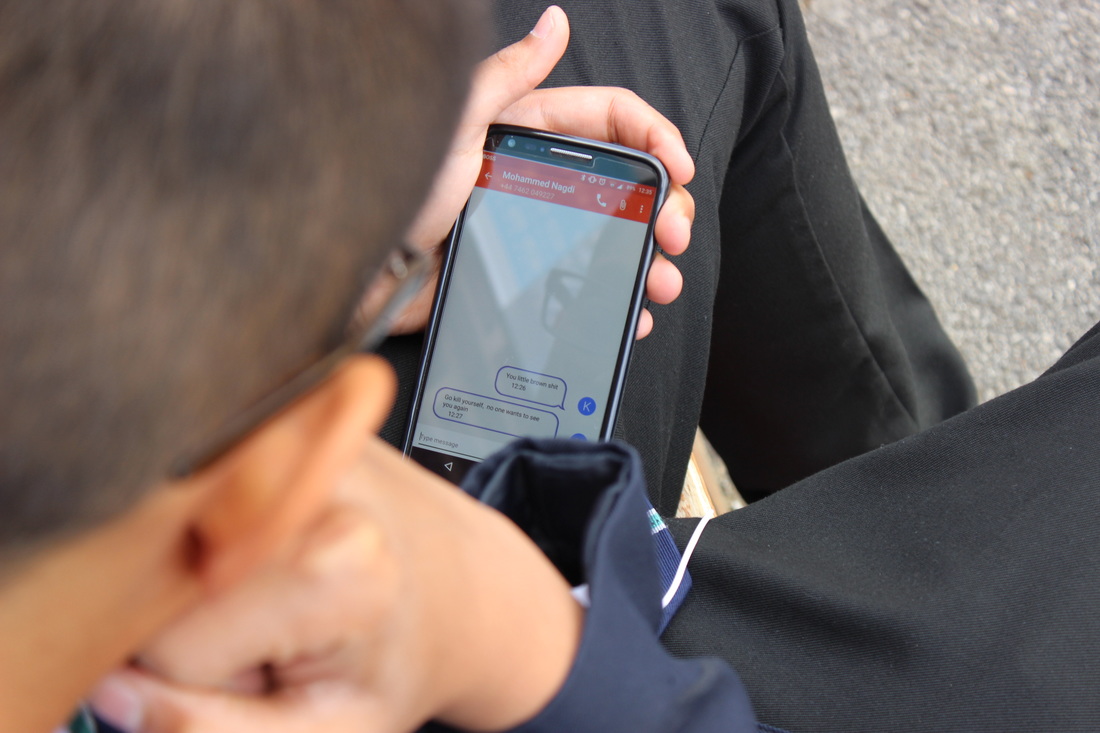
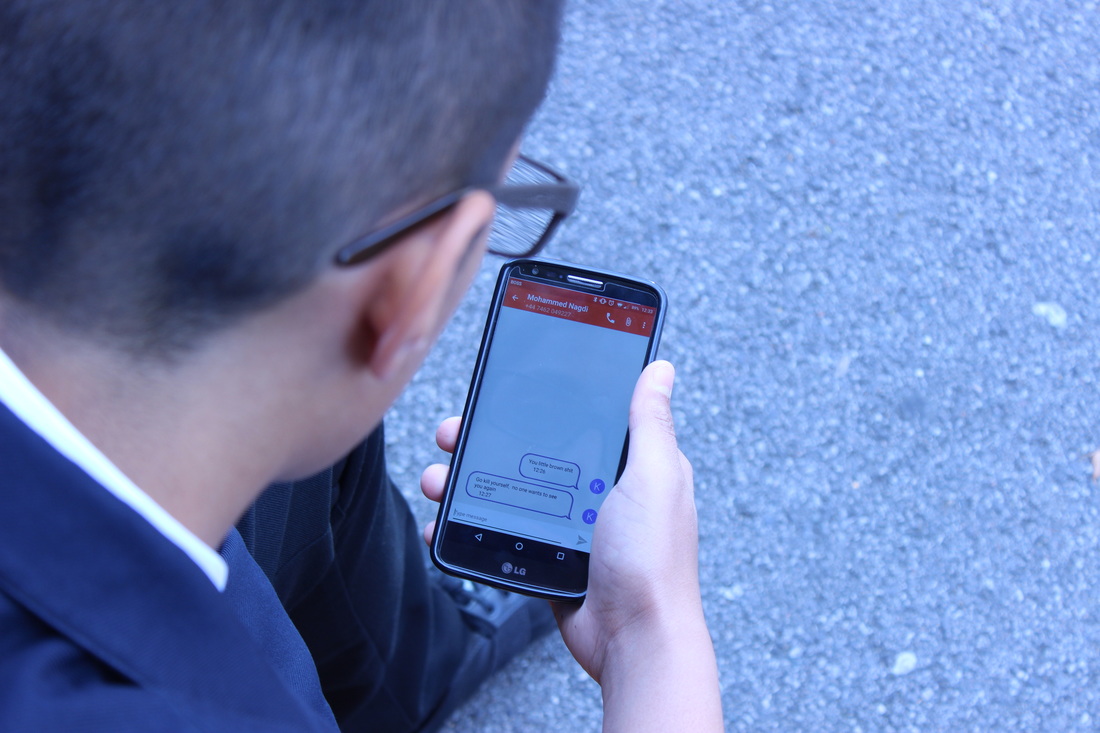
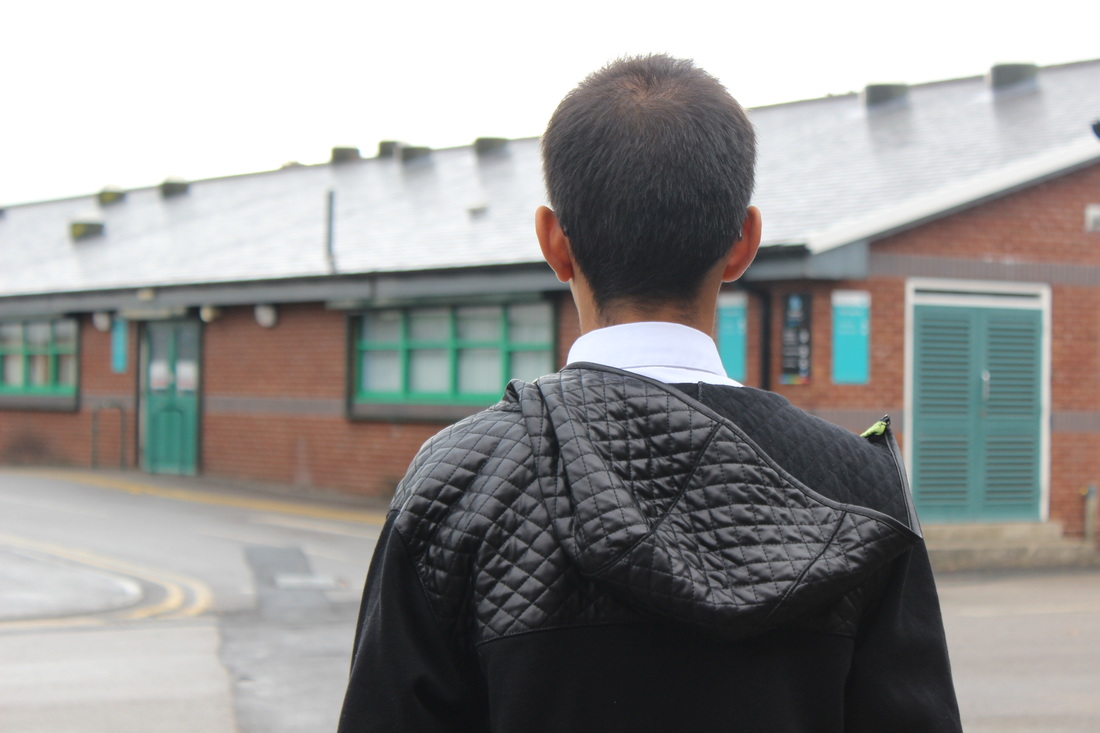
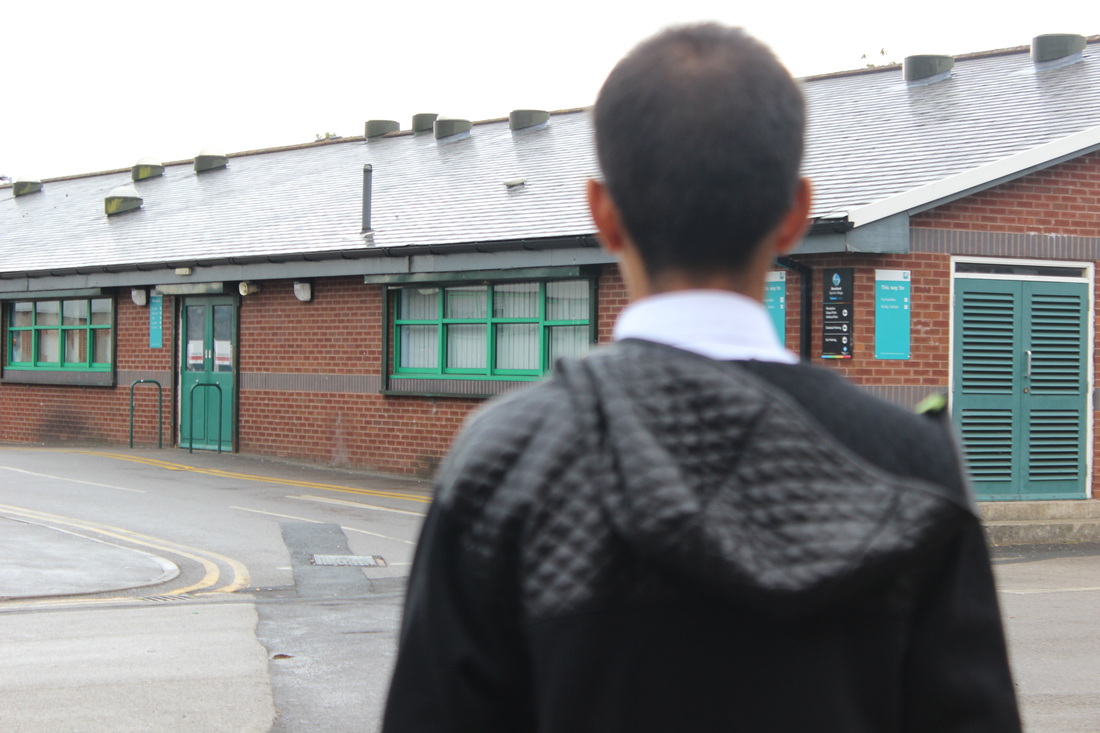
This is the best photograph I had taken in this shoot. My focus was on cyber-bullying hence the use of the phone, and the messages app. The white balance wasn't correct that is why the picture has a slight blue tint. This problem could be fixed in photoshop very easily. My camera settings: F/8 Aperture - 55mm Focal Length - ISO 200 - 1/400 Shutter Speed. As we were outside, there was plenty of light available hence the low ISO, and the fast shutter speed. The image was taken from behind the models head to show the perspective that he is reading it. I tried using the rule of thirds, but did not achieve the correct composition as the phone was not positioned on a power point so that it would focus the audiences attention straight away on whats important.
|
Second Photo Shoot


Worst Photo
|
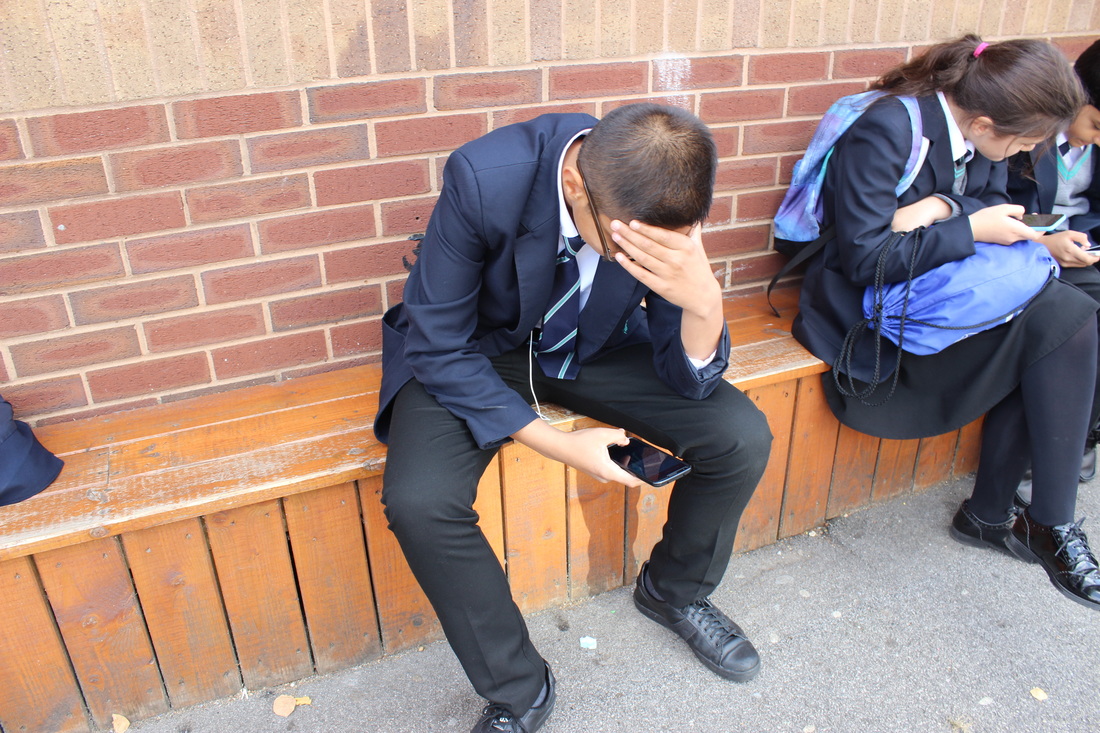
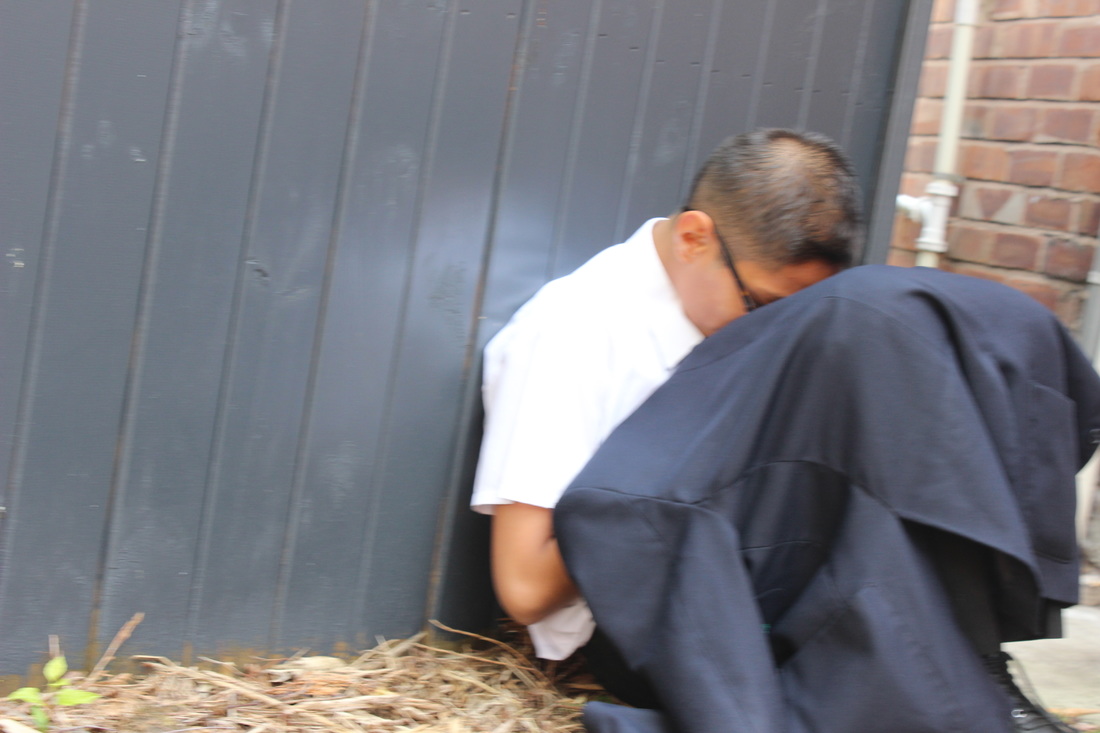
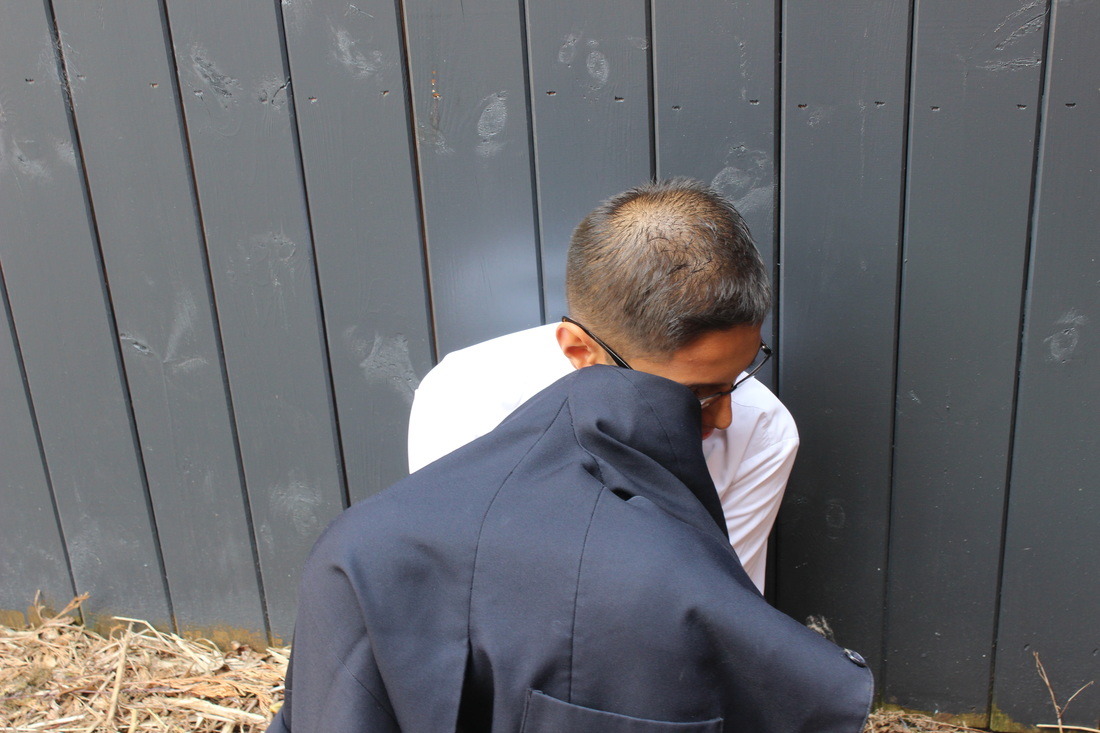
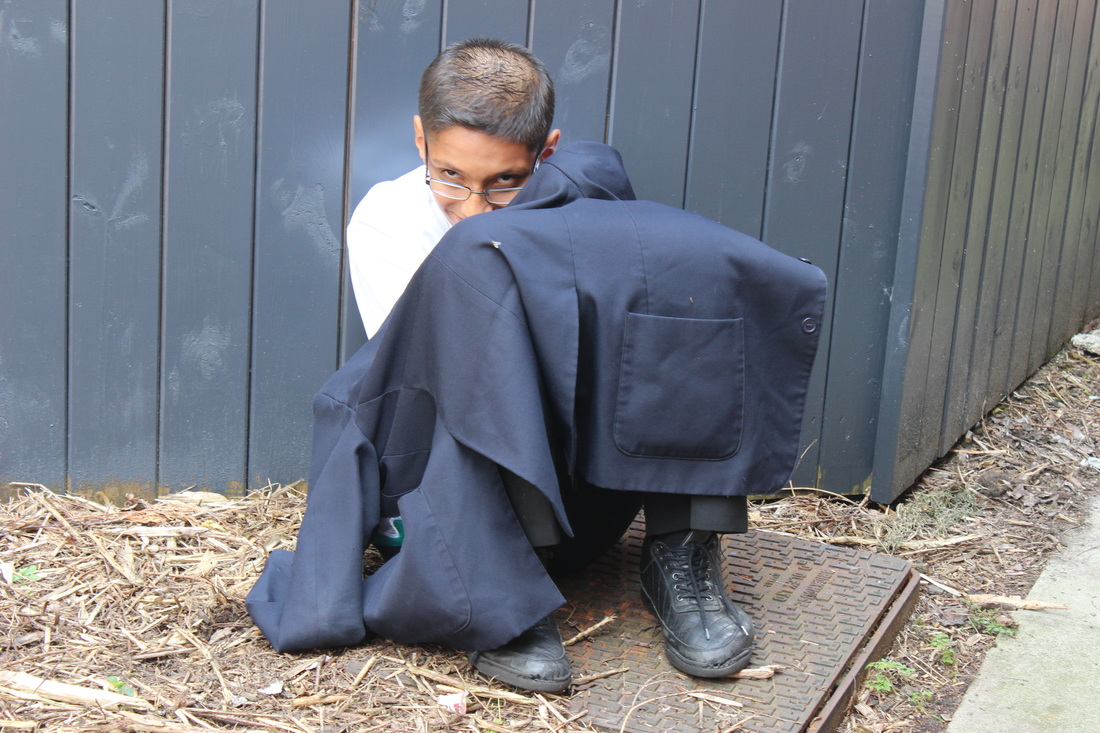
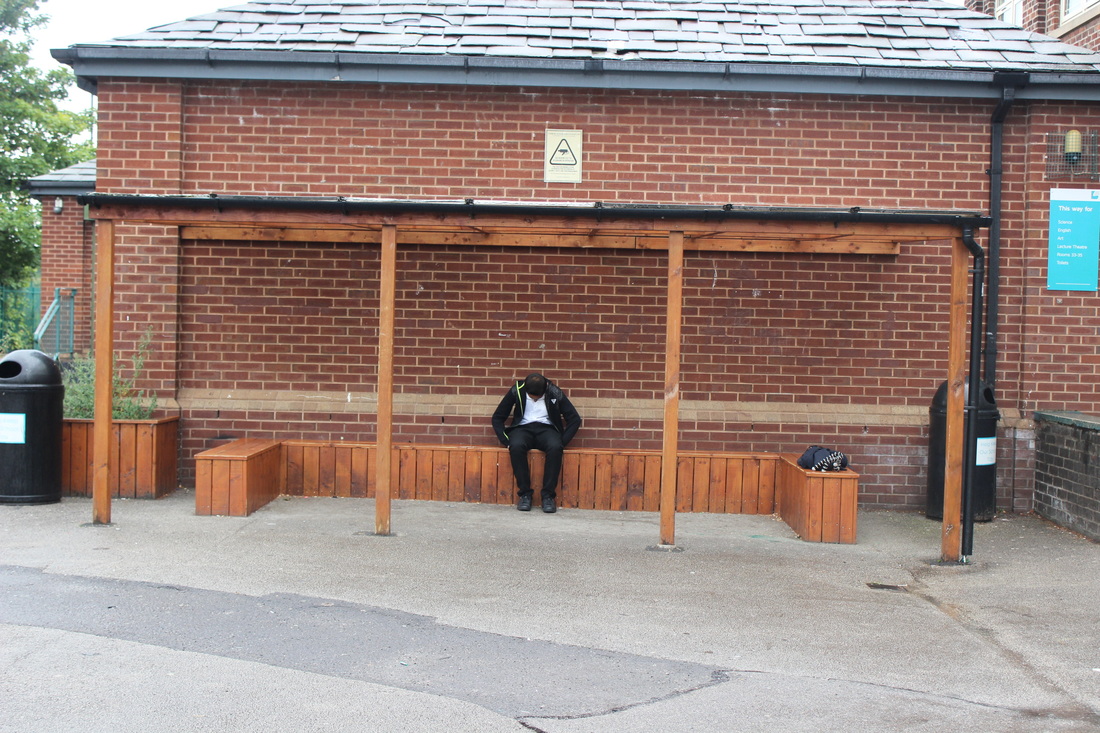
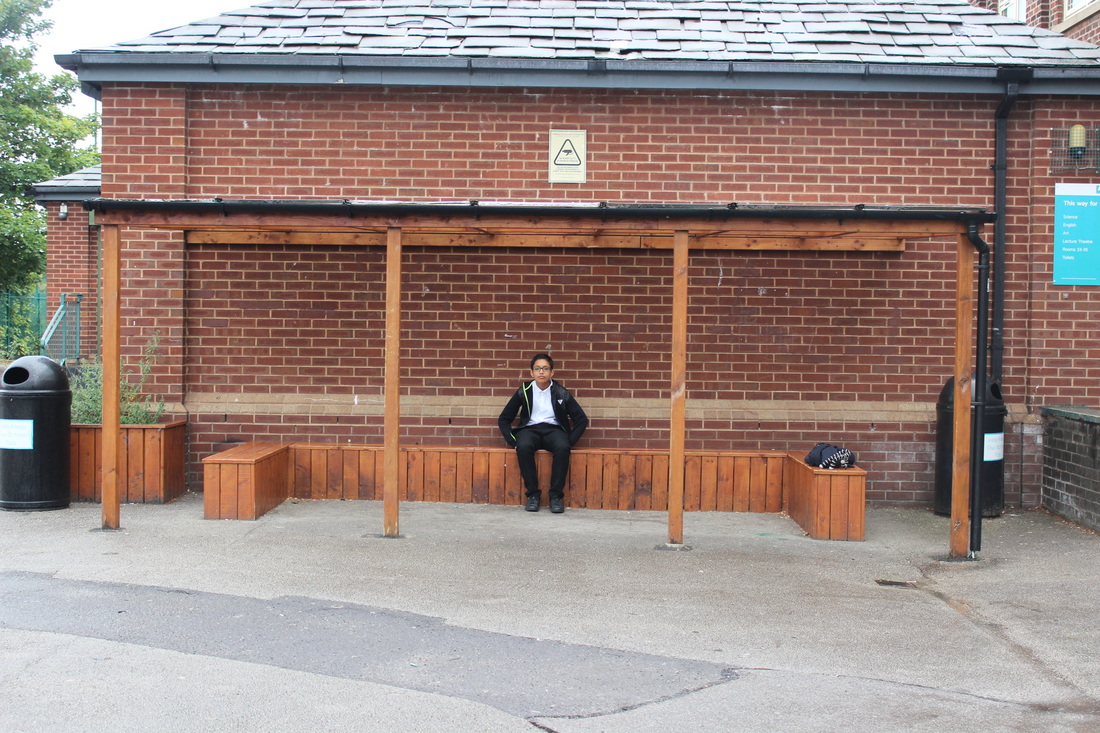
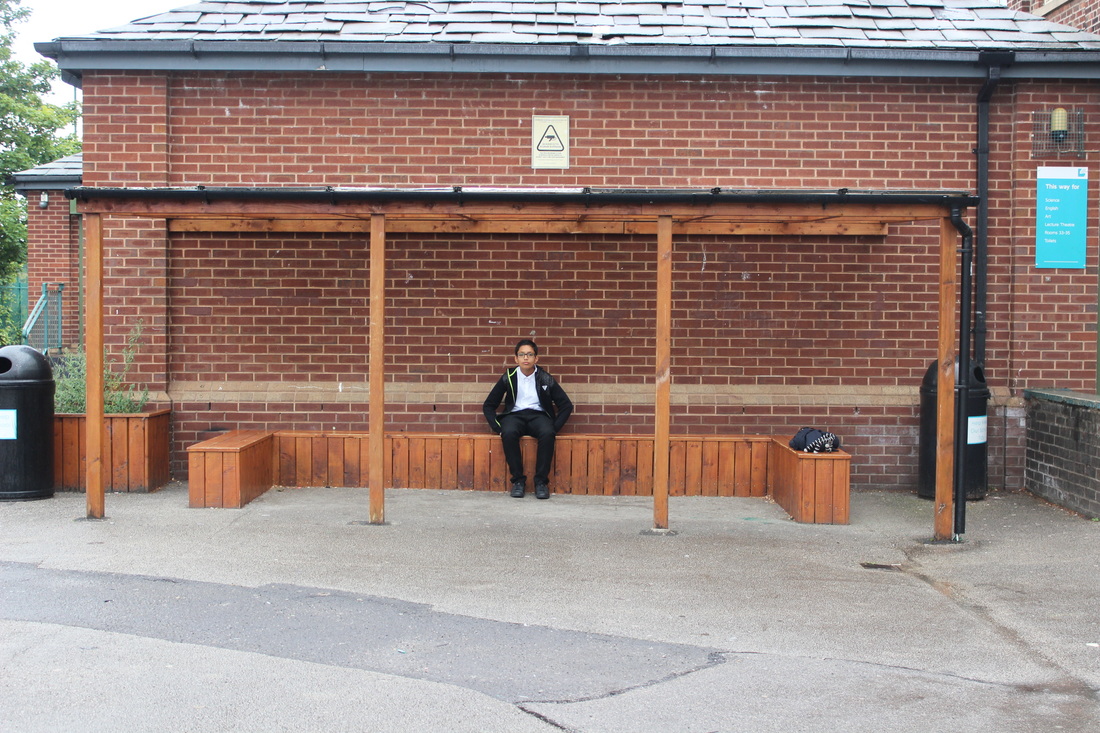
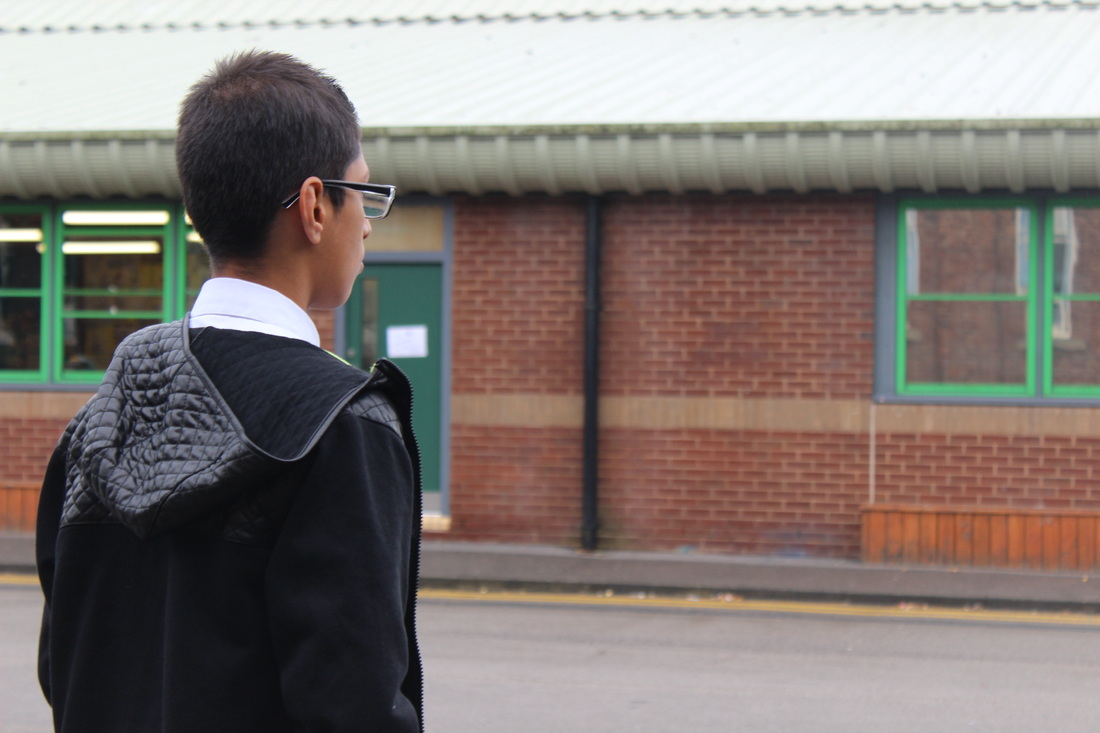
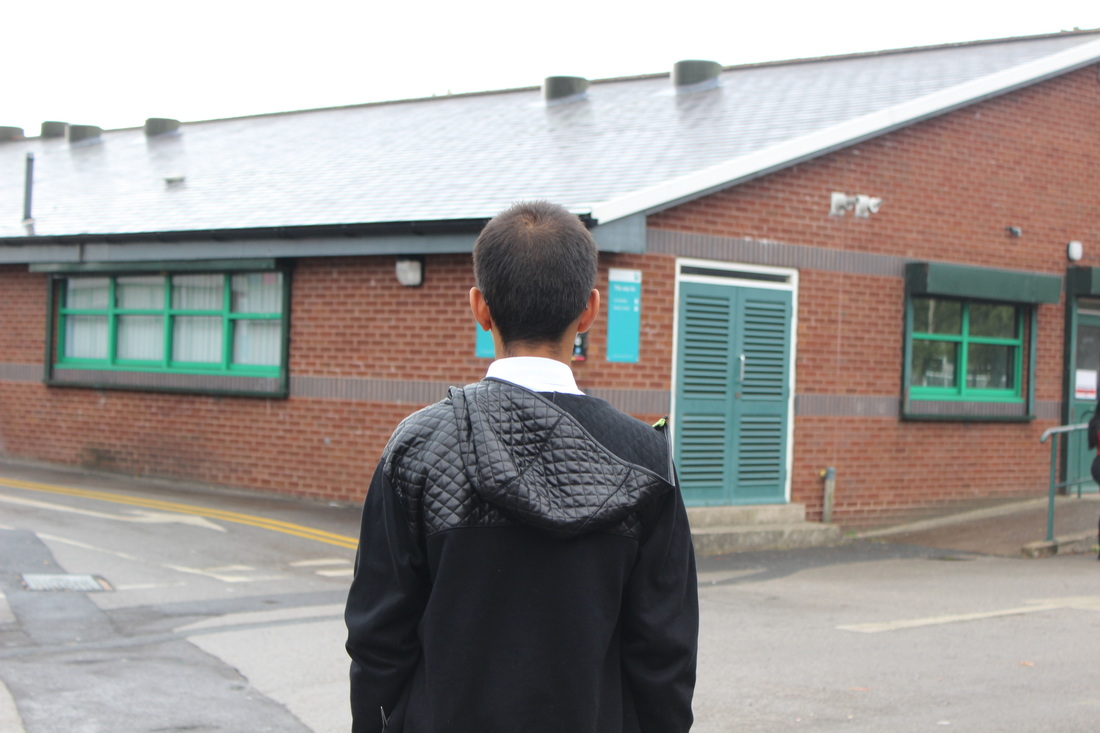
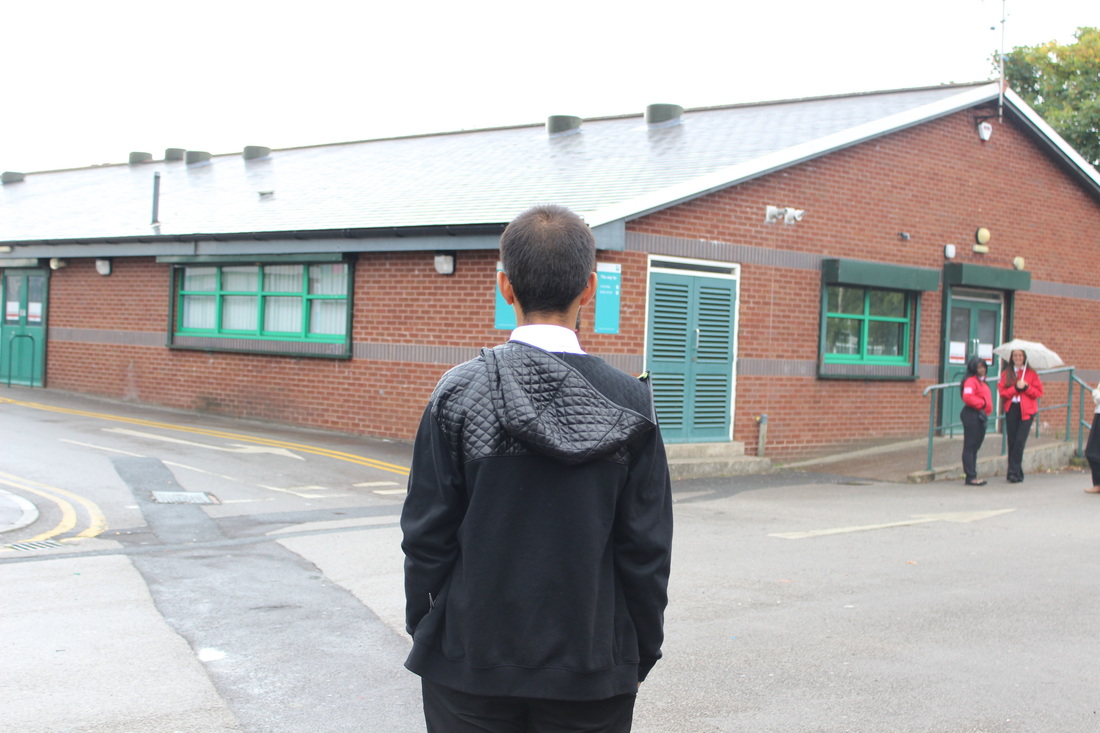
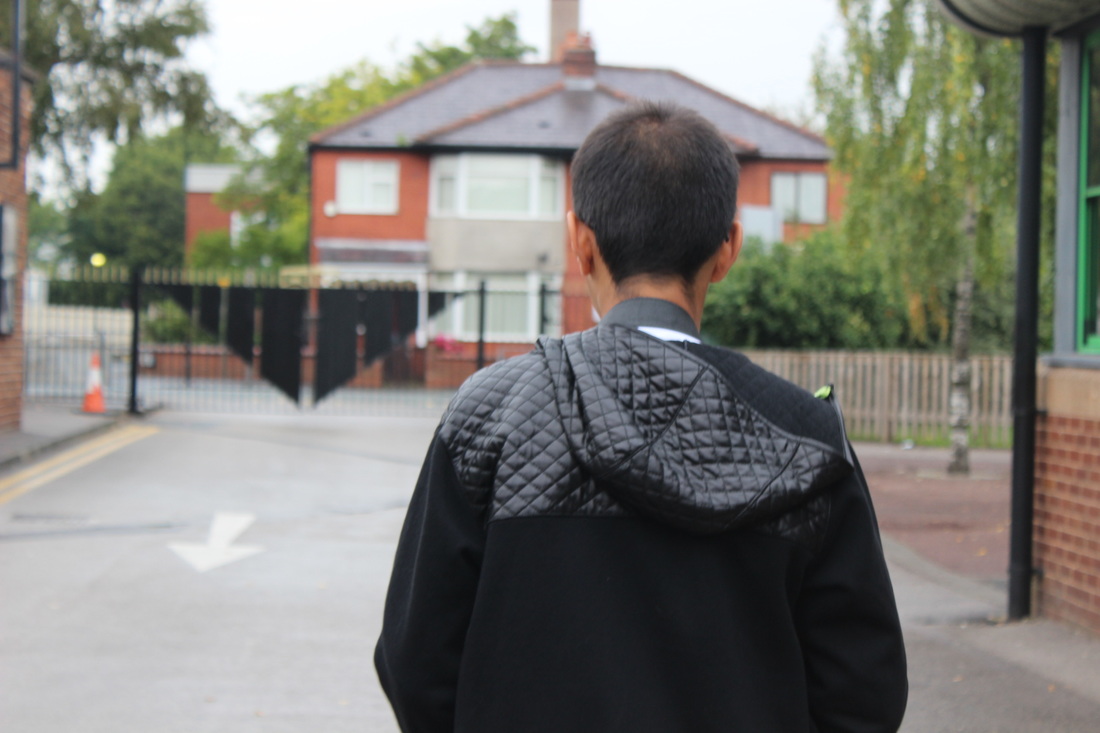
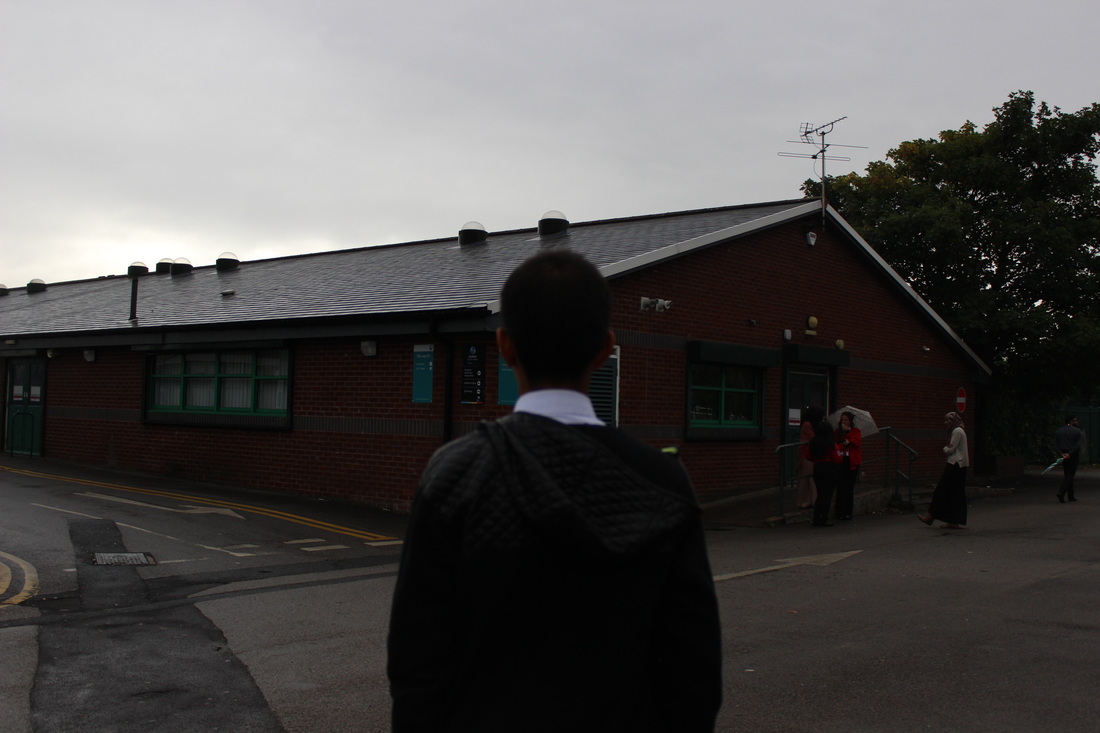
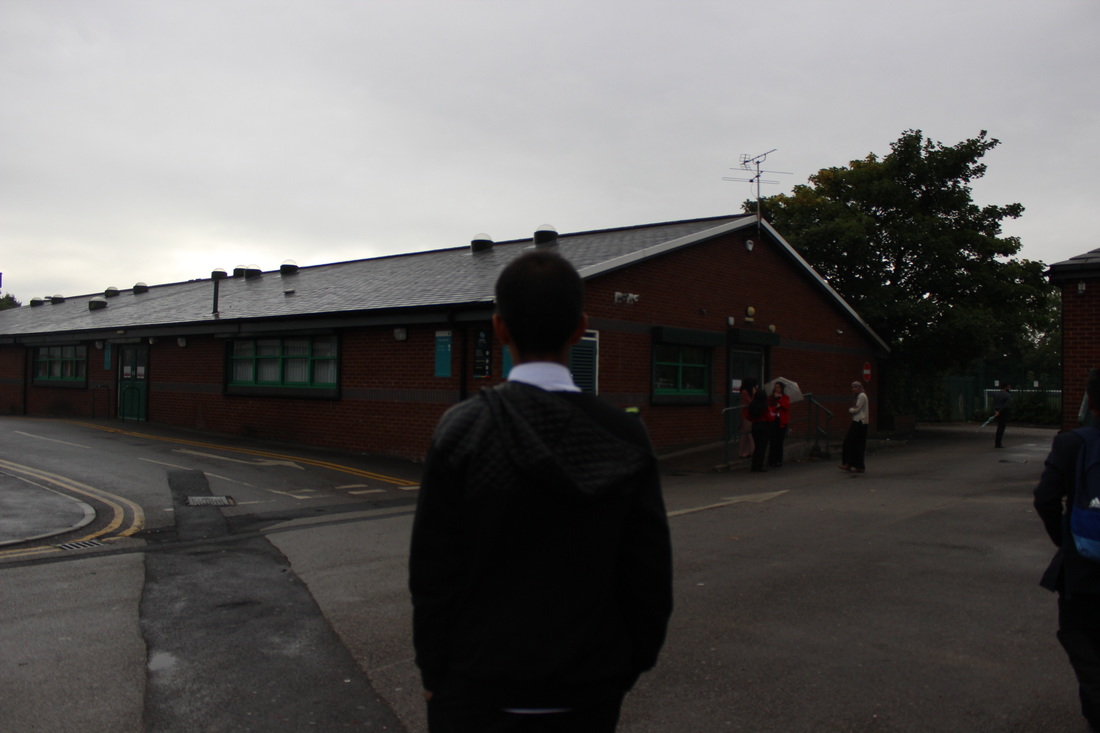
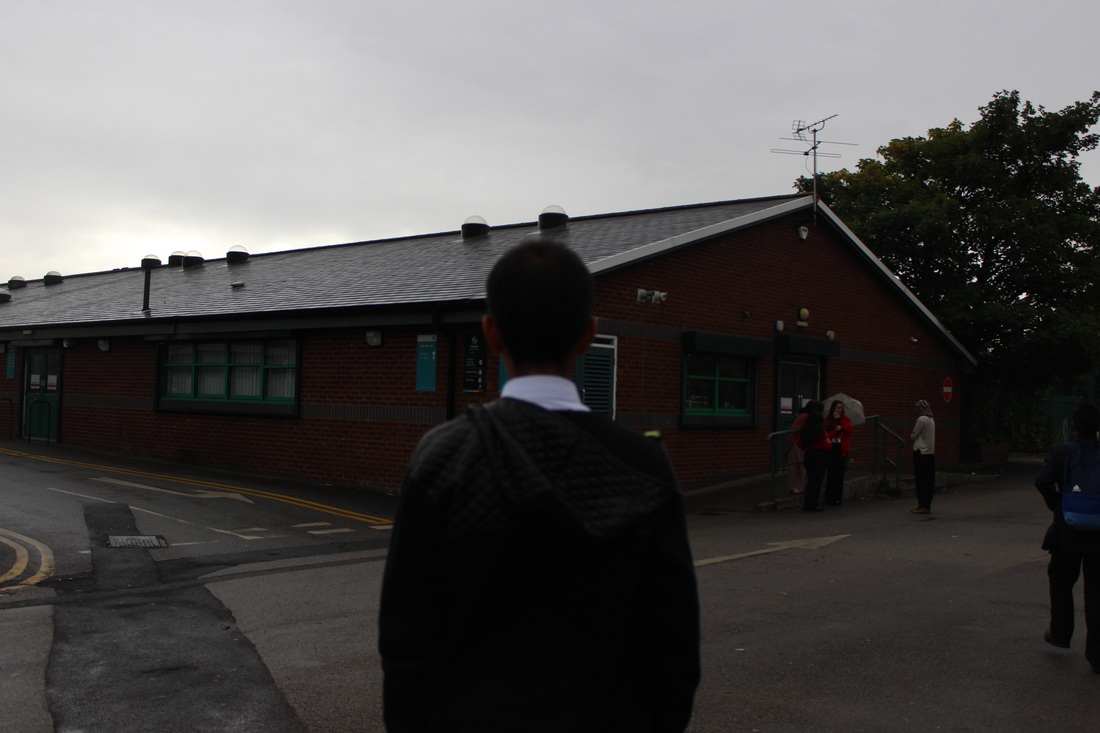
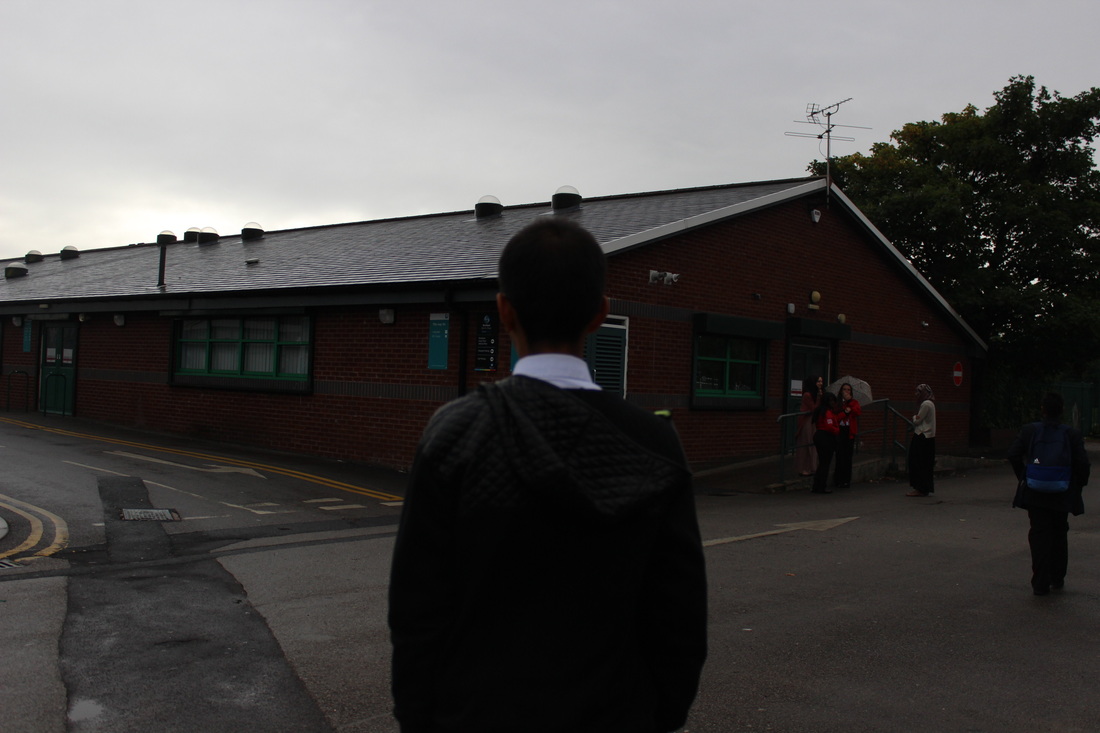
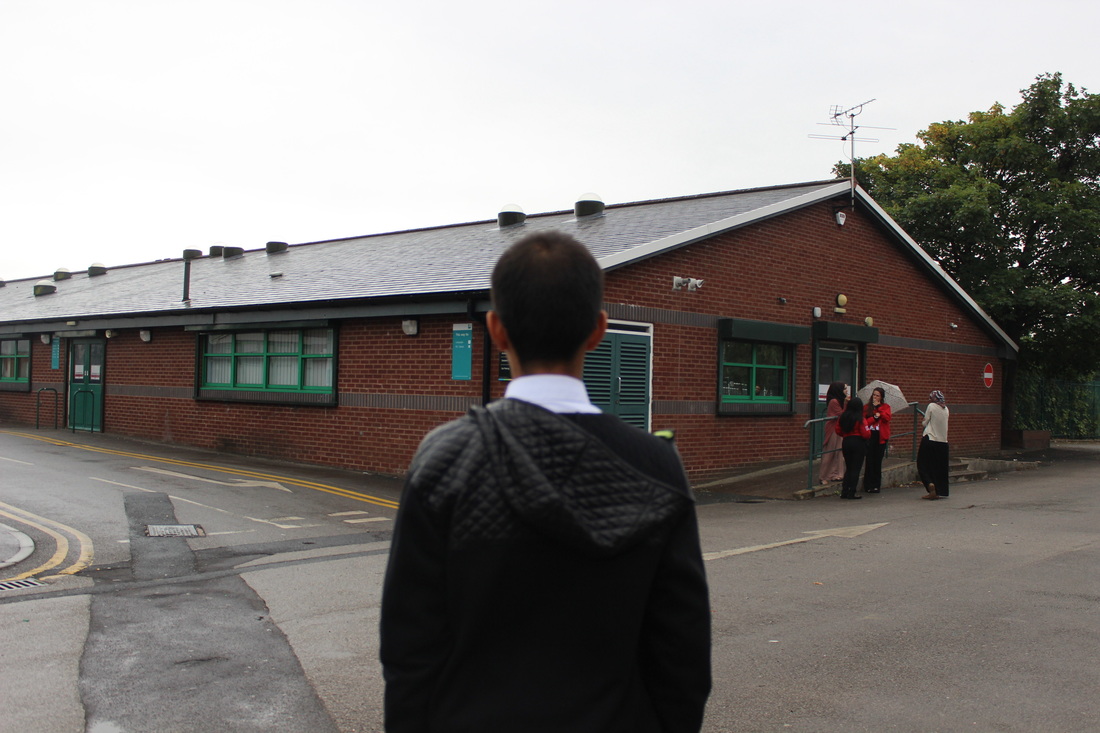
This is the worst photograph in this shoot. The camera angle was not straight, therefore the picture is disorientated. Some parts of the image are way over exposed such as the shirt, and the ground. The camera position was completely incorrect, I should of moved to where his head was, and taken a picture through the gap in the fence. In addition the photo does not depict as much feeling as I hoped for. To improve, I need to adjust my exposure, and shoot from a different angle.
|
Best Photo

|
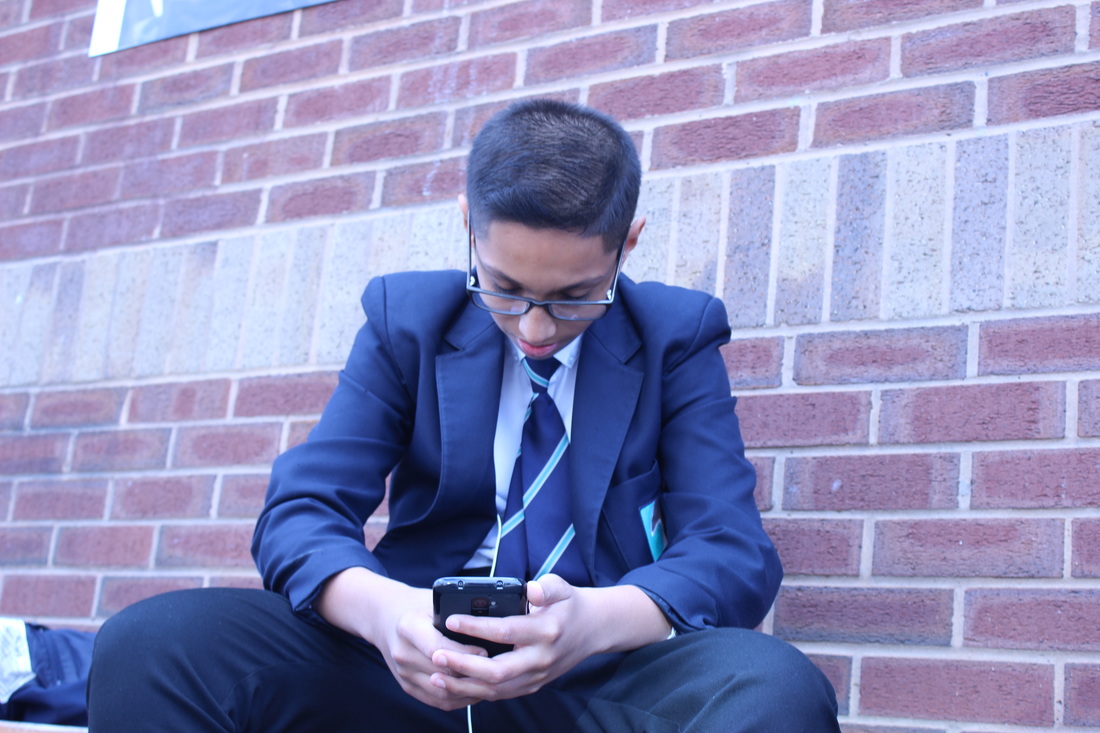
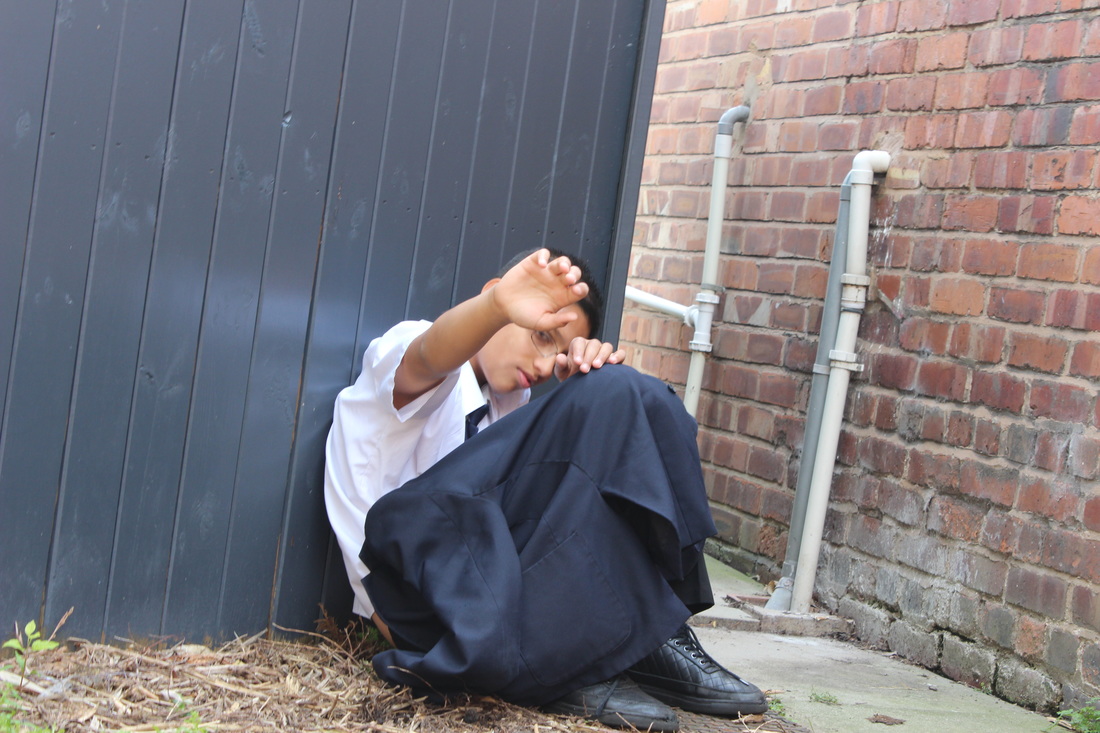
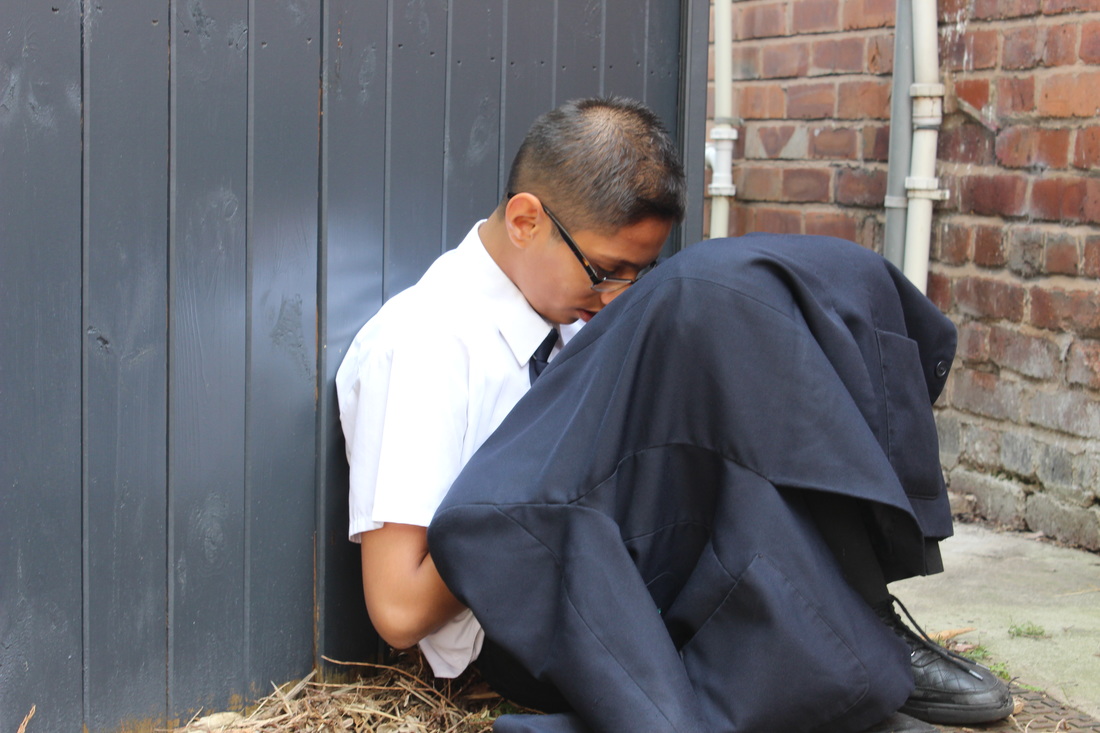
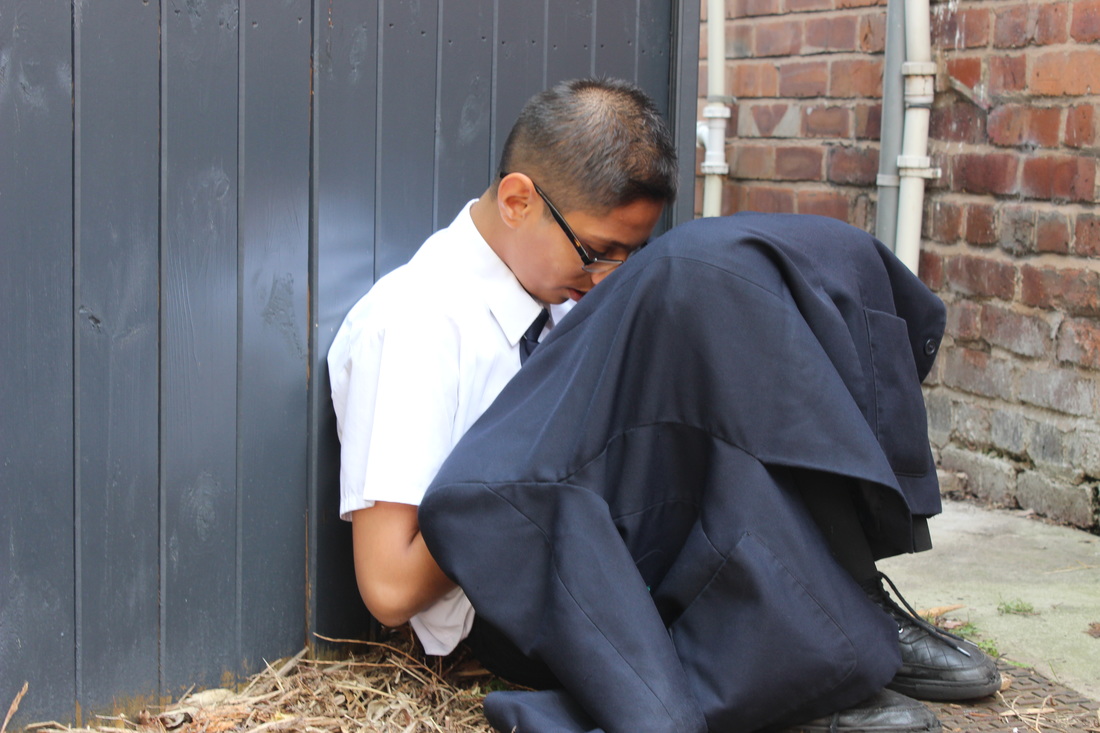
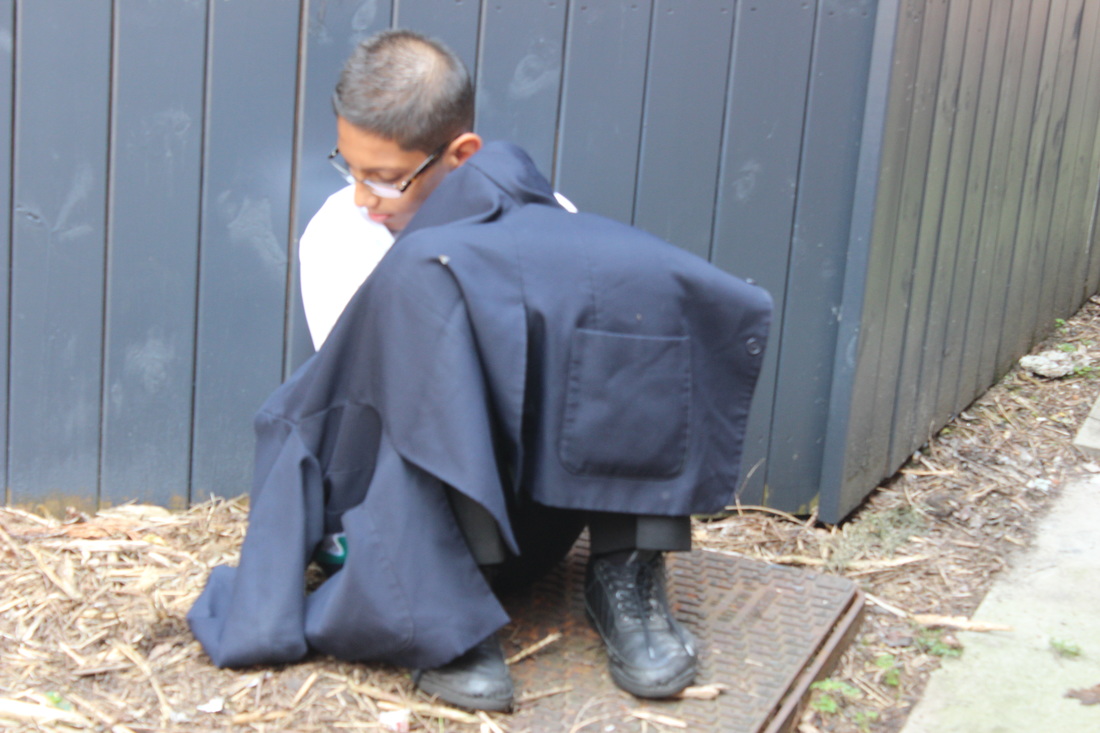
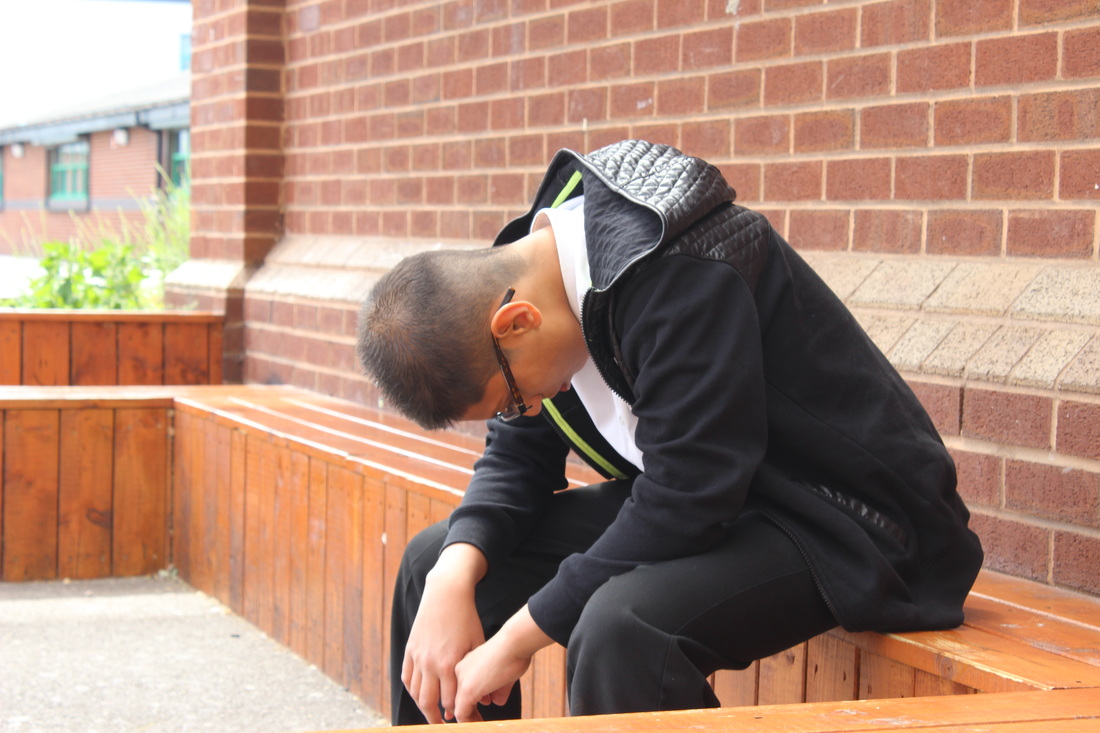
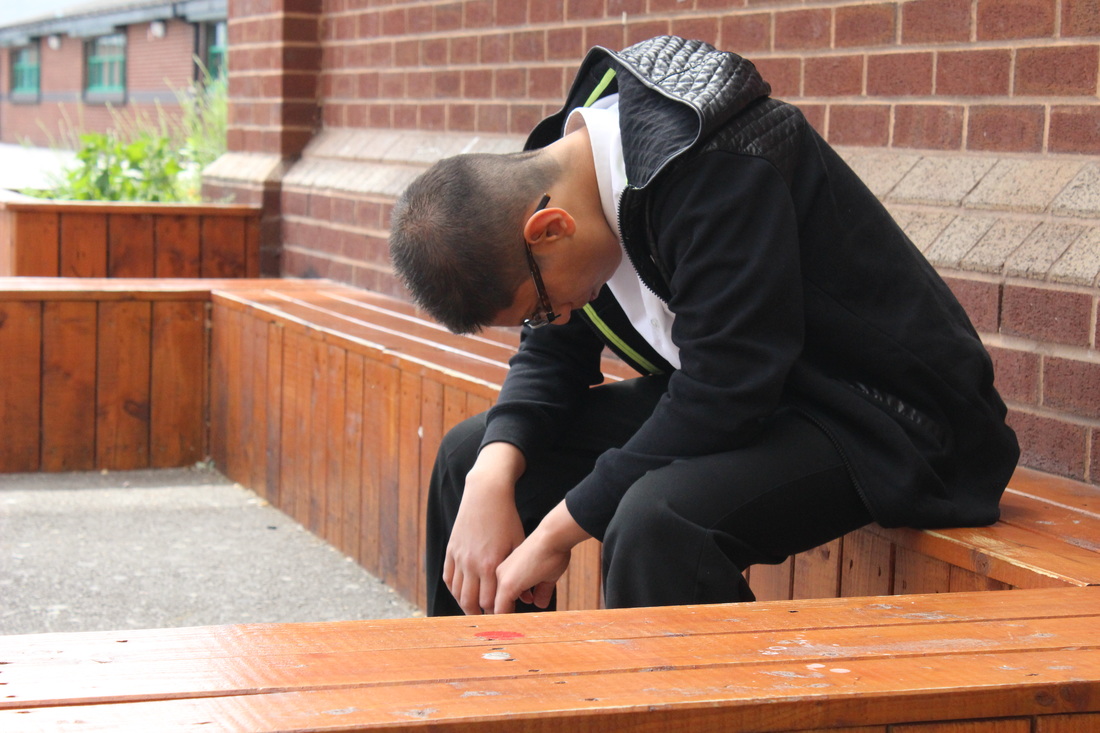
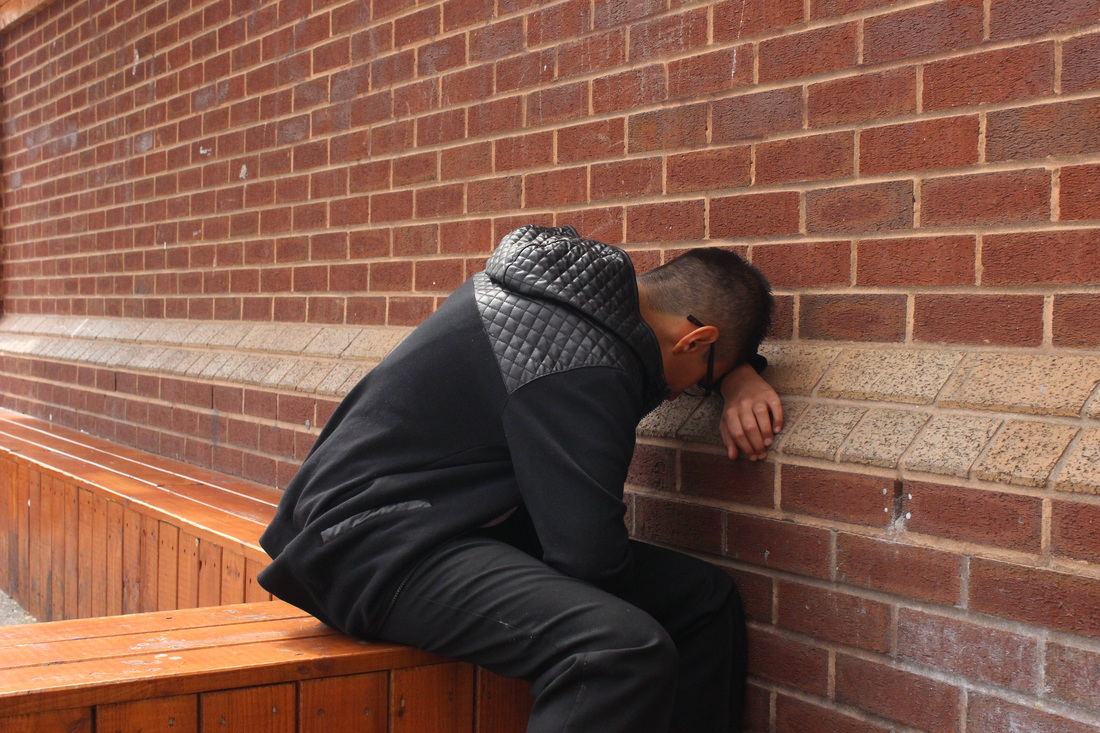
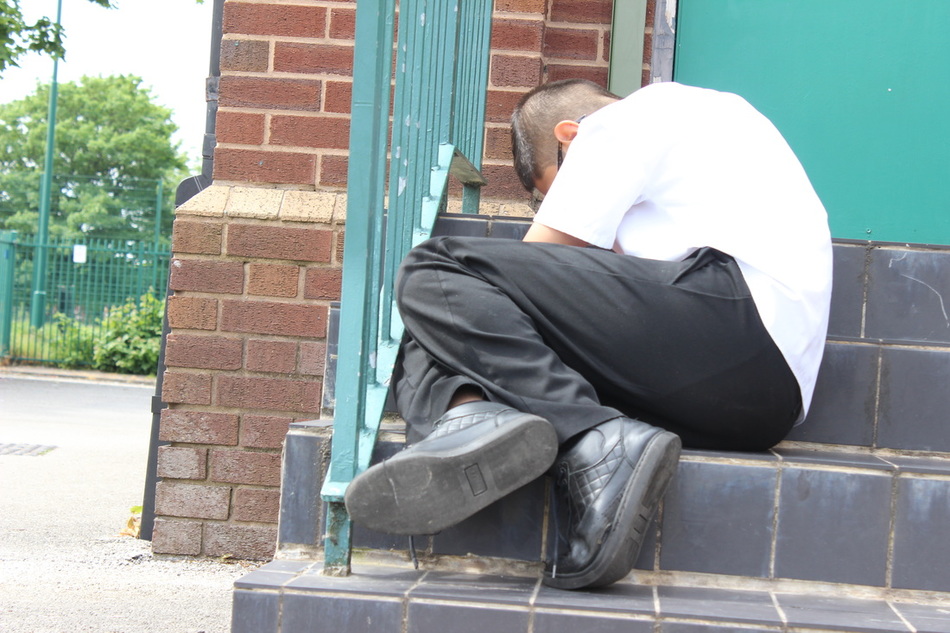
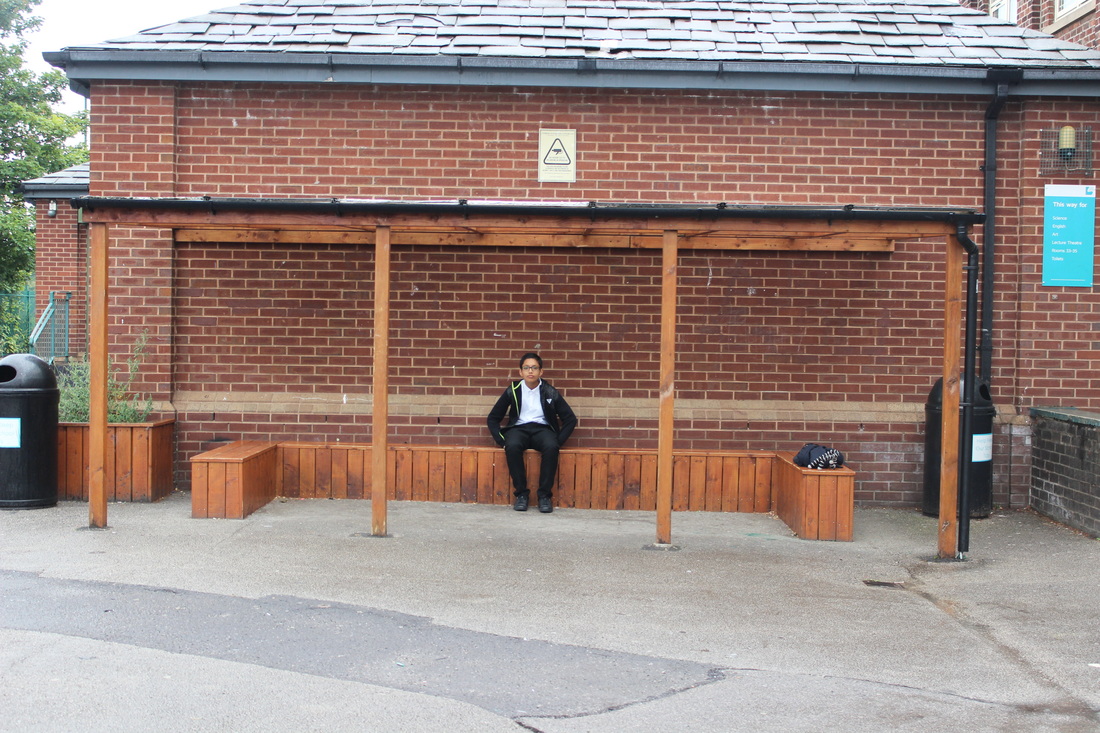
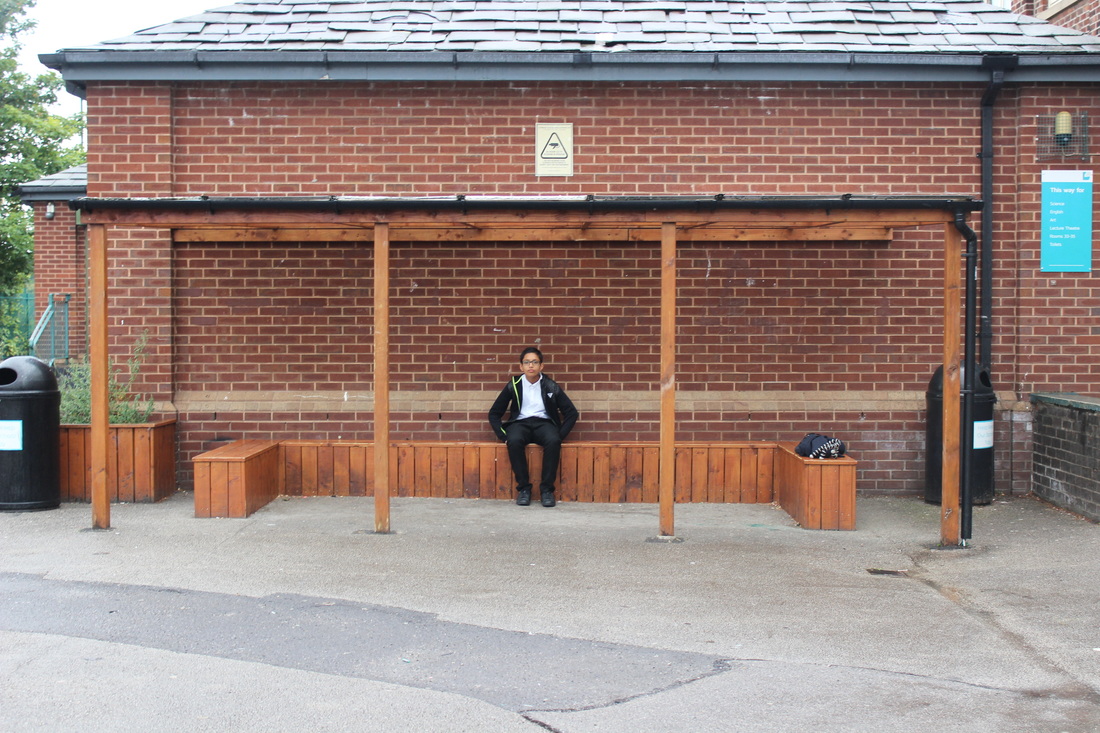
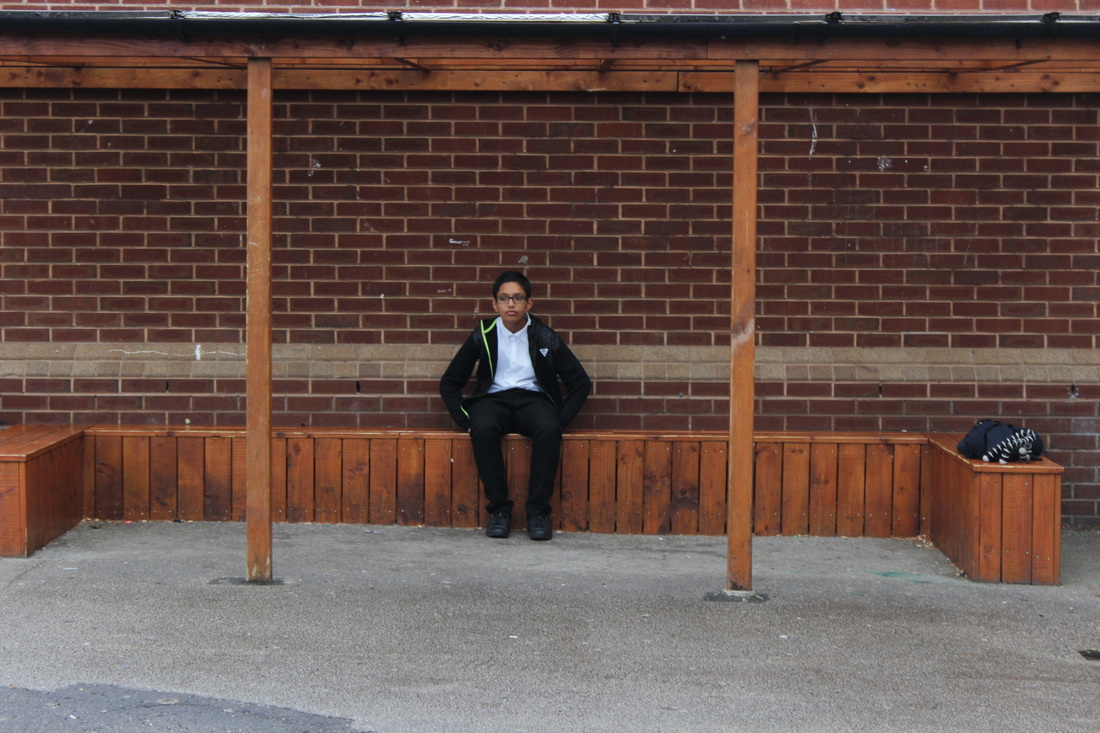
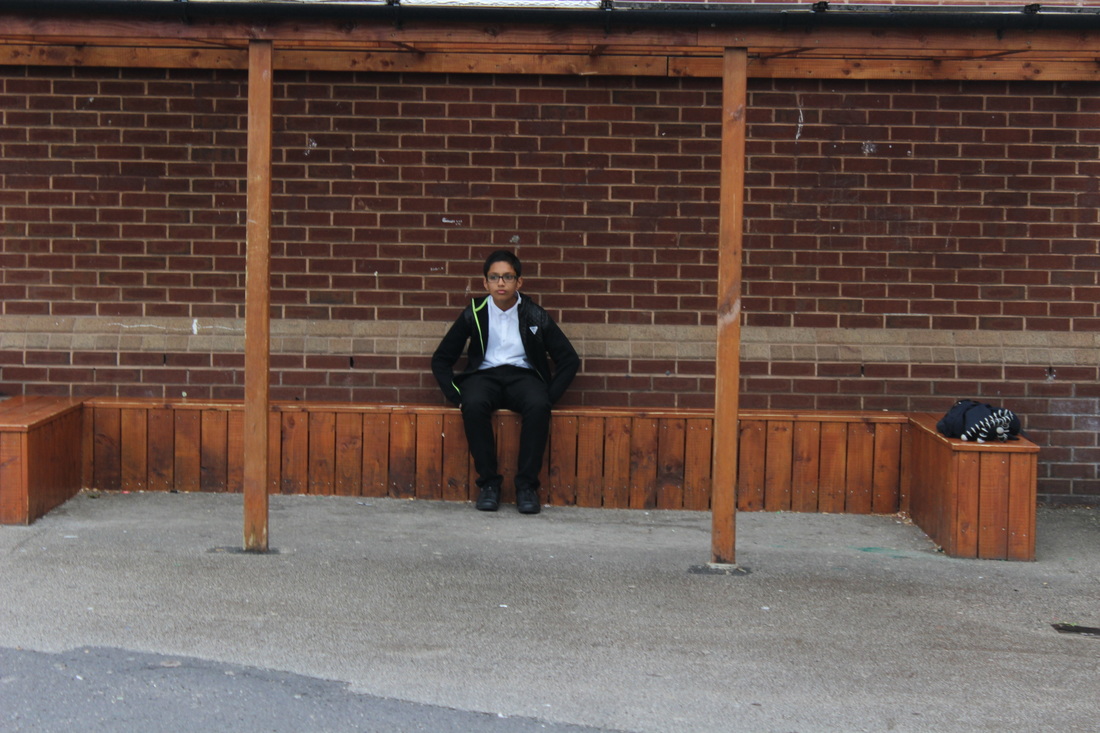
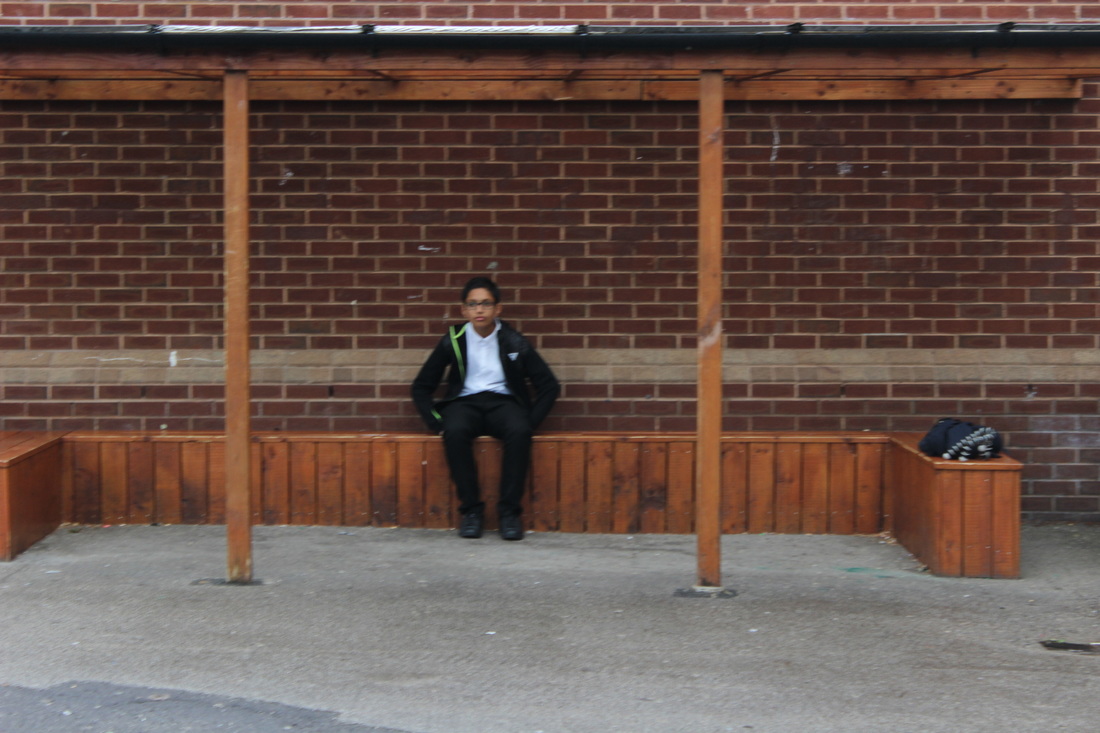
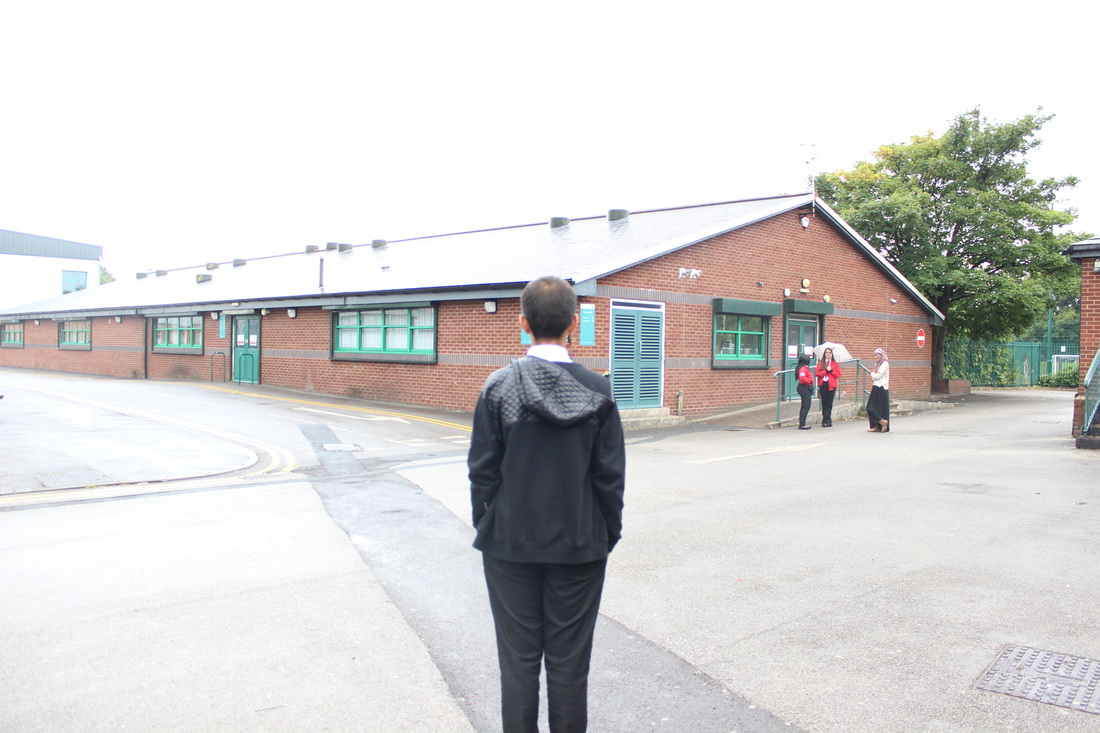
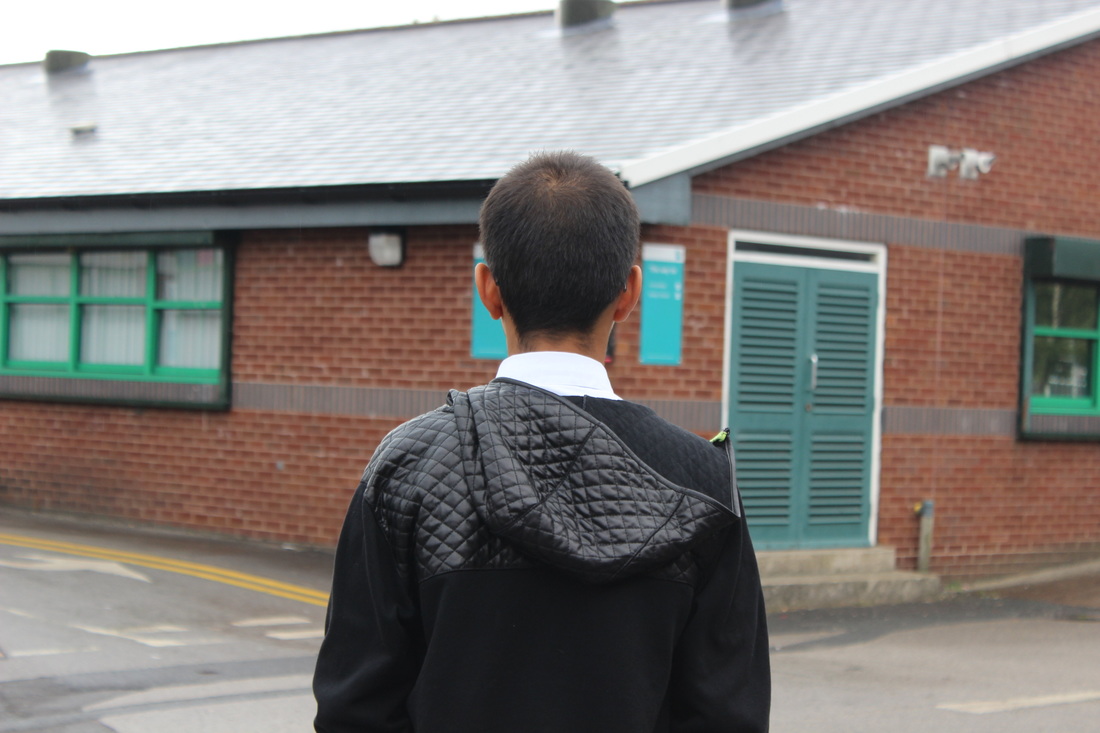
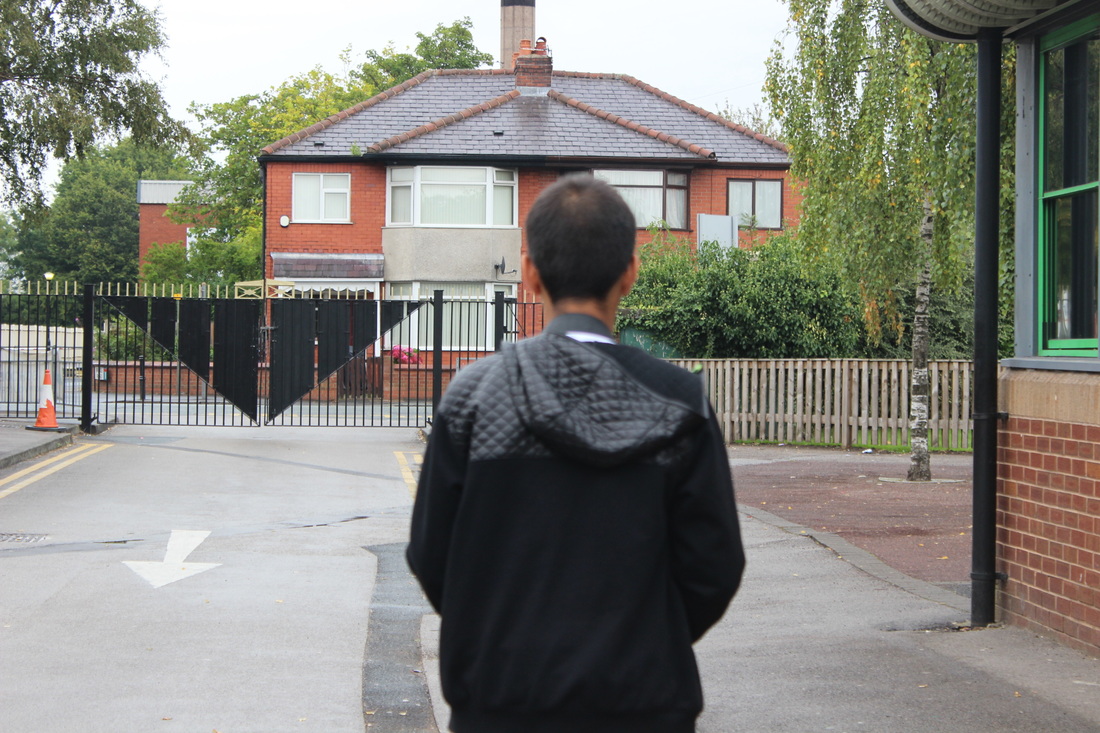
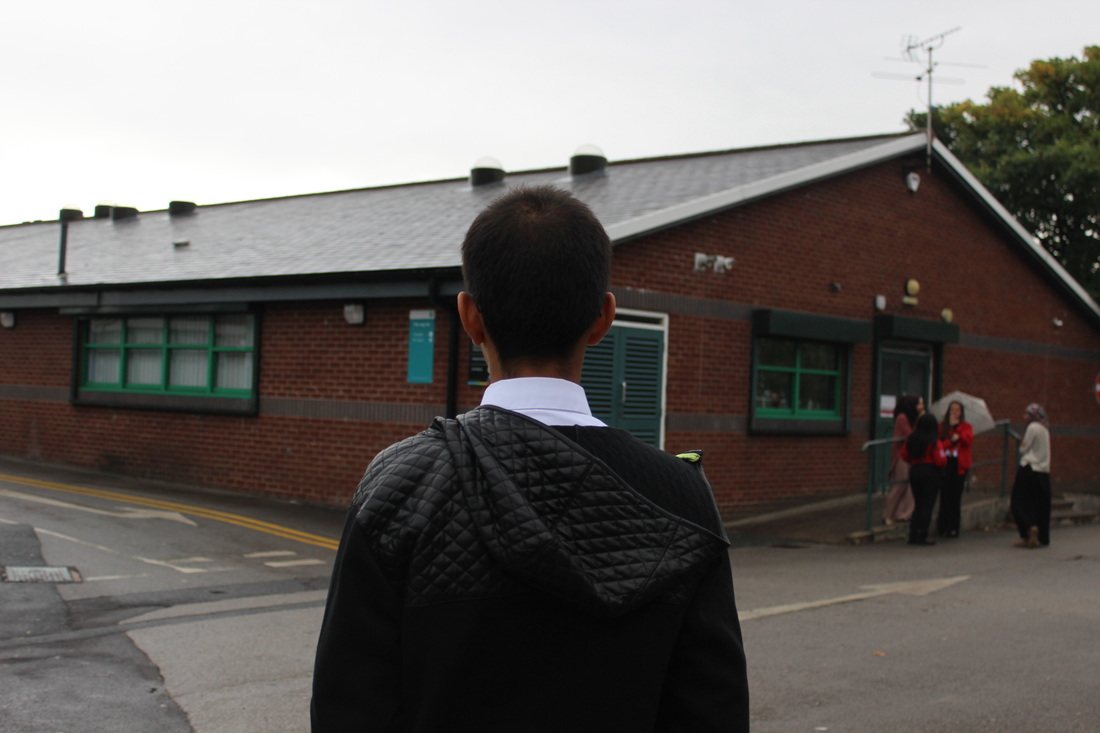
In my opinion this is the best photo I had taken in my first shoot. It shows a young boy upset, and looking down. The fact that he's also wearing a hoodie, shows that he does not want to be seen. The camera settings - F/8 Aperture, 1/400 Shutter Speed, and ISO 400. I used an F/8 Aperture as it give the sharpest image on the lens that I was using. Also since it was a bright day, there was plenty of light available, so I just adjusted my shutter speed, and ISO accordingly. The photo has a medium depth of field as there is some blue present. To improve this photo, I would make the model put the hood up. Also I would take 3 photos, 1 overexposed, 1 with perfect exposure, and 1 underexposed. Then in Photoshop, I will create a HDR image so parts of the image aren't too bright or dark.
|
- Editing Process -

NOTE - When I was editing, I decided to use this picture as I guide on how I wanted to make my photo. I copied the text, but used a different font to make it unique.
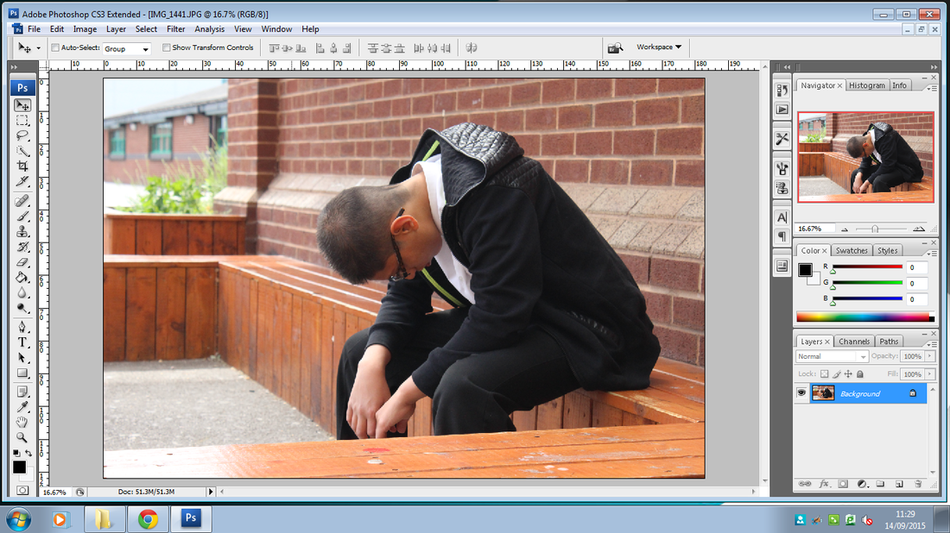
1 - I imported my RAW photo in Photoshop.
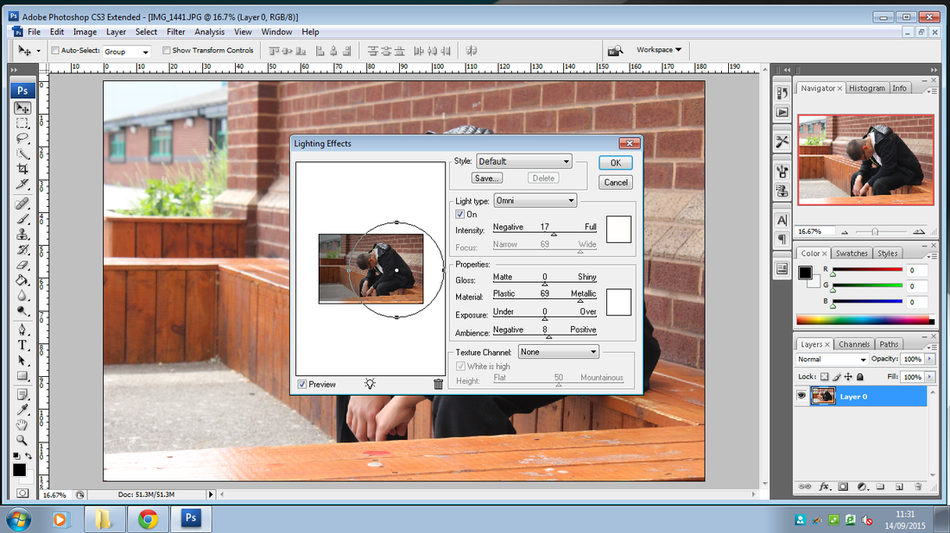
2 - I used a lighting effect in Photoshop that adjusts the exposure in a photo. I did this to fade out the background which helps to focus attention on the model.
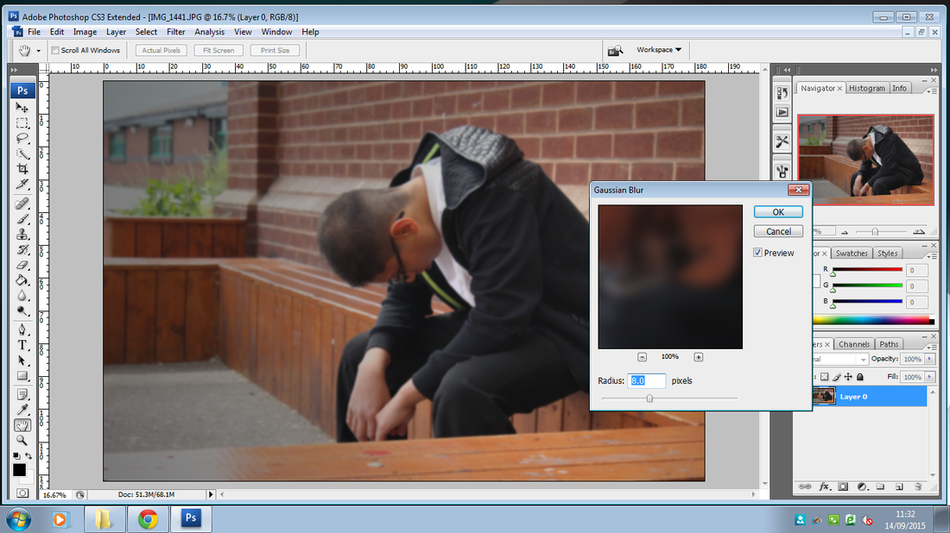
3 - Added the Gaussian Blur effect to blur the background.

4 - I noticed the bench was over exposed, and ruined the photo.
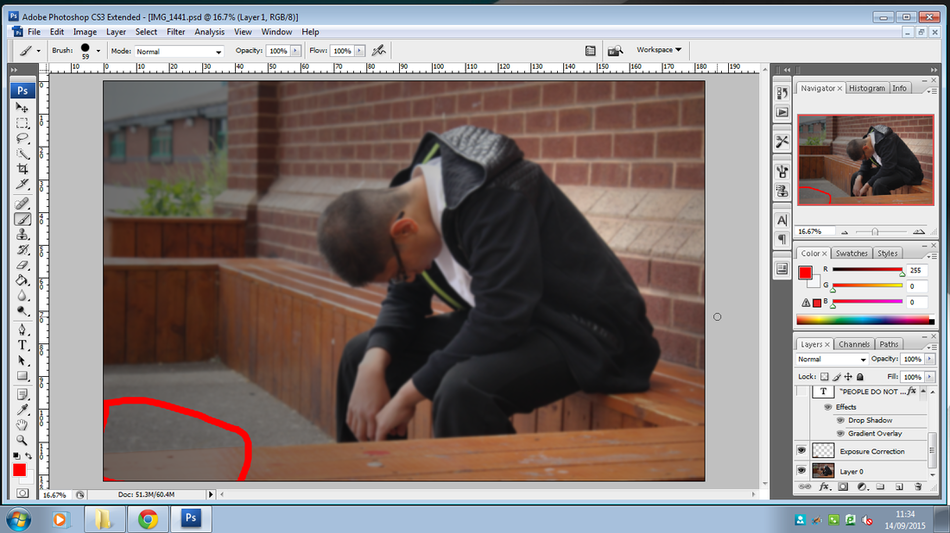
5 - Therefore I marked out the bench with the pen tool, created a new layer from the cut, then changed
the color to match a part of the bench, and lowered the opacity.
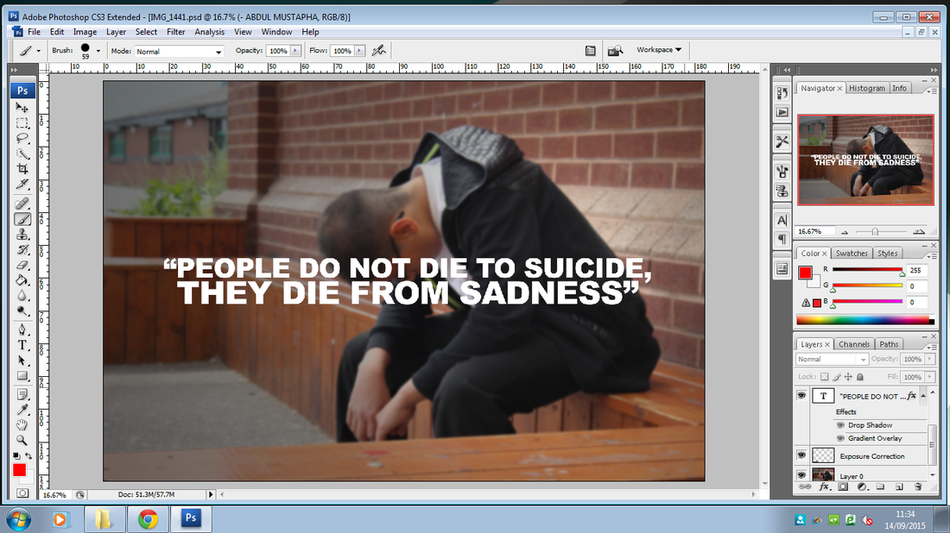
6 - I inputted my quote from my list that I put together.
The Font was Arial Black.

7 - Added a drop shadow to help show some depth in the text.
8 - Added a gradient overlay so the text wasn't just plain white.
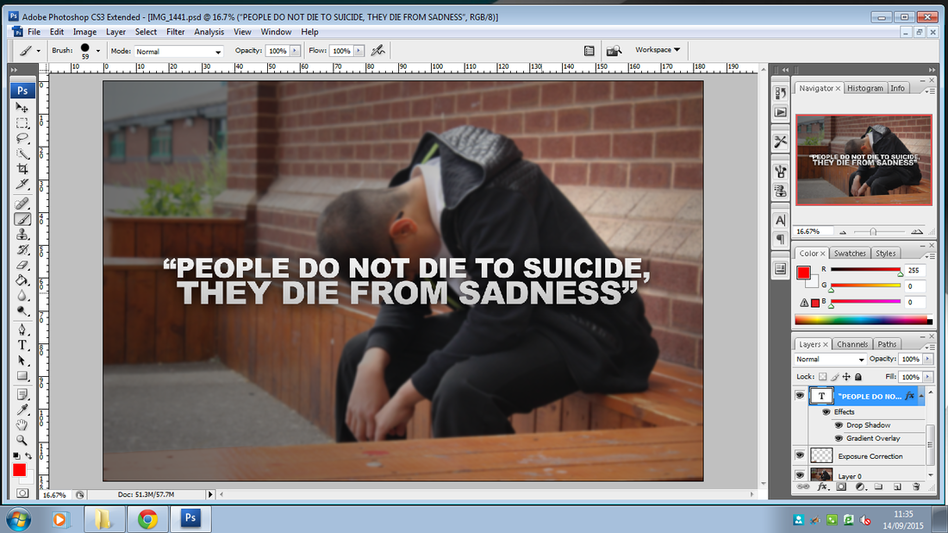
- Final Edit -
Third Photo Shoot


Worst Photo
|
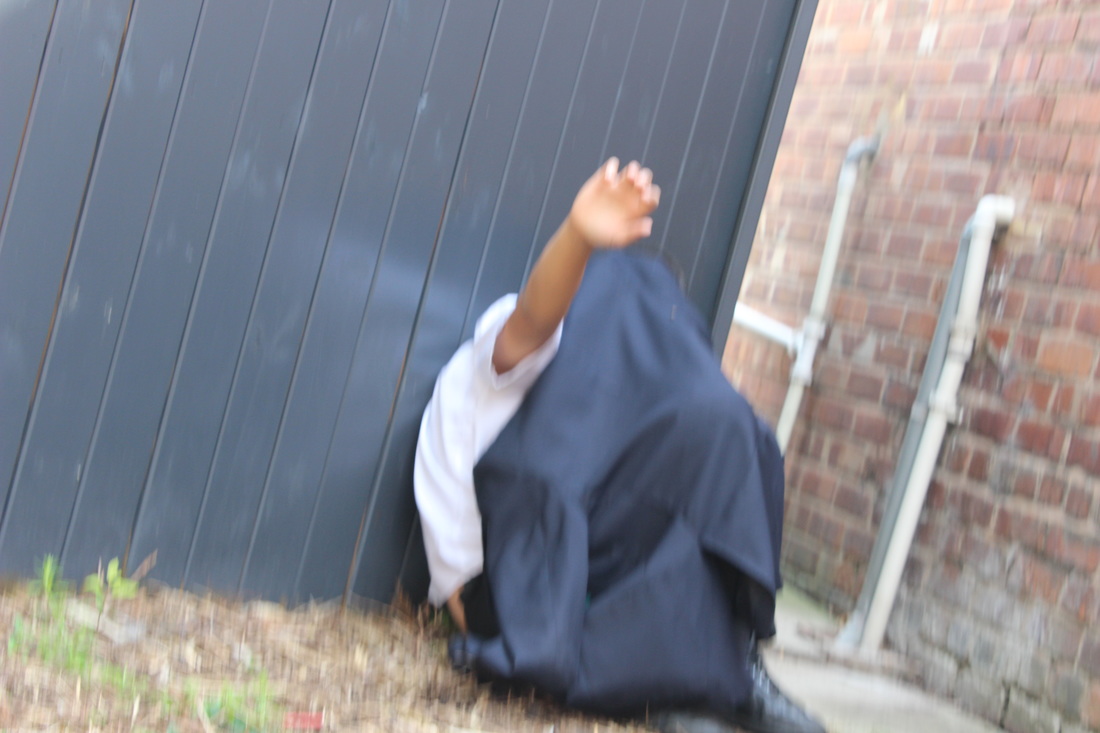
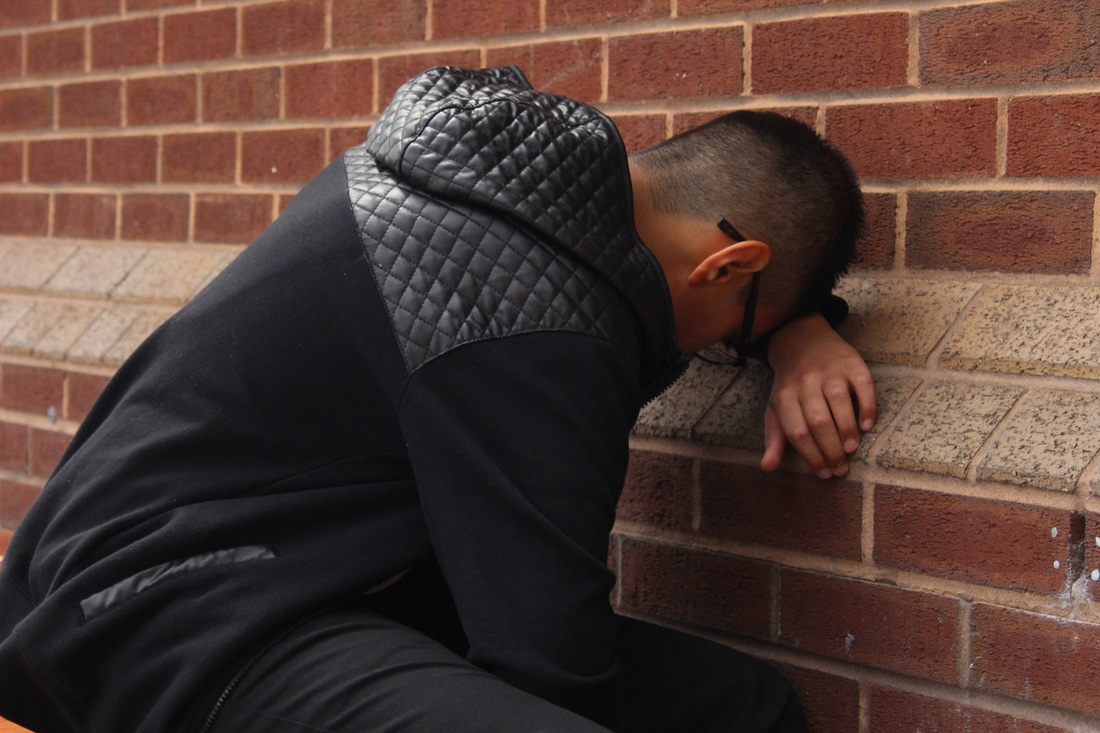
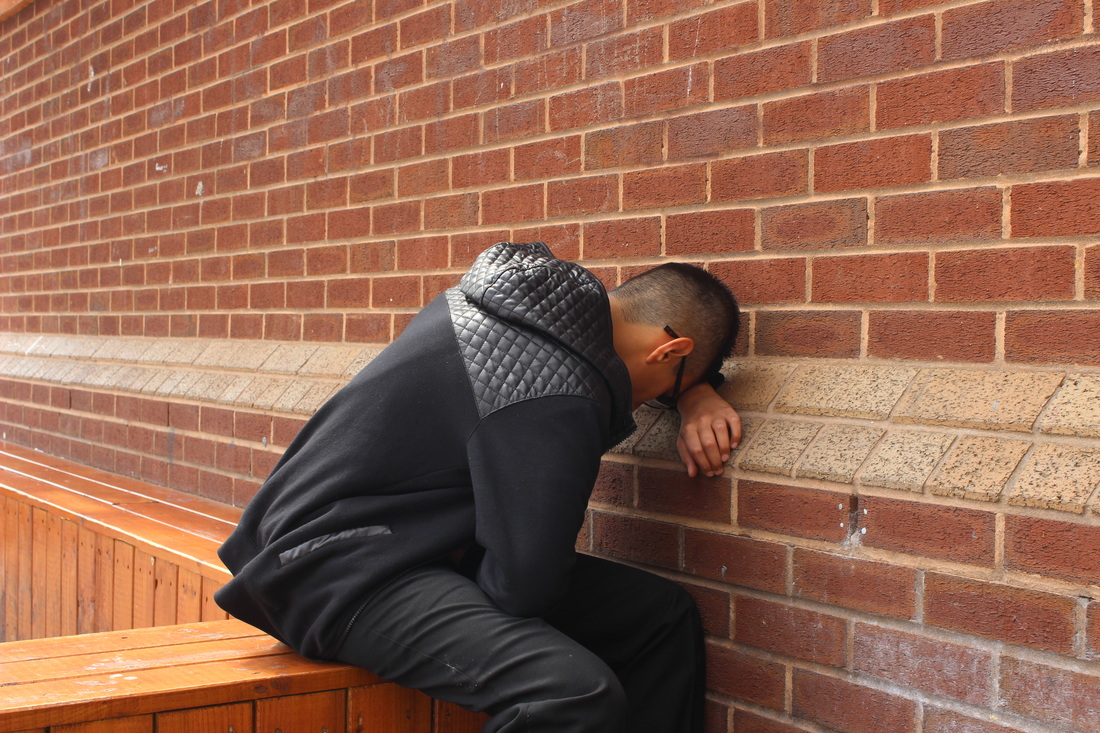
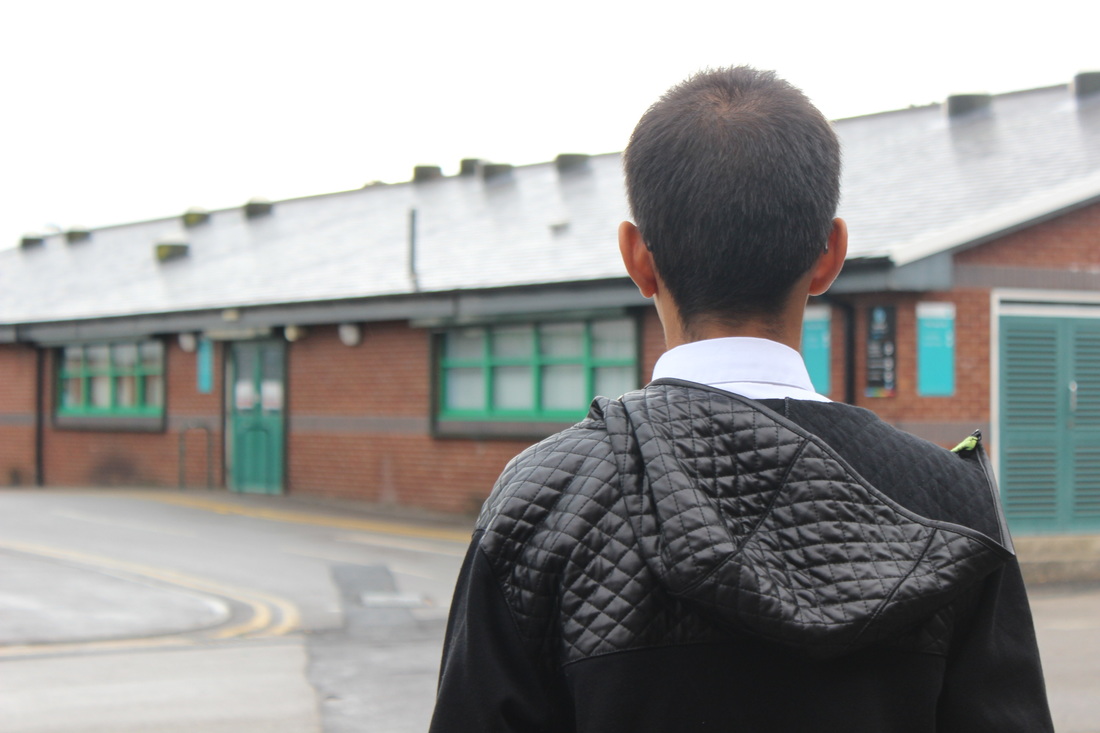
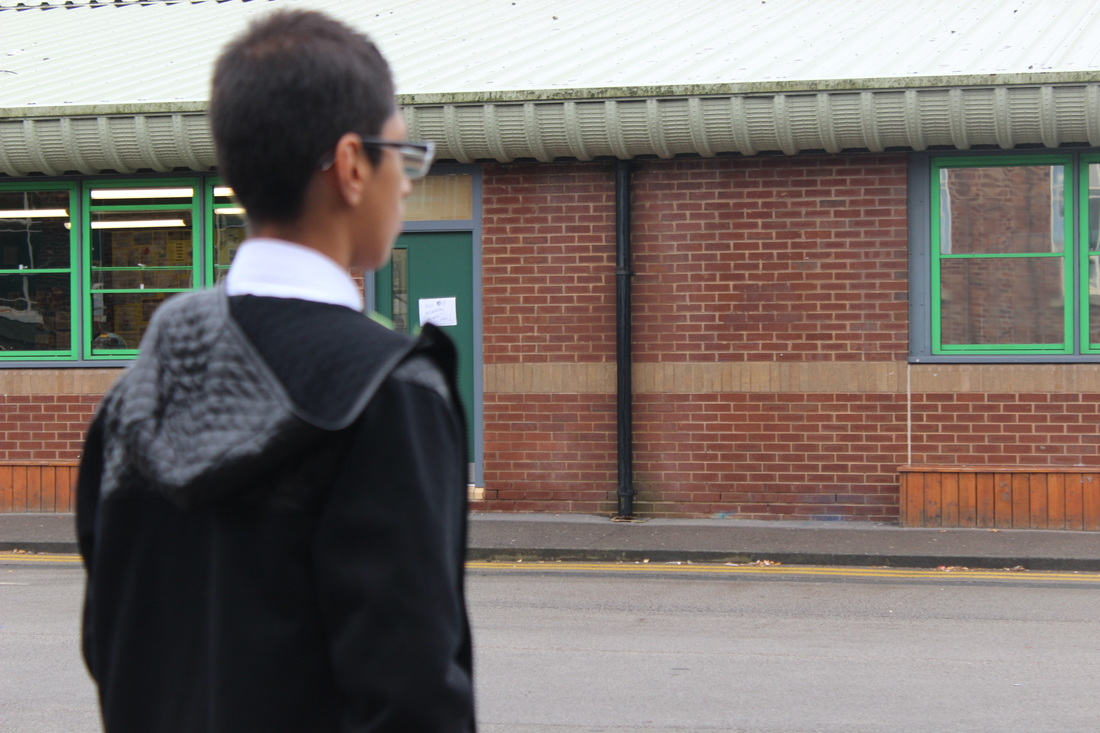
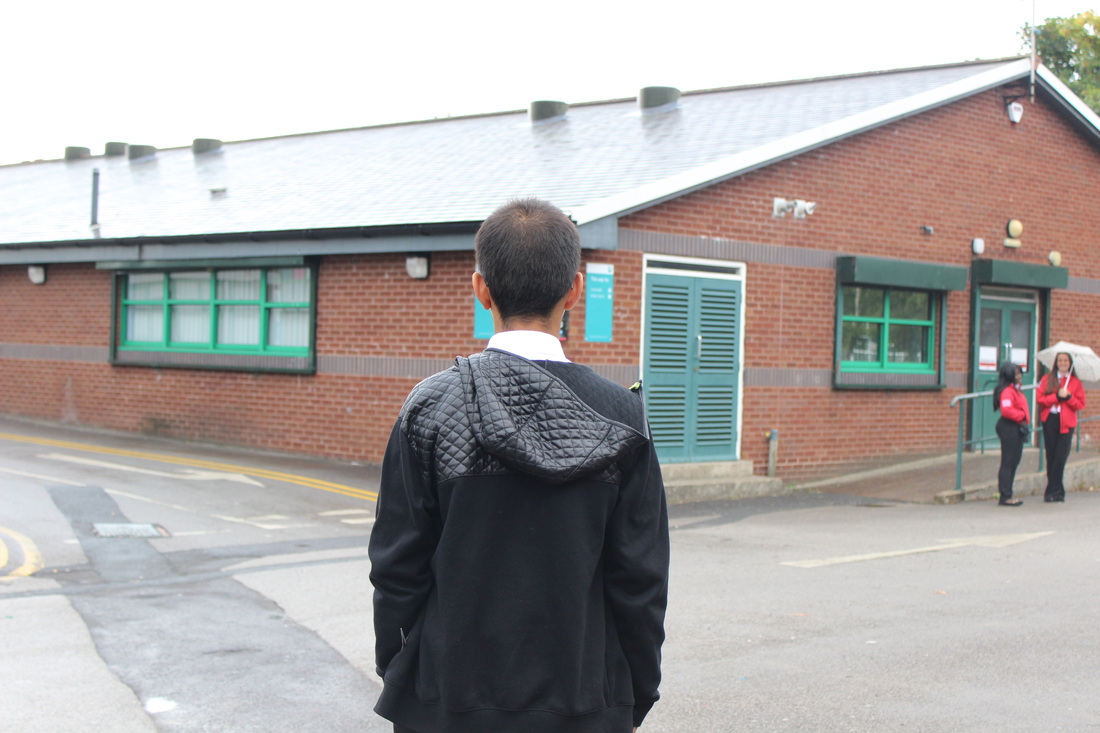
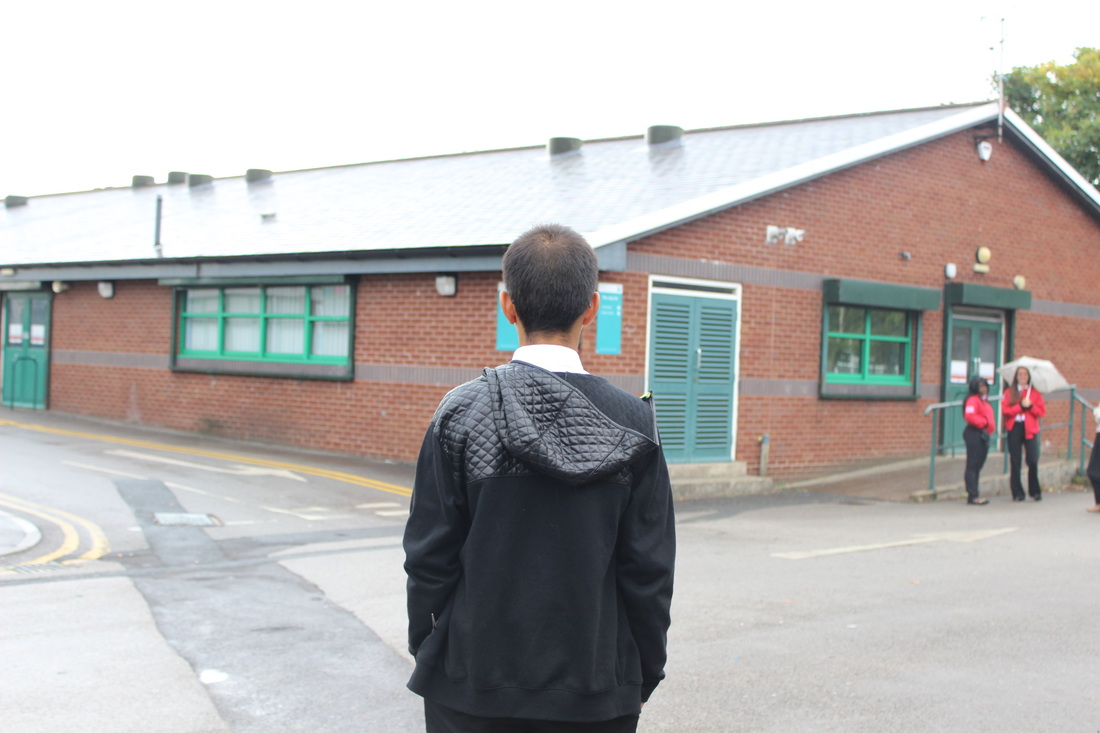
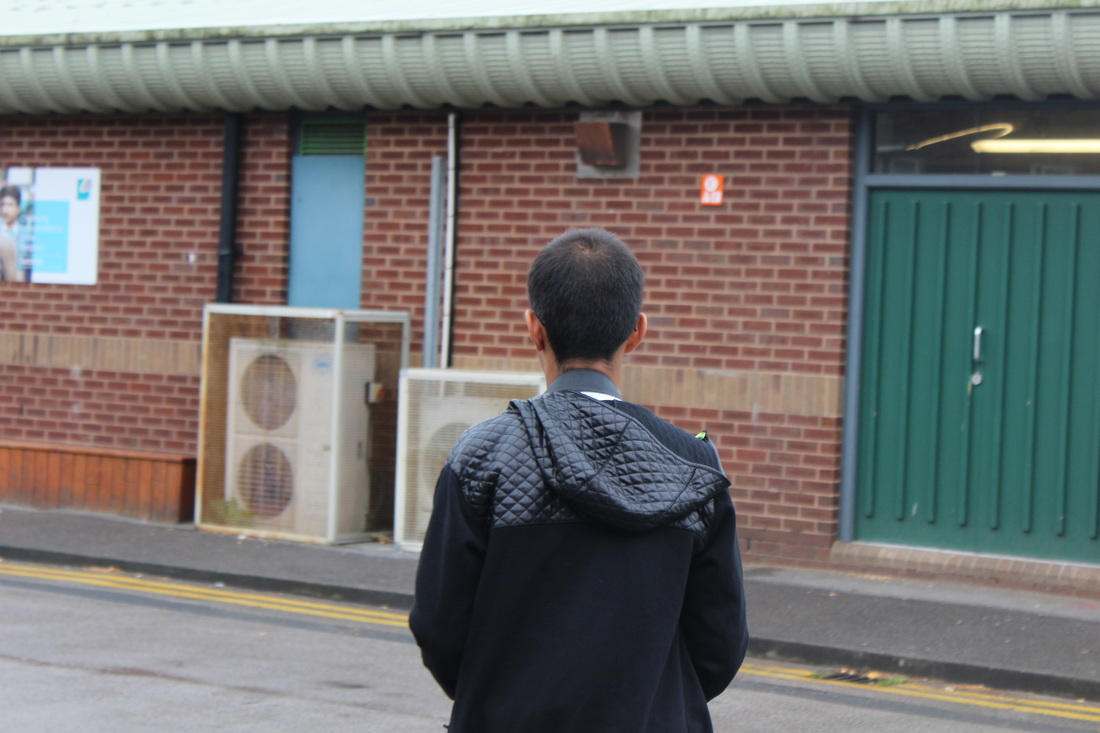
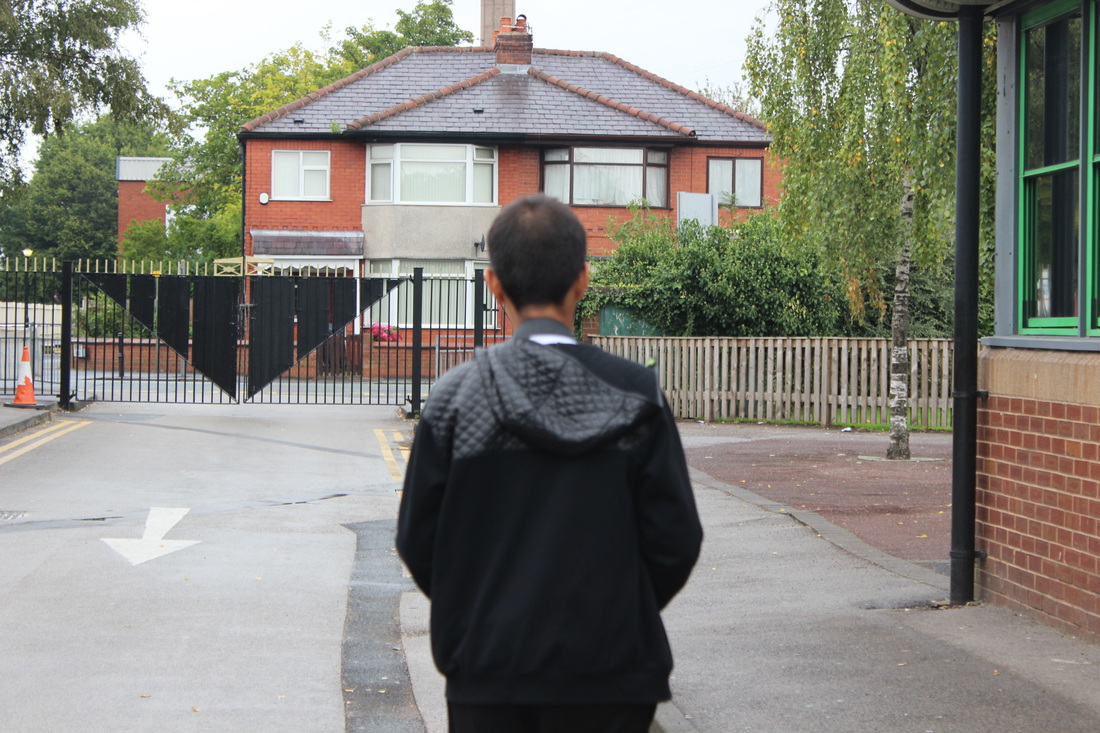
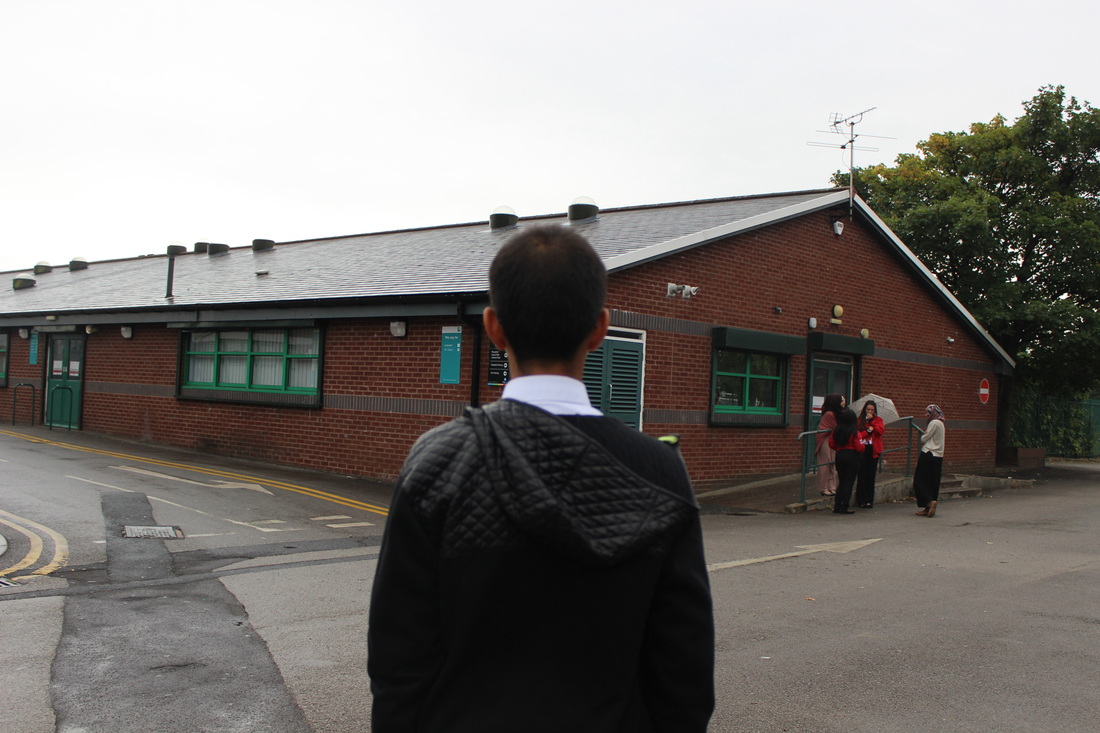
This is the worst photograph in this shoot. The camera was shaking, so there is hints of motion blur around the image, also the camera angle was not straight so the photo was disorientated. My camera settings were: 55mm - F/8 - ISO 200 - 1/250. I used a 55mm focal length as I was taking the image from the other side of the playground. I used F/8 as it give the sharpest image for the lens that I was using. In addition, I used ISO 200 as we were outside, and there was already a lot of light available. To improve, I should use a tripod to eliminate any motion blur, and move closer to my model.
|
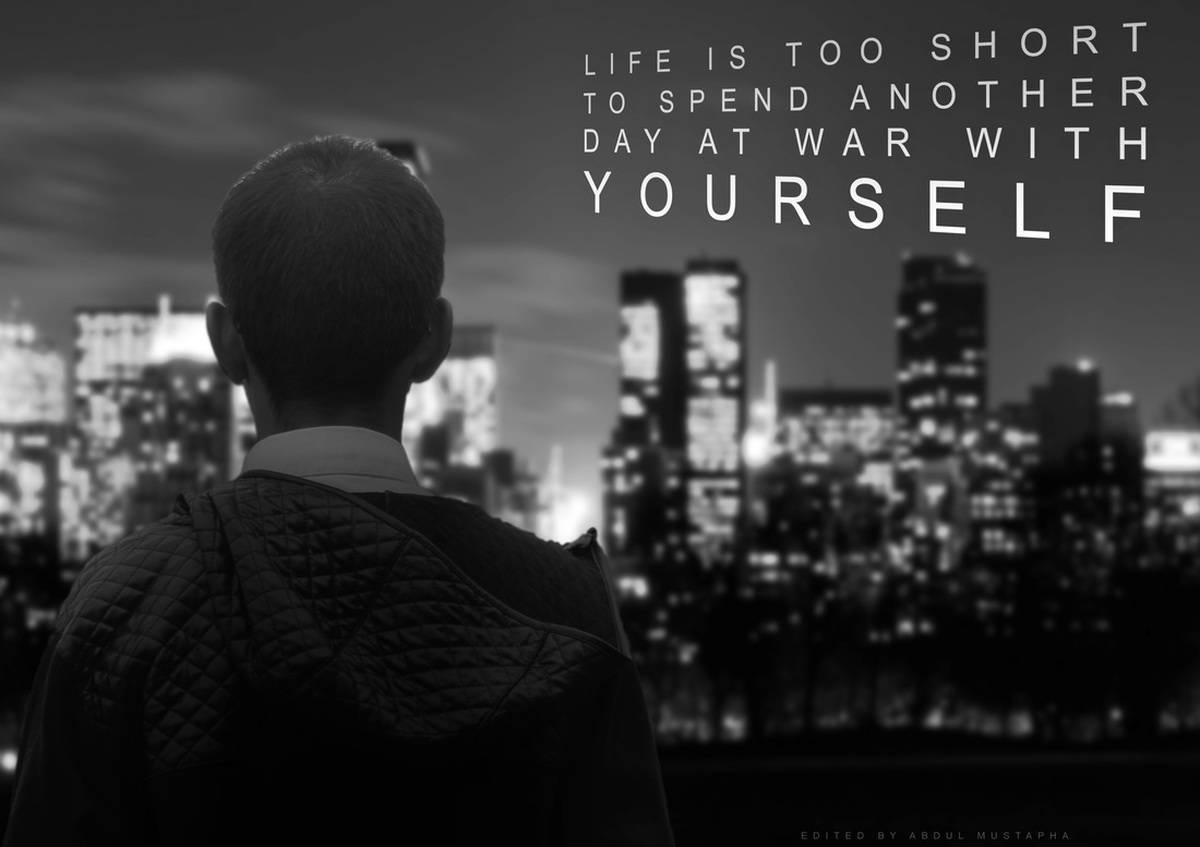
Best Photo
|
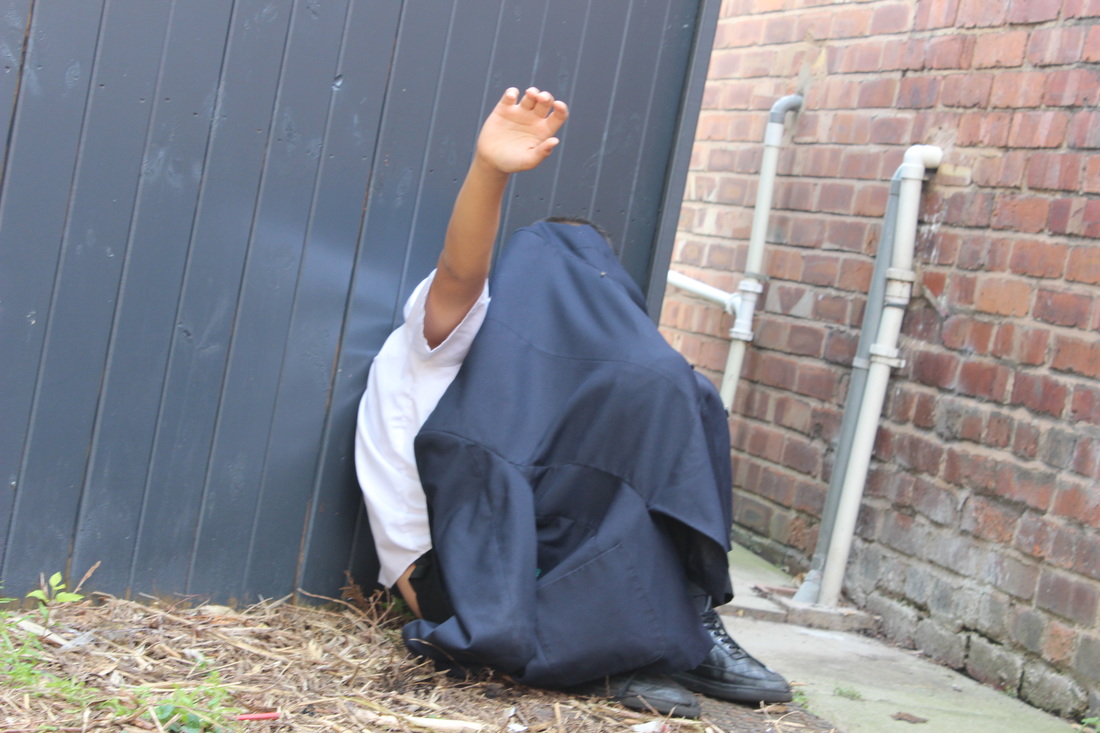
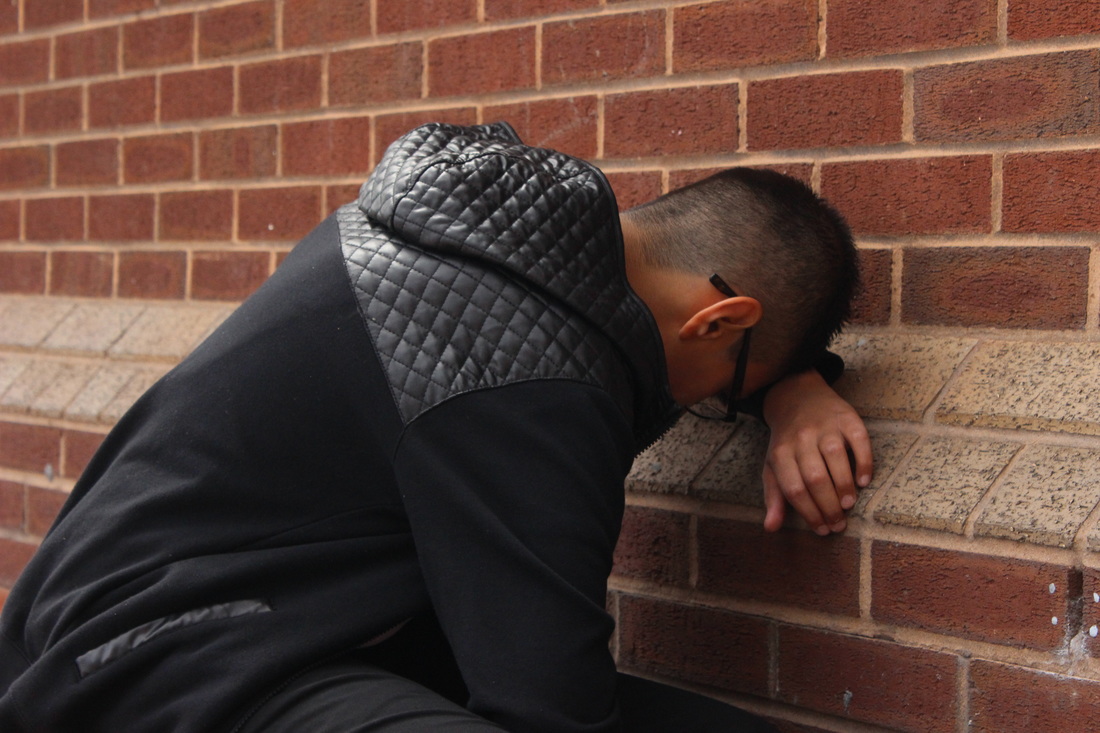
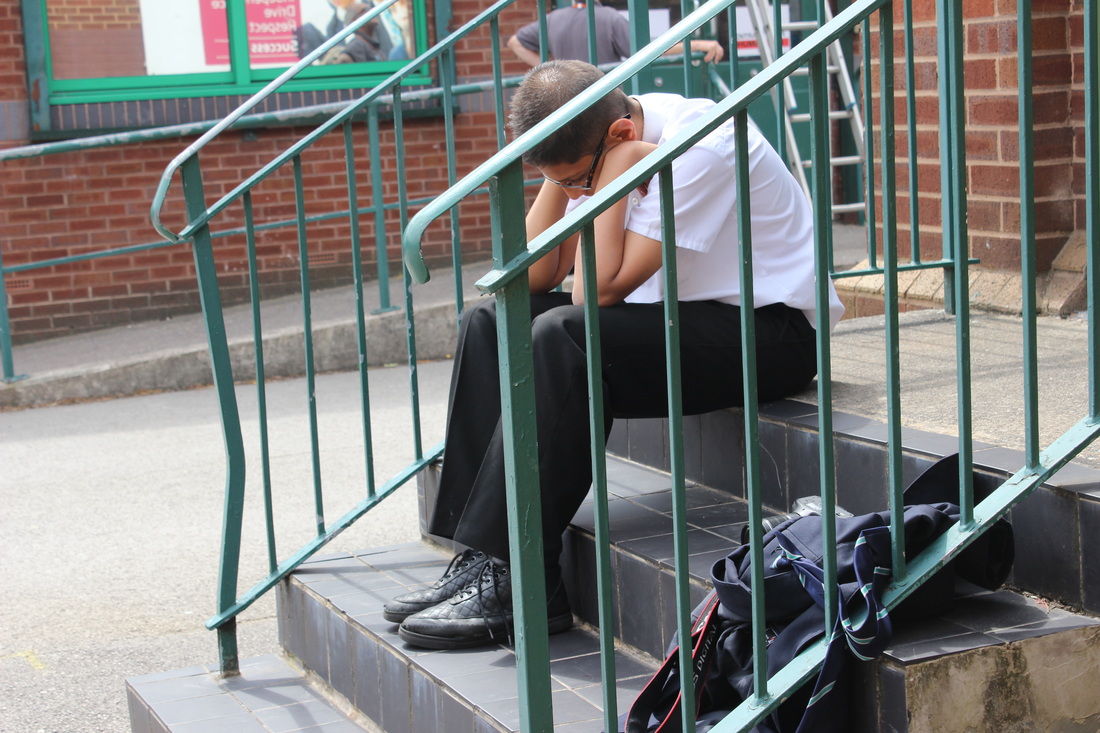
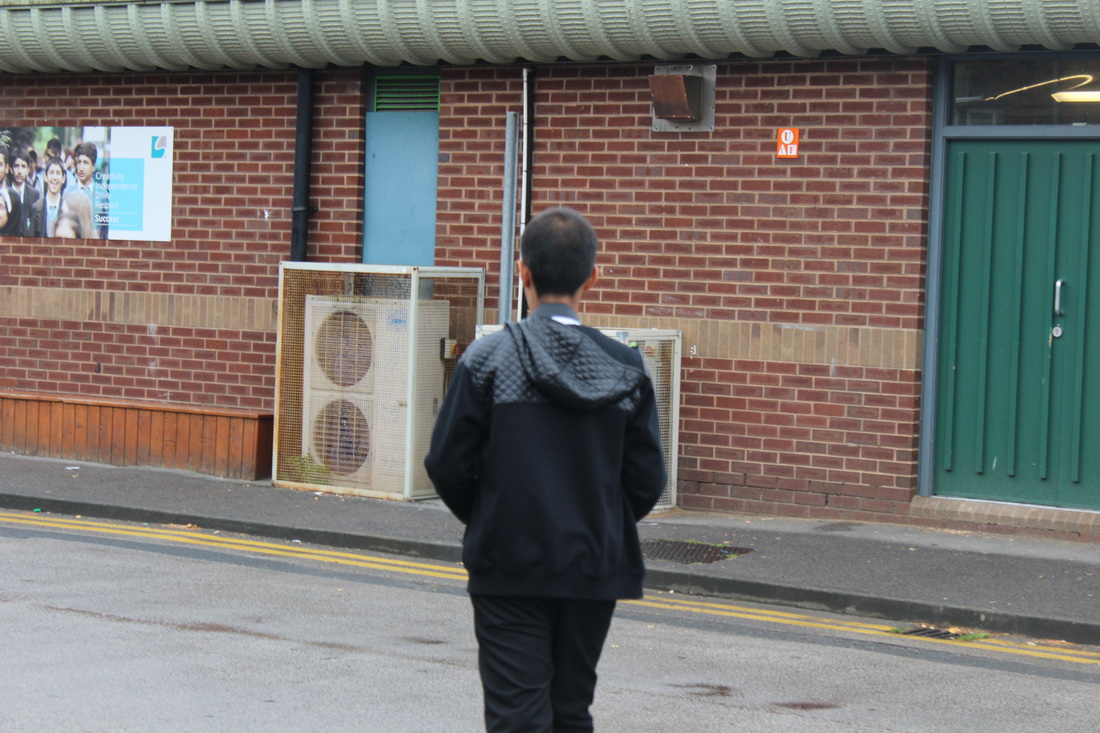
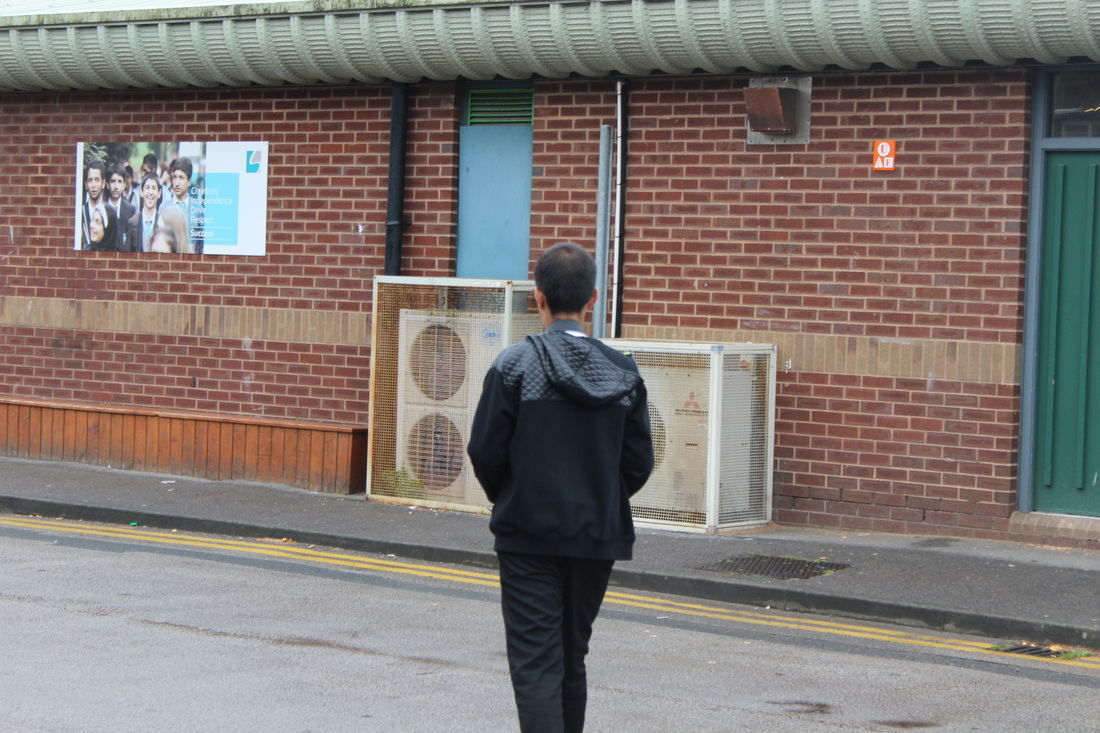
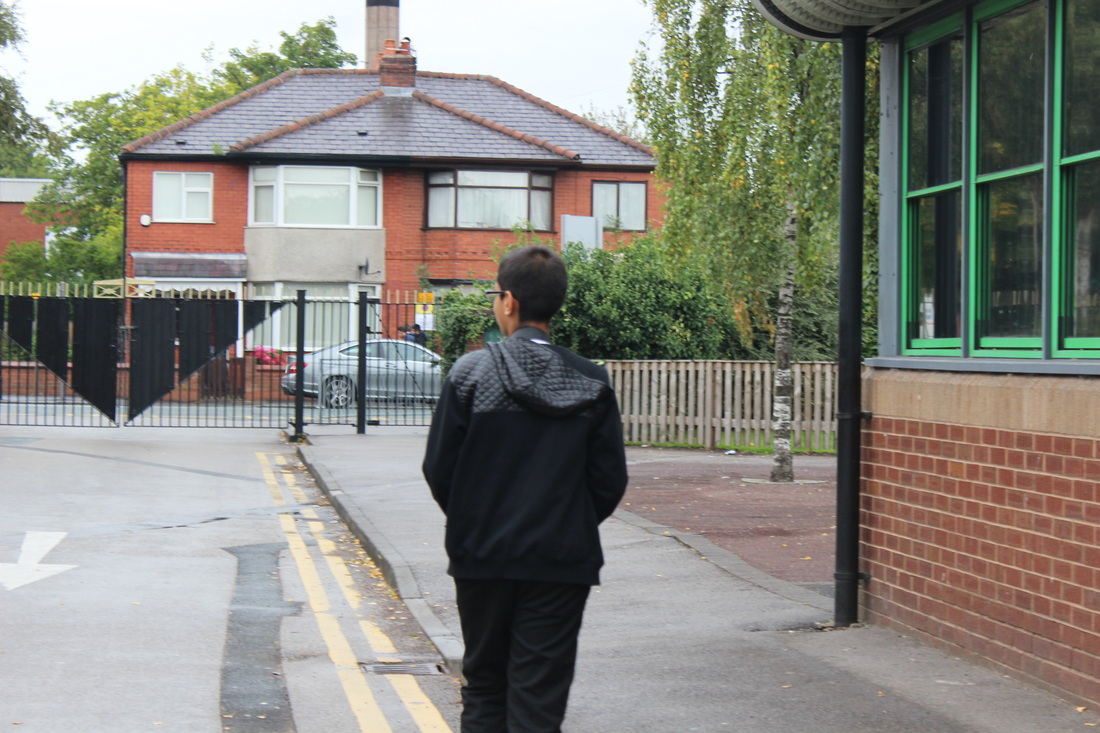
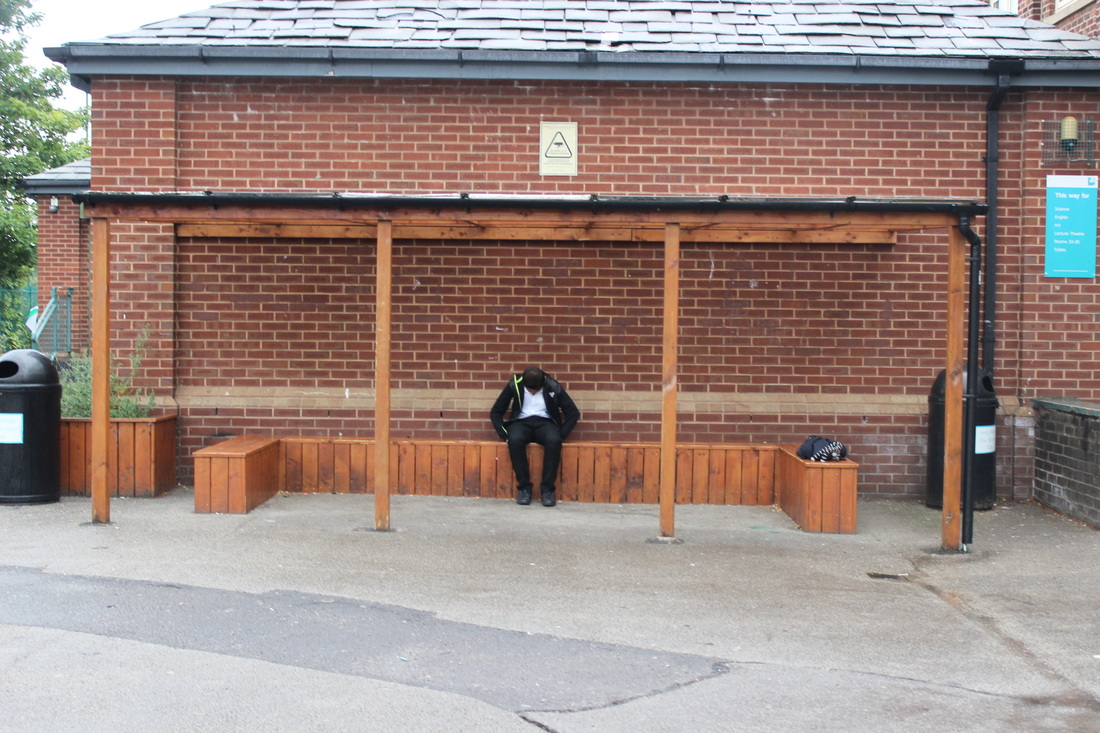
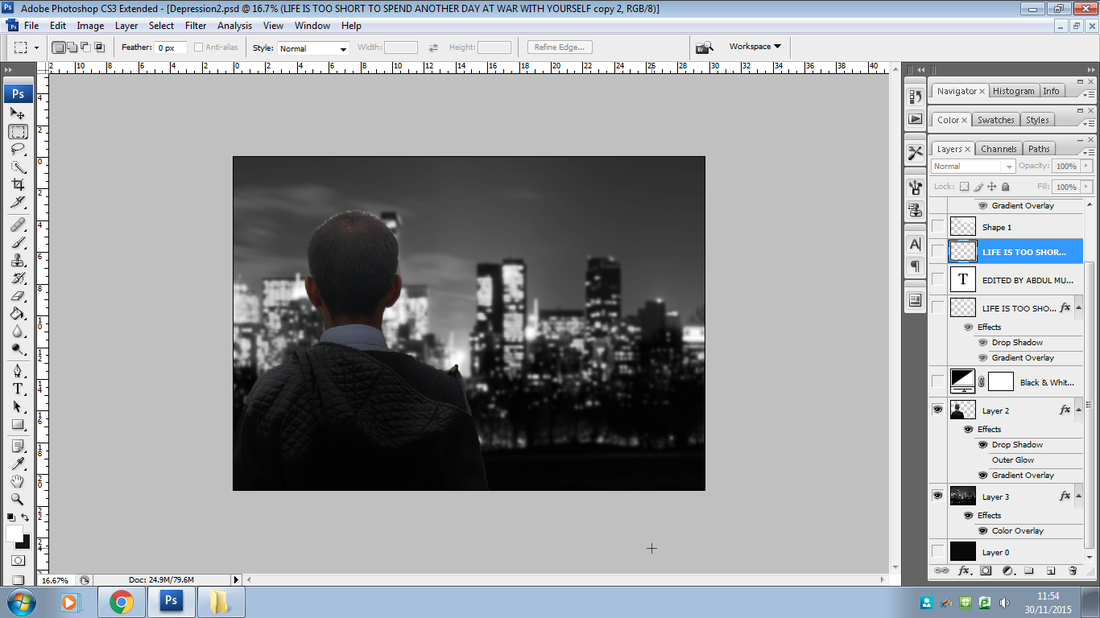
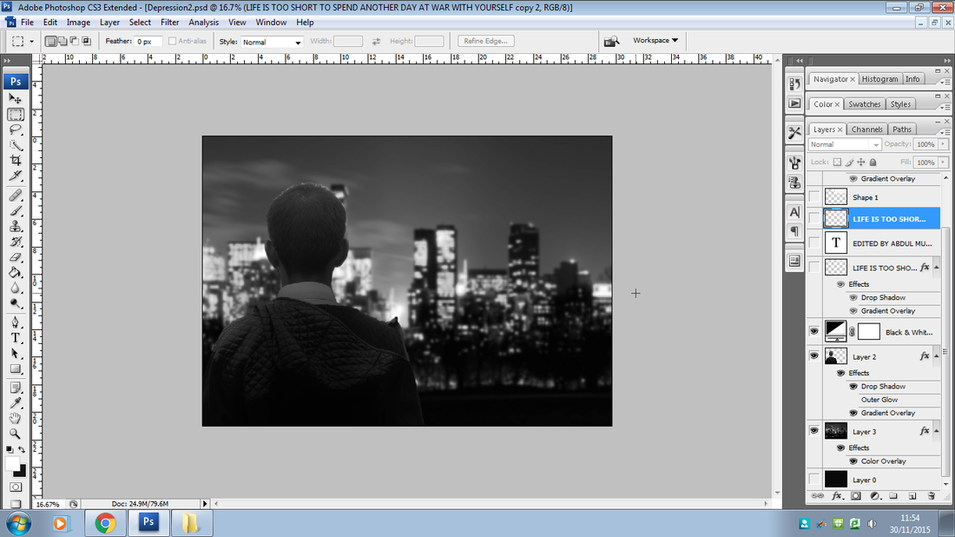
This is the best photo from my 2nd shoot. The focus is on point, and has a medium depth of field. My camera settings were : 35mm - F/8 - ISO 200 - 1/250 shutter speed. The reason I used F/8 was because it gives the sharpest image, and not much depth of field which was the look I am going for. It was bright outside, so nothing needed to be adjusted. This is my best photo because of the editing potential. To improve this photo, I would take 3 photos, 1 image underexposed, 1 image overexposed, and 1 image with perfect exposure. Then I would combine them in Photoshop to create a HDR image. Doing this would allow the sky to be seen instead of it being white.
|
Editing Process

1 - Imported my photo into Photoshop.
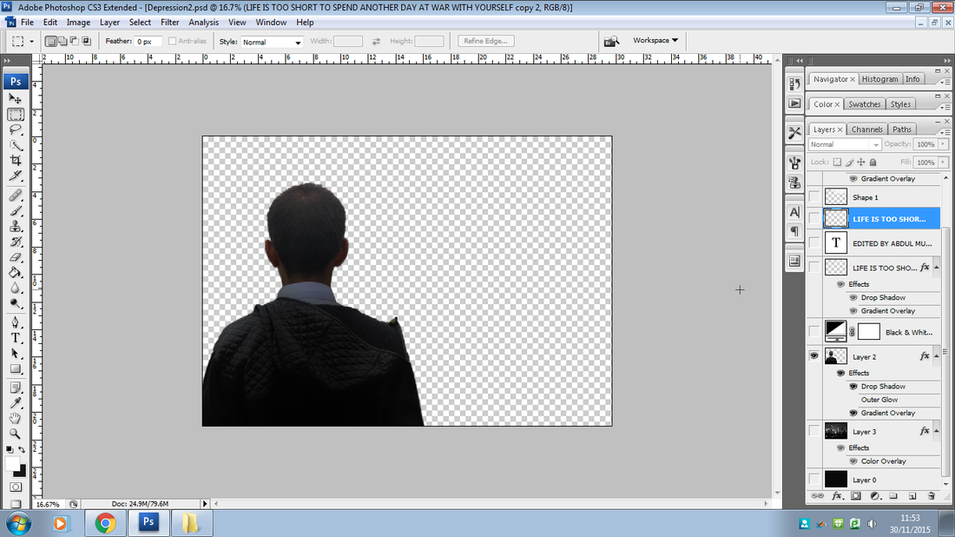
2 - Removed the background using the lasso tool.
3 - Imported a black and white picture of New York City that I found online.
4 - Added a black and white adjustment layer to blend my model with the background.
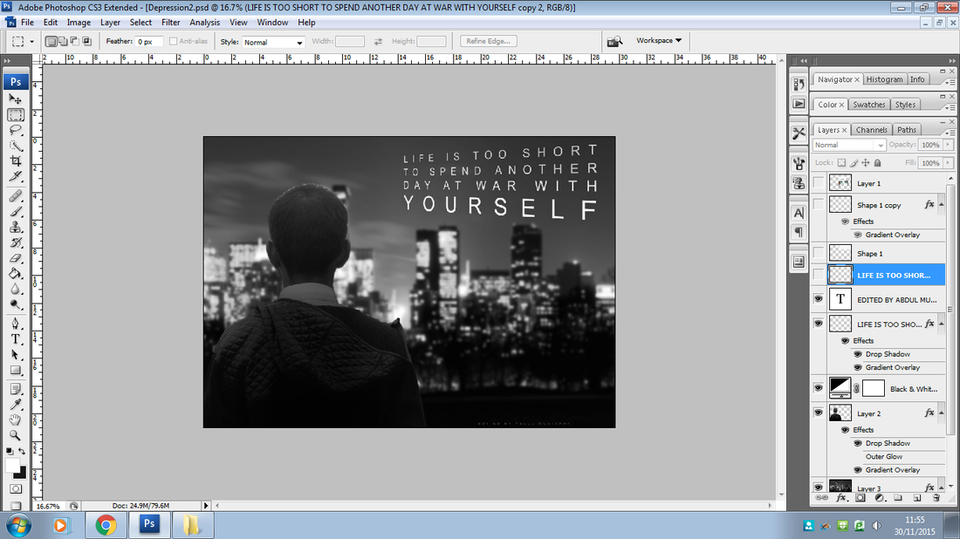
5 - Added a text layer, typed one of my quotes, and experimented with the Perspective Transform tool.
6 - Decided to move the text into a better place, and make it part of the background by adding blur, and moving it behind the buildings.
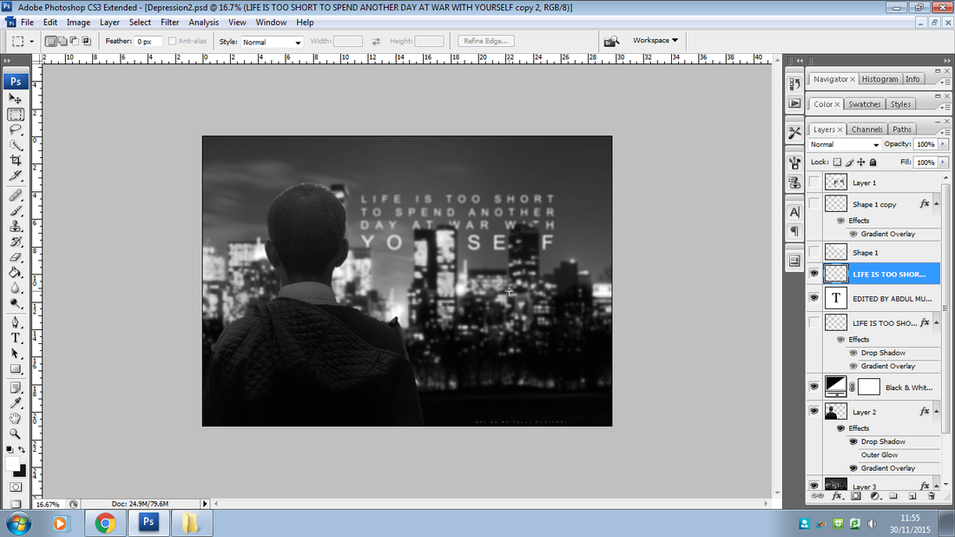
Final Edits
Edit_2
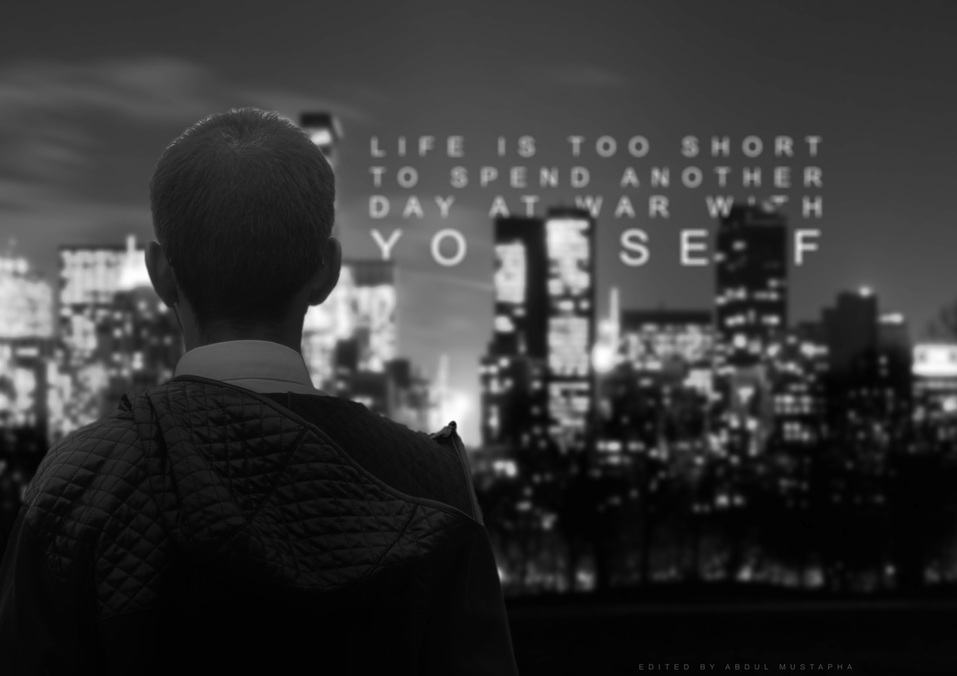
When editing, I was experimenting on where to position the text, I decided to make the text out of focus, and move it behind the buildings in order to blend it with the background.
Final Shoot (Taken At Home)
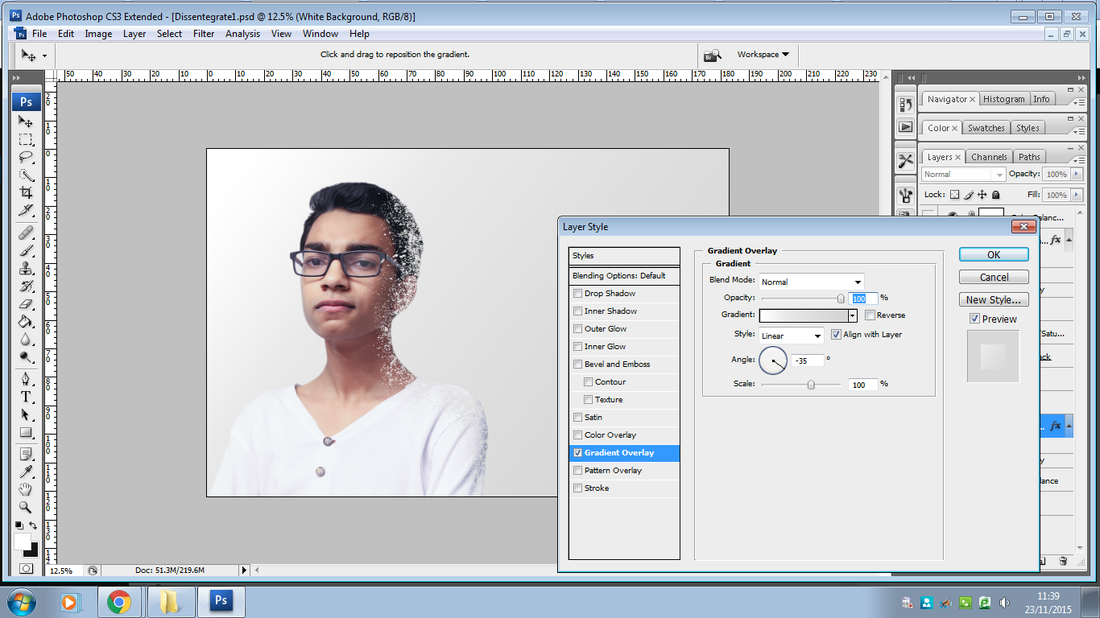
Editing Process
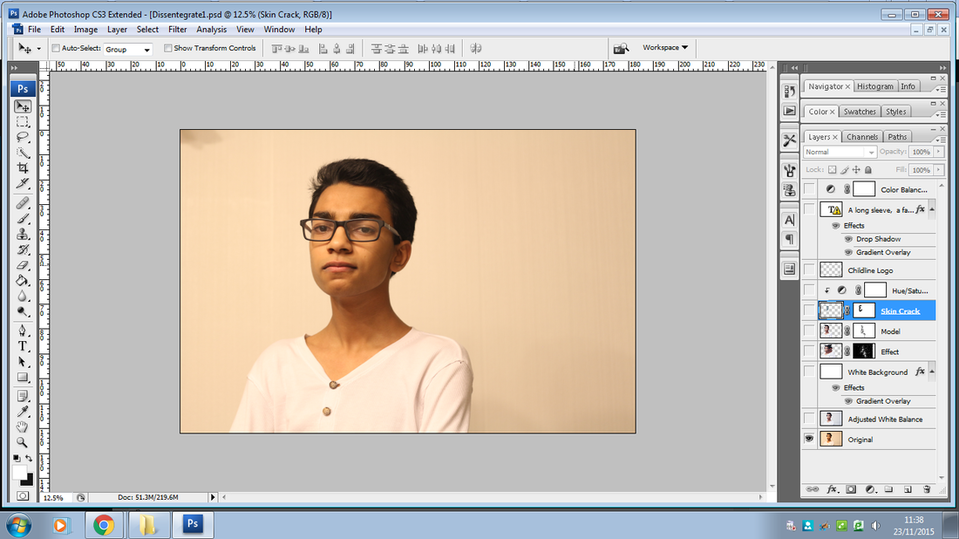
1 - Imported Photo Into Photoshop
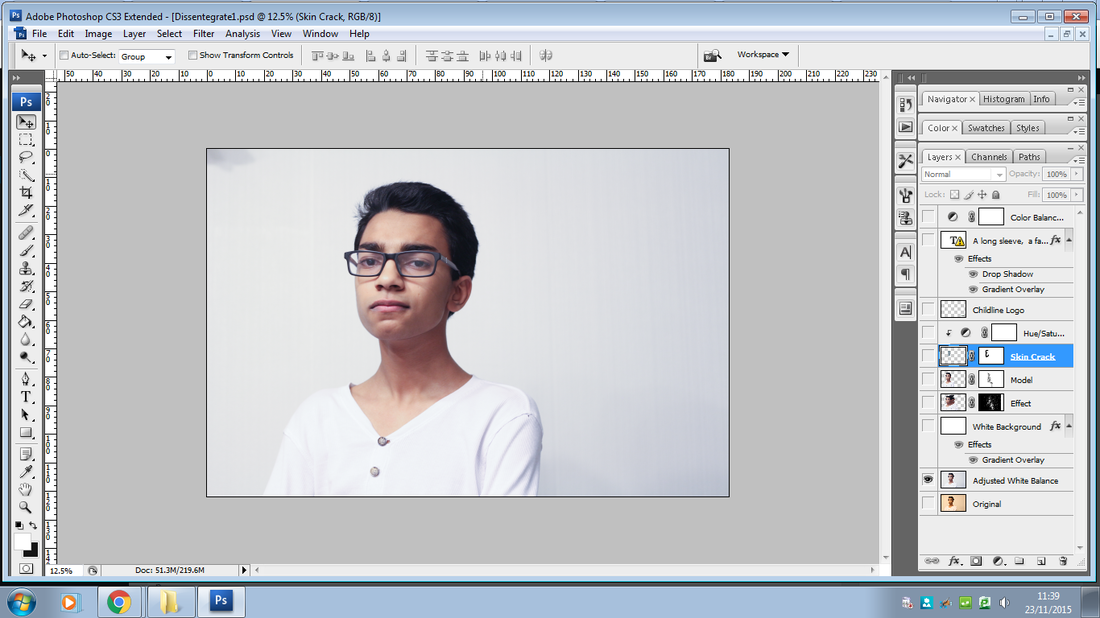
2 - Corrected White Balance using the Camera RAW Filter.
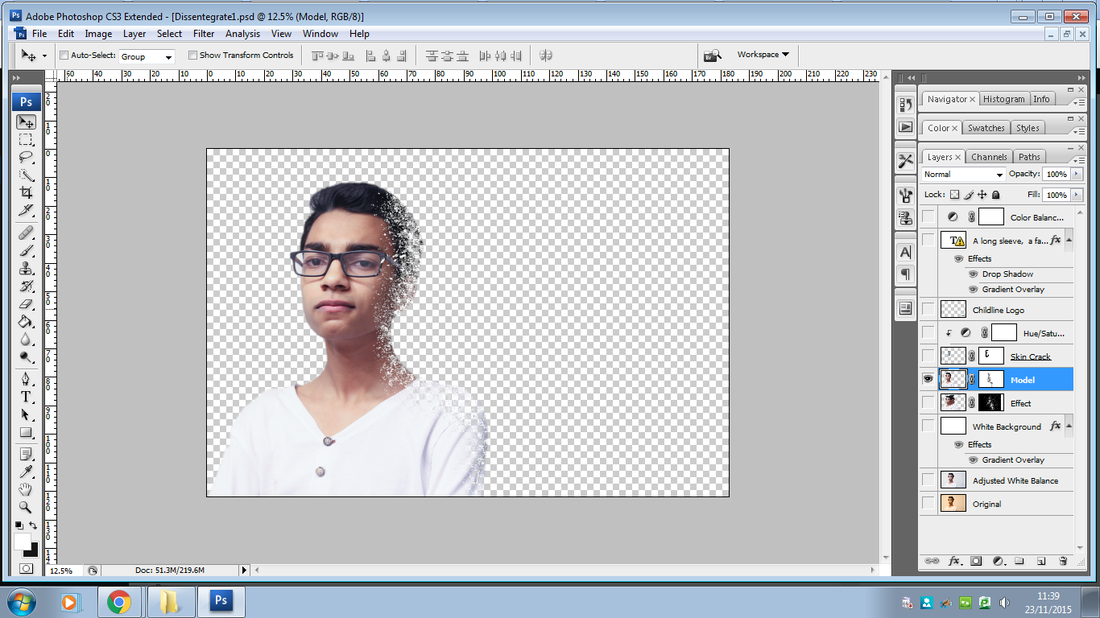
3 - Removed the background, and began the dissolve effect.
4 - Added a background behind the model.
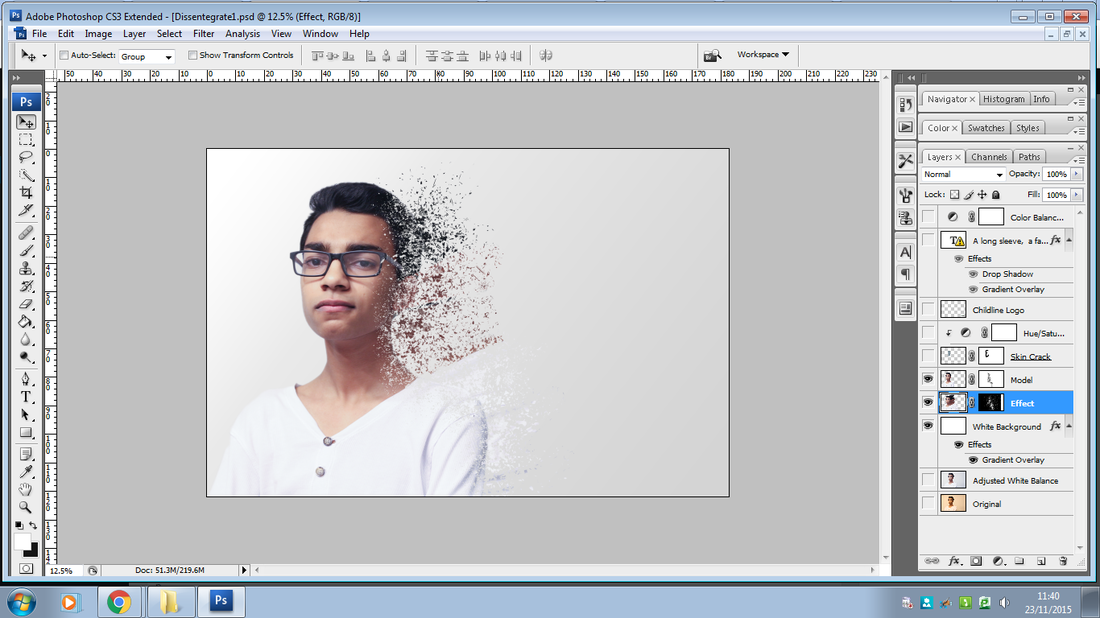
5 - Carried on the dissolve effect using the liquify filter, and creating a layer mask. Then using a particle brush to scatter it everywhere.
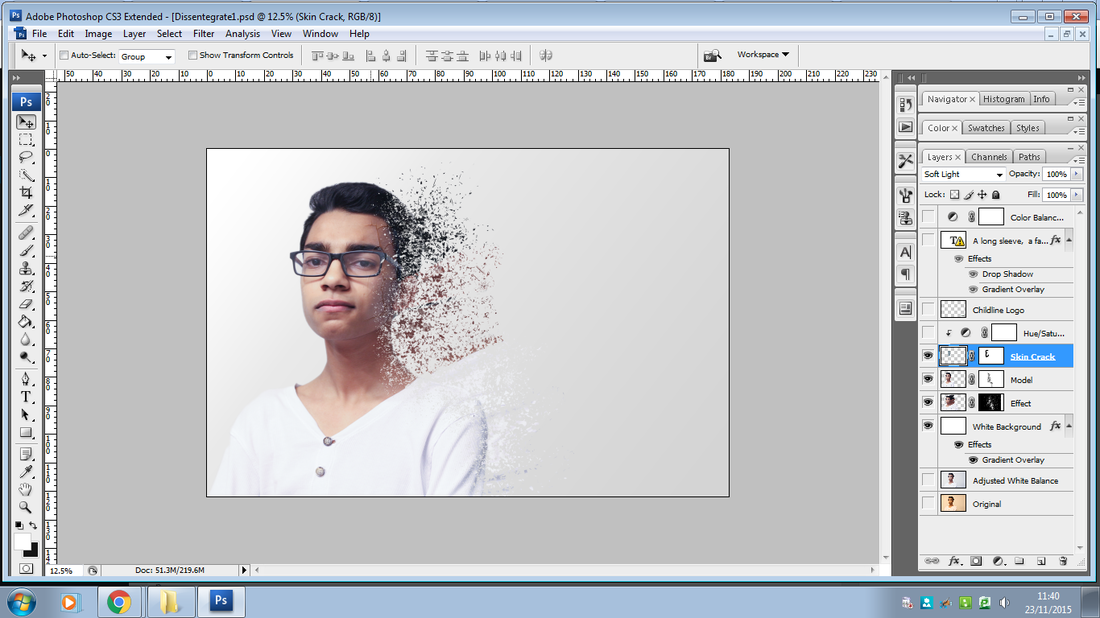
6 - Downloaded a crack gradient online, imported it to photo shop, warped it, and made it fit my face. Then set the blending mode to Soft Light.
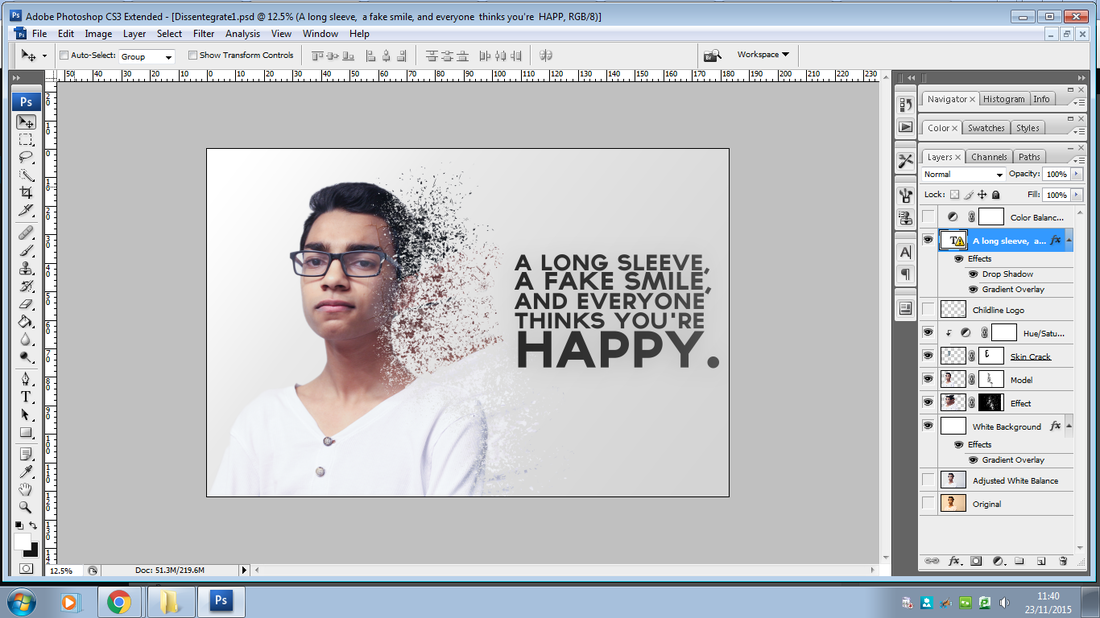
7 - Added my text to the picture
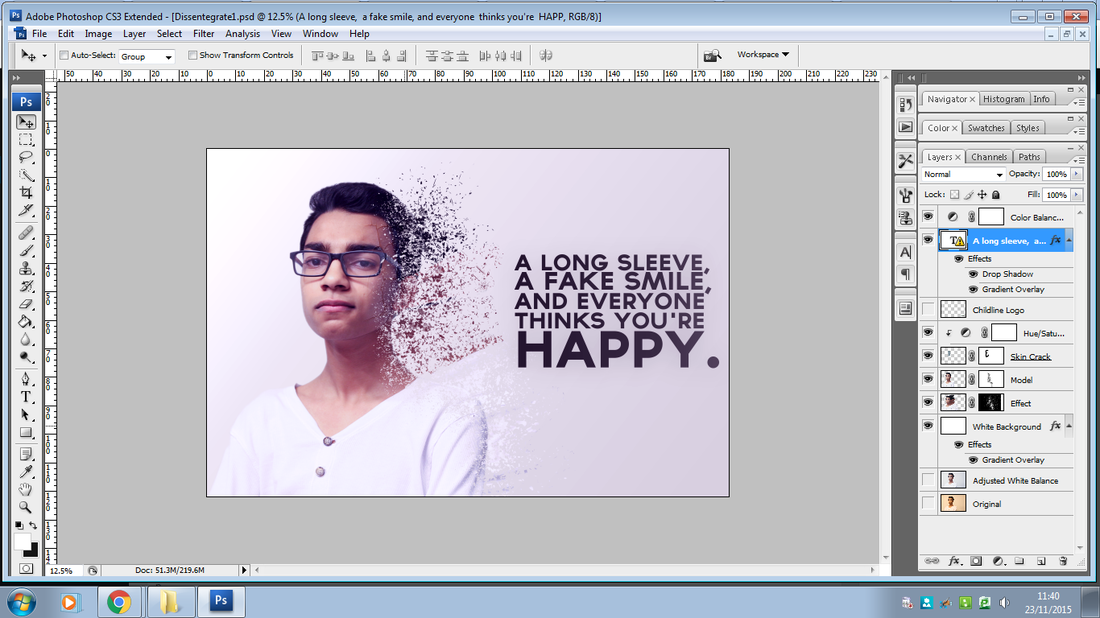
8 - Added the color balance adjustment.
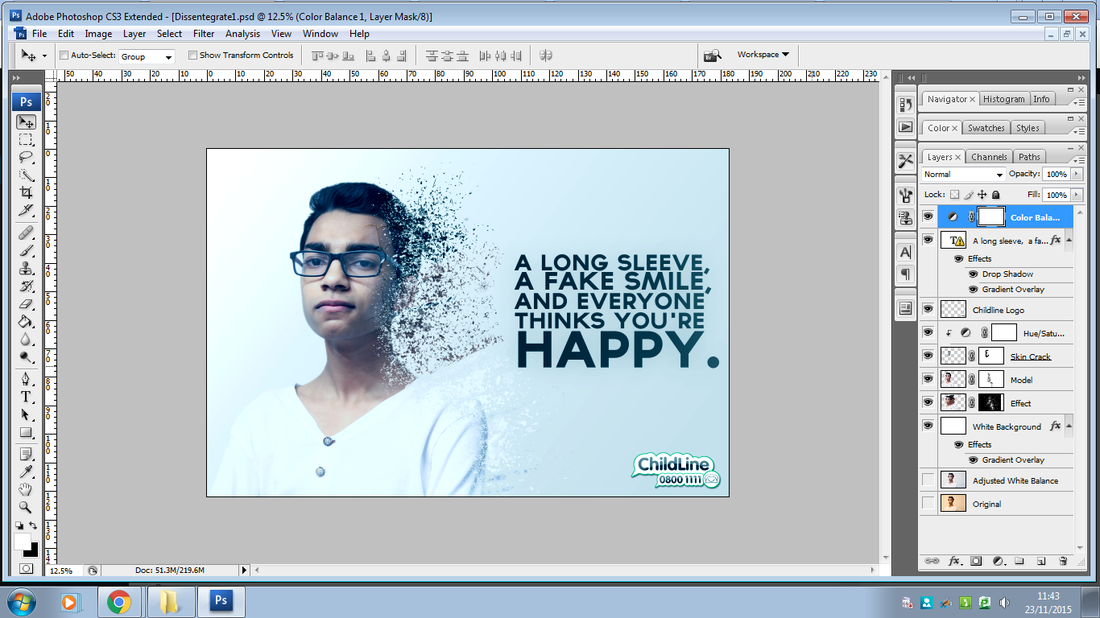
9 - Tweaked the color and added the child line logo.
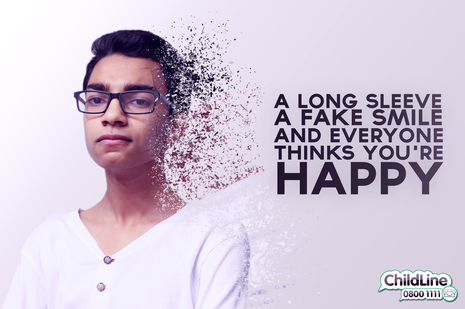
- Best Photo / Edited Piece -

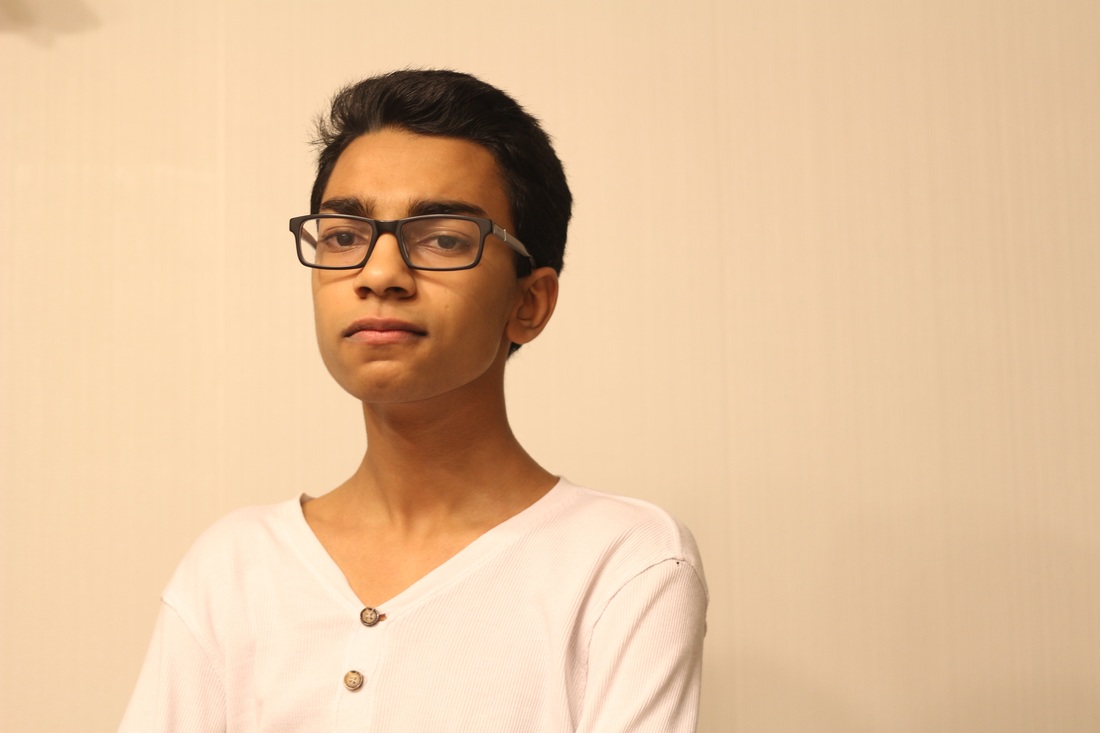
This was a shoot that did at home, and also edited at home. When I took the picture I knew exactly what I wanted to do, and what effect I wanted to create. I set up my camera on a tripod, and took the picture using a remote shutter. The camera settings were: F/2.8 aperture, 40mm Focal Length, 1/100 shutter speed, and ISO 100. The photograph was taken indoors, so I used a large aperture to let in as much light as possible. The shutter speed was also rather slow to let in some more light. The original picture's white balance wasn't accurate, but I fixed this in Photoshop. The picture was meant to show a person falling apart emotionally. In addition the picture has multiple meanings, it could be that he is getting bullied at school, and is physically falling apart, or it could be that he is self harming, and trying to cover it up.
Linking To My Research
I decided when planning for my self harming shoot, that I should use quotes layed over a picture of a boy that looks upset. This seemed to be quite a popular trend when researching. That is what I based my first shoot on.

|

|
Evaluation
I researched bullying and self harm as I felt there was a lot of potential in the photography aspect of things. i mainly focused on bullying as it gave me the most opportunities for me to show off my photography skills. At the start, I was confused about what I wanted to do, but as I progressed through the topic, I understood it more and more. I liked that we had the freedom to choose what we wanted to base our shoots upon. My best edited picture was the last one, the initial picture did not look that great, but I turned that around in Photoshop. Overall, Campaign Photography has been a great way to show off my editing, and photography skills.
- Hall of Fame -

|

|
|

|
